No-Bake Blackberry Oreo Tart Recipe
Introduction
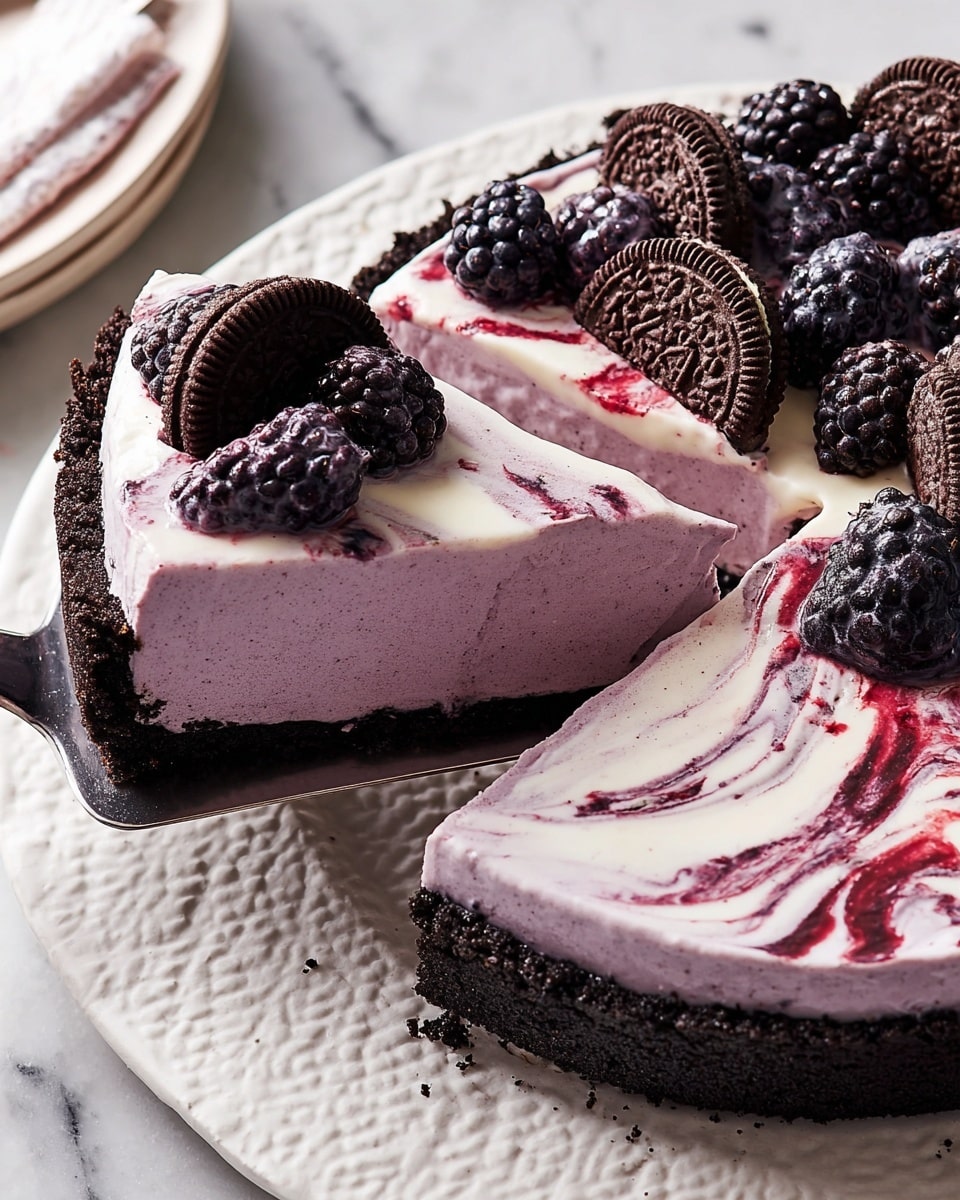
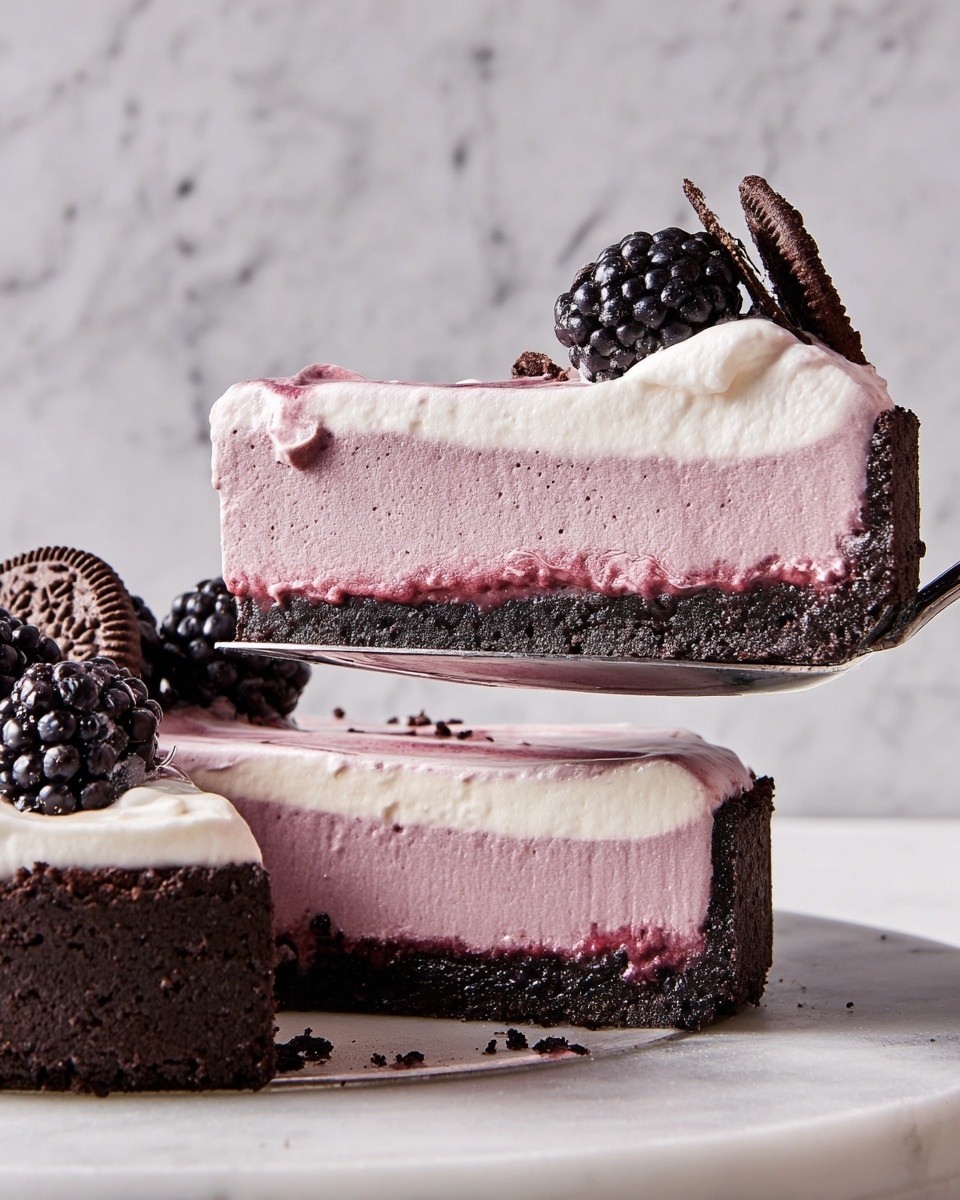
This No-Bake Blackberry Oreo Tart combines the rich crunch of Oreos with the fresh, tangy flavor of blackberries in a creamy mascarpone filling. Perfect for warm days when you want a refreshing dessert without turning on the oven.
Ingredients
- 24 Oreos, finely crushed (about 9.5 oz.)
- 5 tbsp. unsalted butter, melted and cooled
- 1/2 tsp. kosher salt, divided
- 1 (1/4-oz.) packet gelatin
- 17 oz. fresh blackberries (about 3 cups), divided
- 1 tbsp. orange juice
- 2/3 cup heavy whipping cream
- 2/3 cup condensed milk
- 6 oz. mascarpone, room temperature
- 1/4 cup mini Oreos (optional)
Instructions
- Step 1: In a large bowl, combine the crushed Oreos, melted butter, and 1/4 teaspoon of kosher salt. Press the mixture firmly into the bottom and up the sides of a 9-inch tart pan using the bottom of a measuring cup. Freeze until chilled, about 20 minutes.
- Step 2: While the crust chills, place gelatin and 3 tablespoons water in a small saucepan over medium heat. Whisk frequently until the gelatin dissolves, about 1 minute. Remove from heat and let cool slightly.
- Step 3: Blend 15 ounces of blackberries in a blender until smooth. Strain the puree through a fine-mesh sieve into a medium bowl, yielding about 1 1/2 cups. Reserve 1 tablespoon of this puree for topping. To the remaining puree, add orange juice, dissolved gelatin, and the remaining 1/4 teaspoon kosher salt; stir to combine.
- Step 4: In a stand mixer with the whisk attachment, beat heavy cream on medium-high speed until stiff peaks form. Gradually add condensed milk and continue beating until combined. Set aside 5 ounces of this whipped cream for topping.
- Step 5: Lower mixer speed and add mascarpone and blackberry mixture to the whipped cream. Beat until fully incorporated and the mixture is smooth with no white streaks.
- Step 6: Pour the filling into the prepared Oreo crust. Refrigerate for at least 1 hour, up to 2 hours, until set.
- Step 7: In a medium bowl, gently fold the reserved tablespoon of blackberry puree into the 5 ounces of reserved whipped cream until streaks of both remain visible.
- Step 8: Dollop this blackberry whipped cream in the center of the tart. Cut half of the remaining 2 ounces of blackberries in half and arrange them along with whole blackberries and mini Oreos (if using) on top of the cream for garnish.
Tips & Variations
- Freeze the crust thoroughly to prevent it from becoming soggy when adding the filling.
- Replace blackberries with raspberries or blueberries for a different flavor.
- Use fruit juice instead of orange juice if preferred or to prevent added acidity.
- For a vegan version, substitute gelatin with agar-agar and use dairy-free alternatives for butter, cream, and mascarpone.
Storage
Store the tart covered in the refrigerator for up to 2 days for best freshness. Avoid freezing the assembled tart to maintain the creamy texture. Reheat is not necessary; serve chilled for optimal flavor and consistency.
How to Serve
Serve this delicious recipe with your favorite sides.
FAQs
Can I make this tart ahead of time?
Yes, you can prepare the tart up to 2 days in advance and keep it refrigerated. Just add the fresh blackberry topping just before serving to maintain freshness.
What can I use if I don’t have gelatin?
You can substitute gelatin with agar-agar powder, following package instructions for setting. Note that the texture might be slightly different but still delicious.
PrintNo-Bake Blackberry Oreo Tart Recipe

This no-bake blackberry Oreo tart features a rich and crunchy Oreo crust filled with a creamy mascarpone and blackberry filling, topped with fresh blackberries and optional mini Oreos. Perfectly chilled for a refreshing dessert that combines fruity tartness with indulgent creaminess without the need for baking.
- Prep Time: 25 minutes
- Cook Time: 5 minutes
- Total Time: 1 hour 30 minutes
- Yield: 8 servings 1x
- Category: Dessert
- Method: No-Cook
- Cuisine: American
- Diet: Vegetarian
Ingredients
Crust
- 24 Oreos, finely crushed (about 9.5 oz.)
- 5 tbsp. unsalted butter, melted and cooled
- 1/4 tsp. kosher salt
Gelatin Mixture
- 1 (1/4-oz.) packet gelatin
- 3 tbsp. water
Blackberry Puree
- 17 oz. fresh blackberries (about 3 cups), divided
- 1 tbsp. orange juice
- 1/4 tsp. kosher salt
Filling
- 2/3 cup heavy whipping cream
- 2/3 cup sweetened condensed milk
- 6 oz. mascarpone cheese, room temperature
Topping (Optional)
- 1/4 cup mini Oreos
Instructions
- Prepare the crust: In a large bowl, combine the finely crushed Oreos, melted butter, and 1/4 teaspoon kosher salt. Use the bottom of a measuring cup to evenly press the mixture into the bottom and up the sides of a 9-inch tart pan. Freeze the crust until chilled and firm, about 20 minutes.
- Dissolve the gelatin: In a small saucepan over medium heat, whisk together the gelatin packet and 3 tablespoons of water, stirring frequently until the gelatin completely dissolves, about 1 minute. Remove from heat and let it cool slightly.
- Make blackberry puree: In a blender, puree 15 ounces of the blackberries until smooth. Strain the puree through a fine-mesh sieve into a medium bowl to remove seeds, yielding approximately 1 1/2 cups of smooth puree. Set aside 1 tablespoon of this puree for the topping. To the remaining blackberry puree, add orange juice, dissolved gelatin, and remaining 1/4 teaspoon kosher salt; stir well to combine.
- Prepare whipped cream mixture: Using a stand mixer fitted with the whisk attachment or a handheld mixer, beat the heavy whipping cream on medium-high speed until stiff peaks form. Slowly add the sweetened condensed milk and continue beating until well combined. Reserve 5 ounces of this whipped cream mixture for the topping. On low speed, add the mascarpone cheese and blackberry mixture to the remaining whipped cream and beat until smooth with no white streaks.
- Assemble and chill: Pour the blackberry mascarpone filling into the chilled Oreo crust, spreading evenly. Refrigerate the tart for at least 1 hour and up to 2 hours to set.
- Prepare topping: In a medium bowl, gently fold the reserved 1 tablespoon blackberry puree into the reserved 5 ounces whipped cream until streaked but not fully blended, creating a marbled effect.
- Garnish and serve: Spoon dollops of the marbled blackberry whipped cream into the center of the tart. Cut half of the remaining 2 ounces of blackberries in half and arrange them along with the whole blackberries and optional mini Oreos on top of the cream for decoration.
Notes
- Make sure the mascarpone is at room temperature to avoid lumps in the filling.
- Press the Oreo crust firmly and evenly into the tart pan to prevent cracking during slicing.
- The gelatin must be fully dissolved and slightly cooled before adding to prevent lumps in the filling.
- For an extra fruity burst, use fresh blackberries rather than frozen for best flavor and texture.
- This tart can be prepared a day in advance and stored covered in the refrigerator.
- Optional mini Oreos add extra crunch and decoration but can be omitted for a gluten-free version by using gluten-free cookies in the crust and topping.
Keywords: no bake tart, blackberry tart, Oreo crust tart, mascarpone dessert, no bake dessert, fruity tart, easy tart recipe