Lemon Custard Ice Cream Recipe
Introduction
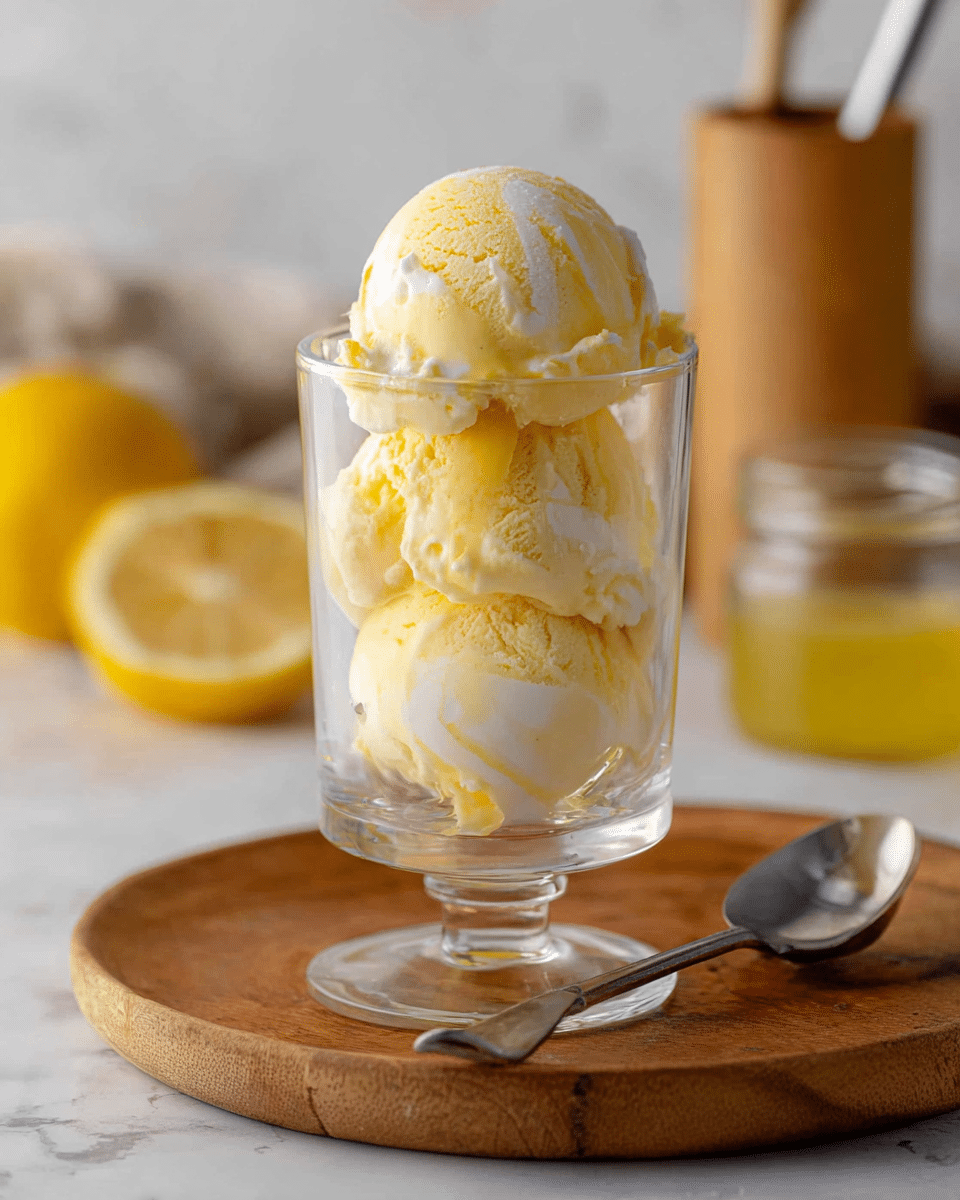
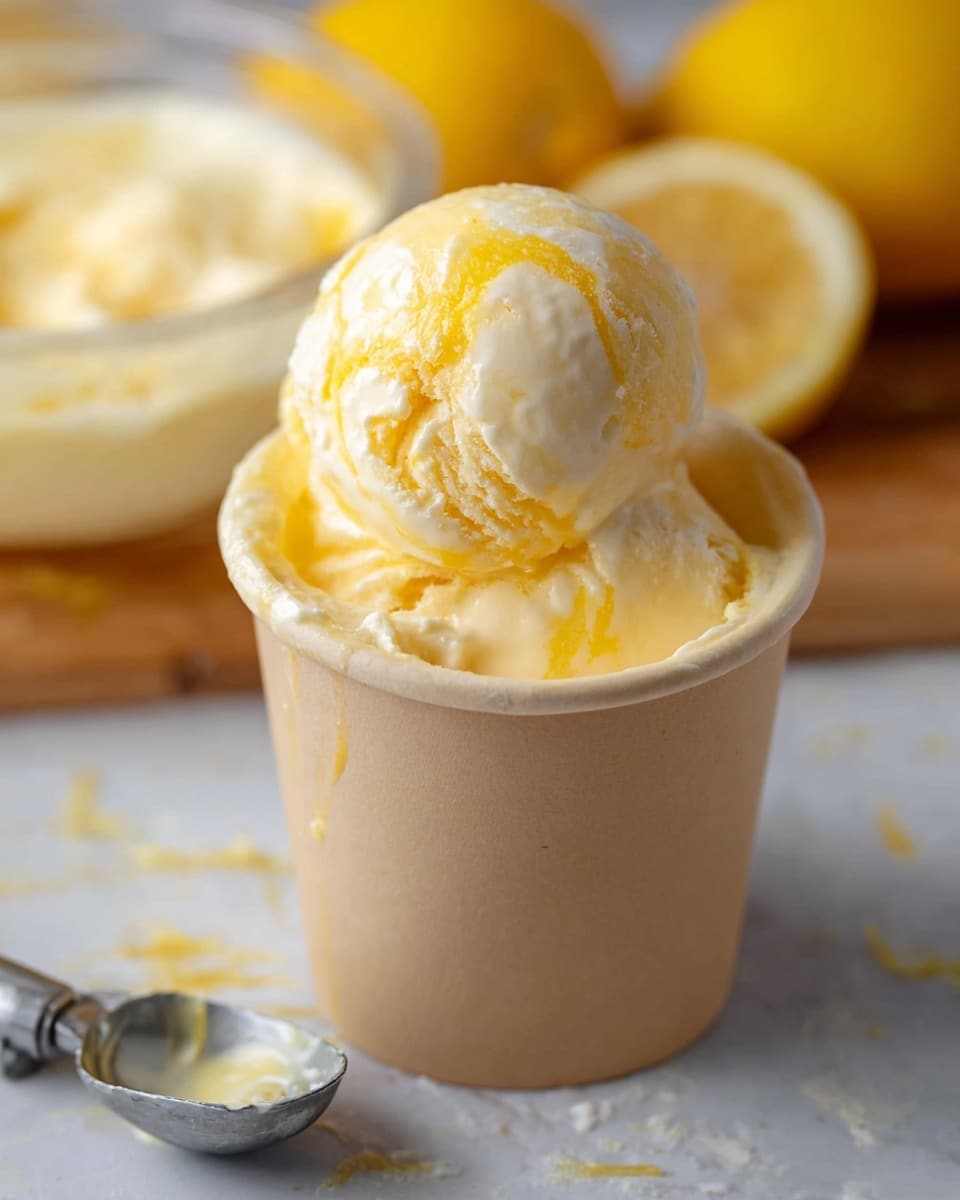
This Lemon Custard Ice Cream offers a bright, creamy treat perfect for warm days or any time you crave a citrusy dessert. Combining tangy lemon with a rich custard base, it’s a refreshing twist on classic ice cream that’s sure to impress.
Ingredients
- 1 cup whole milk
- 2 cups heavy cream
- ¾ cup granulated sugar
- 4 large egg yolks
- ½ cup fresh lemon juice
- 1½ tbsp lemon zest (zest before juicing!)
- ½ tsp vanilla extract
- Pinch of salt
- ½ cup lemon curd (swirled in before final freeze)
Instructions
- Step 1: In a saucepan, combine the milk, heavy cream, half the sugar (about ⅓ cup), and lemon zest. Heat over medium heat until steaming but not boiling.
- Step 2: In a separate bowl, whisk the egg yolks, remaining sugar, and pinch of salt until the mixture is pale and thick.
- Step 3: Slowly pour the warm milk and cream mixture into the egg yolks while whisking continuously to prevent curdling. Then, return the combined mixture to the saucepan.
- Step 4: Stir constantly over medium heat until the custard thickens and coats the back of a spoon, reaching about 170–175°F. Remove from heat promptly to avoid overcooking.
- Step 5: Strain the custard through a fine mesh sieve to ensure smoothness. Stir in the fresh lemon juice and vanilla extract.
- Step 6: Cover the custard base and chill in the refrigerator for at least 4 hours or overnight until very cold.
- Step 7: Churn the chilled custard in your ice cream maker according to the manufacturer’s instructions until it reaches a soft-serve consistency, about 20–25 minutes.
- Step 8: In a container, layer half of the churned ice cream, then dollop half the lemon curd and swirl gently. Repeat with the remaining ice cream and lemon curd. If you prefer not to use lemon curd, simply transfer the ice cream after churning.
- Step 9: Cover and freeze the ice cream for at least 4 hours or until firm before serving.
Tips & Variations
- Zesting the lemon before juicing captures more flavor and aroma for your ice cream.
- If you don’t have fresh lemons, use high-quality bottled lemon juice, but fresh is best for brightness.
- To make this recipe dairy-free, substitute coconut milk and coconut cream, but note the flavor will change.
- Swirling in lemon curd adds an extra burst of citrus sweetness and texture contrast.
- Make sure to chill the custard base thoroughly; this helps it churn into smooth, creamy ice cream.
Storage
Store the ice cream in an airtight container in the freezer for up to 2 weeks. To soften before serving, let it sit at room temperature for 5–10 minutes. If the texture becomes icy after longer storage, stirring gently as it thaws can help restore creaminess.
How to Serve
Serve this delicious recipe with your favorite sides.
FAQs
Can I make this ice cream without an ice cream maker?
Yes, you can use a no-churn method by freezing the custard base in a shallow container and stirring every 30 minutes to break up ice crystals until fully frozen. The texture may be less smooth but still delicious.
Why does my custard sometimes curdle?
Curdling happens when the eggs cook too quickly or at too high a temperature. Stir constantly over medium heat and remove from heat as soon as the custard thickens to the right temperature (170–175°F) to prevent this.
PrintLemon Custard Ice Cream Recipe
This Lemon Custard Ice Cream is a creamy, tangy frozen treat made with a rich custard base enhanced by fresh lemon juice and zest. The addition of luscious lemon curd swirled through adds bursts of vibrant citrus flavor, making it a perfectly refreshing dessert for warm days. The recipe uses traditional stovetop cooking to create a smooth custard, which is then churned to achieve a velvety texture.
- Prep Time: 15 minutes
- Cook Time: 15 minutes
- Total Time: 4 hours 30 minutes (includes chilling and freezing time)
- Yield: About 1 quart (4 servings) 1x
- Category: Dessert
- Method: Stovetop
- Cuisine: American
Ingredients
Custard Base
- 1 cup whole milk
- 2 cups heavy cream
- ¾ cup granulated sugar, divided
- 4 large egg yolks
- 1½ tbsp lemon zest (zest before juicing)
- ½ tsp vanilla extract
- Pinch of salt
Flavoring
- ½ cup fresh lemon juice
- ½ cup lemon curd (to swirl in before final freeze)
Instructions
- Heat Milk and Cream: In a saucepan, combine the whole milk, heavy cream, half the granulated sugar (approximately ⅓ cup), and lemon zest. Warm the mixture over medium heat until it is steaming but not boiling. This infuses the cream with lemon flavor.
- Whisk Egg Yolks: In a separate bowl, whisk together the egg yolks, the remaining sugar, and a pinch of salt until the mixture becomes pale and thick. This ensures a smooth custard texture.
- Temper the Eggs: Slowly pour the warm milk and cream mixture into the whipped egg yolks while continuously whisking. This careful mixing prevents the eggs from curdling. Then, return the combined mixture to the saucepan.
- Cook the Custard: Over medium heat, stir constantly until the custard thickens and coats the back of a spoon, reaching a temperature of 170–175°F (77–80°C). Remove the saucepan from heat.
- Strain and Add Flavorings: Pass the custard through a fine mesh sieve to remove any cooked egg bits. Stir in the fresh lemon juice and vanilla extract to add brightness and depth of flavor.
- Chill the Base: Cover the custard base and refrigerate it for at least 4 hours, or preferably overnight, to chill thoroughly, which is essential for proper churning.
- Churn the Ice Cream: Pour the cold custard into your ice cream maker and churn according to the manufacturer’s instructions until it reaches a soft-serve consistency — about 20 to 25 minutes.
- Layer with Lemon Curd: Transfer half the churned ice cream to a container, then spoon half of the lemon curd over it. Gently swirl the curd into the ice cream without fully mixing. Repeat layering with the remaining ice cream and lemon curd. If preferred, you can skip the lemon curd swirl and just fill the container with the churned ice cream.
- Freeze Until Firm: Cover the container and freeze for at least 4 hours or until the ice cream is firm enough to scoop. Serve and enjoy your creamy, citrusy lemon custard ice cream.
Notes
- Zesting the lemon before juicing ensures you get the maximum fresh zest without losing any to the juicing process.
- Be careful not to overheat the custard when cooking; temperatures above 175°F may cause curdling.
- If you don’t have an ice cream maker, you can place the custard in a shallow container in the freezer and stir every 30 minutes until frozen, though the texture may be less smooth.
- Lemon curd swirl is optional but adds delightful texture and bursts of extra lemon flavor.
- Using fresh lemon juice and zest provides a brighter, fresher flavor compared to bottled juice.
Keywords: lemon custard ice cream, homemade ice cream, lemon ice cream recipe, creamy lemon dessert, lemon curd swirl