Keto Chocolate Peanut Butter Cheesecake Recipe
Introduction
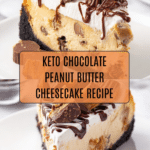
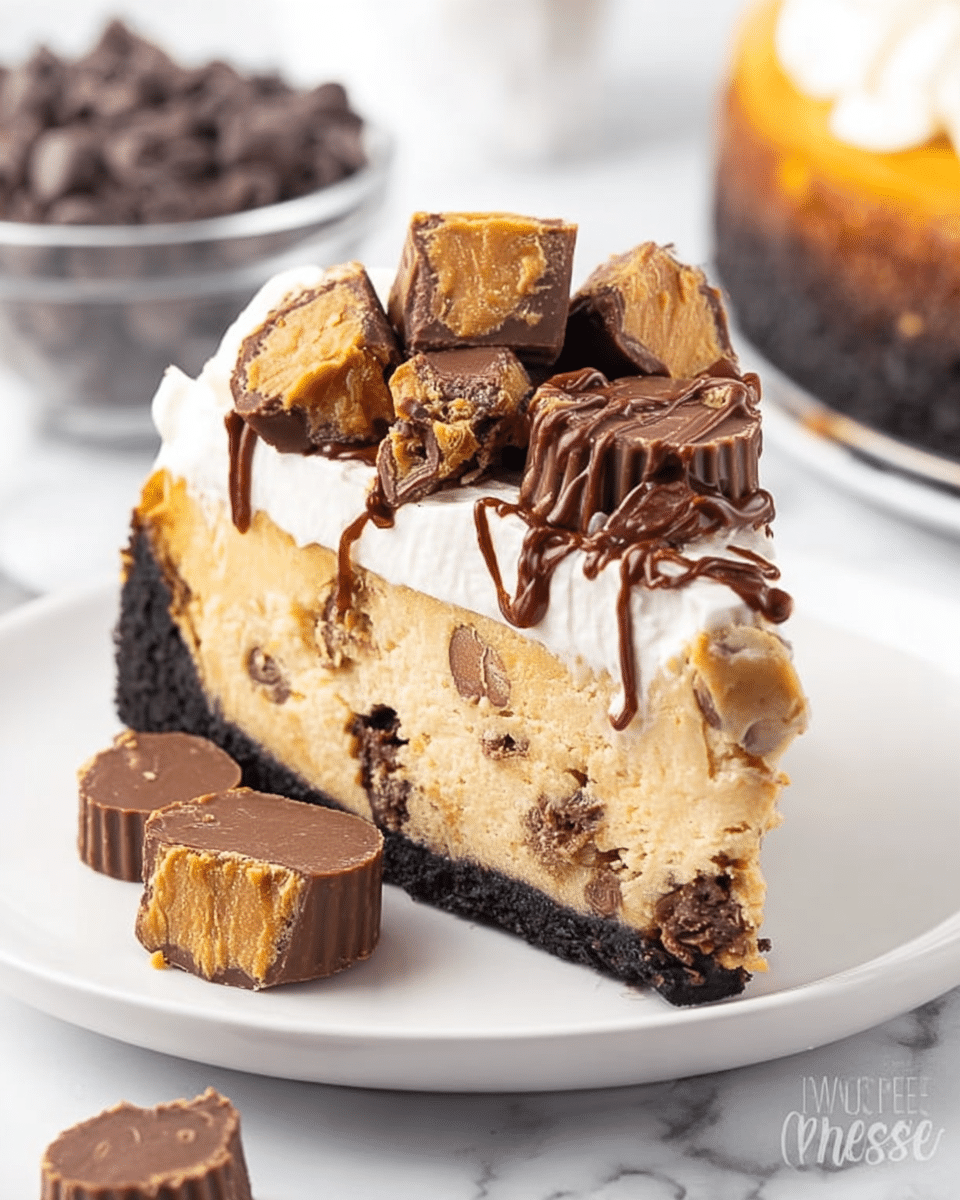
This Keto Chocolate Peanut Butter Cheesecake combines rich, creamy peanut butter with a decadent chocolate crust for a low-carb dessert that’s perfect for any occasion. It’s indulgent, easy to make, and sugar-free, making it a great treat for those following a ketogenic lifestyle.
Ingredients
- 1 1/2 cups Wholesome Yum blanched almond flour
- 1/4 cup Besti Monk Fruit Allulose Blend
- 3 tbsp Dutch processed cocoa powder
- 1/8 tsp sea salt
- 1/4 cup unsalted butter, melted
- 1 large egg
- 1 tsp vanilla extract
- 24 oz cream cheese, softened
- 1 cup creamy natural peanut butter
- 1 cup Besti powdered Monk Fruit Allulose Blend
- 3 large eggs, at room temperature
- 1 tsp vanilla extract
- 9 individual ChocZero sugar-free peanut butter cups, chopped (1.5 bags)
- 1/4 cup ChocZero sugar-free chocolate chips
- 12 individual ChocZero sugar-free peanut butter cups, chopped (2 bags)
Instructions
- Step 1: Preheat your oven to 350°F (177°C). Line the bottom of a 9-inch (23 cm) springform pan with parchment paper or grease it well.
- Step 2: For the crust, combine almond flour, Besti, cocoa powder, and sea salt in a food processor. Pulse until the mixture is uniform.
- Step 3: Add melted butter, 1 egg, and 1 tsp vanilla extract to the processor. Process again until the dough is well combined, scraping the sides as needed.
- Step 4: Press the dough evenly into the bottom of the prepared pan. Prick the surface gently all over with a fork. Bake for about 10 minutes until set and no longer shiny. Let cool for at least 10 minutes.
- Step 5: Meanwhile, beat the softened cream cheese and powdered Besti together in a large bowl at low to medium speed until fluffy using a hand mixer.
- Step 6: Beat in the peanut butter and vanilla extract. Then add the eggs one at a time, keeping the mixer on medium speed to avoid incorporating too much air.
- Step 7: Fold in the 9 chopped peanut butter cups gently with a rubber spatula.
- Step 8: Pour the filling over the cooled crust and smooth the top evenly.
- Step 9: (Optional) To prevent cracks, wrap the springform pan’s bottom with foil and place it in a rimmed baking dish filled halfway with warm water.
- Step 10: Bake for 30–35 minutes until the center is almost set but still slightly jiggly, and the edges start to brown.
- Step 11: Remove from the oven. If the edges stick to the pan, run a knife around them, but keep the springform ring on. Let the cheesecake cool to room temperature in the pan.
- Step 12: Arrange the 12 whole peanut butter cups around the edges of the cheesecake. Crumble the remaining chopped cups over the center and press gently into the filling.
- Step 13: Refrigerate the cheesecake for at least 4 hours, preferably overnight, until completely set. Do not remove it from the pan until chilled.
- Step 14: For the optional topping, melt the chocolate chips in a double boiler on the stove.
- Step 15: Drizzle the melted chocolate over the peanut butter cheesecake using a spoon or pastry bag for a precise finish.
Tips & Variations
- To prevent cracks, use the water bath method described in step 9 for even baking and moisture.
- You can substitute the peanut butter cups with other sugar-free chocolate or nut toppings if desired.
- Make sure cream cheese and eggs are at room temperature for a smoother filling.
- For extra richness, add a teaspoon of espresso powder to the crust mixture.
Storage
Store the cheesecake in the refrigerator, covered, for up to 5 days. For longer storage, freeze it after baking and thaw overnight in the fridge before serving. To reheat, allow it to come to room temperature for about 20 minutes rather than microwaving to maintain texture.
How to Serve
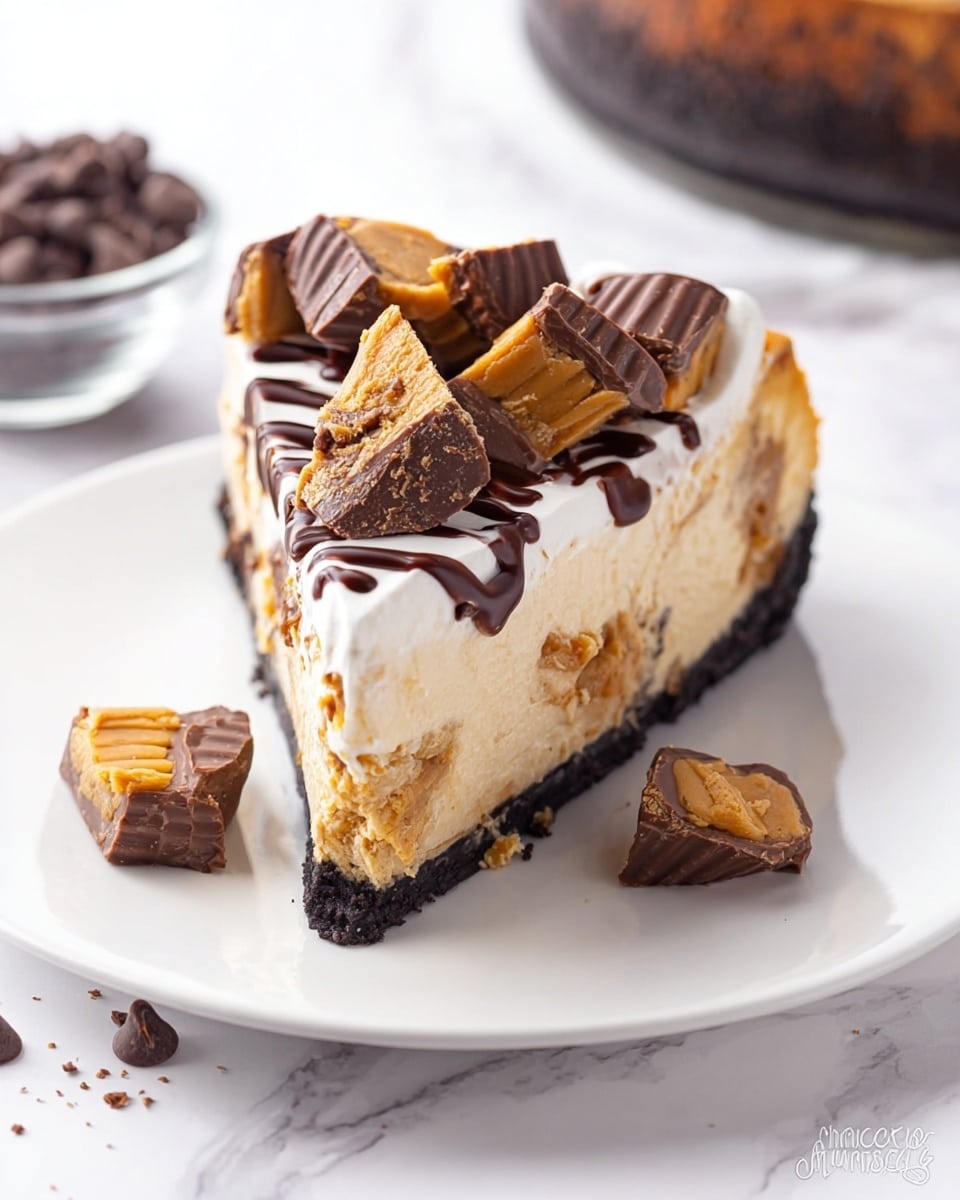
Serve this delicious recipe with your favorite sides.
FAQs
Can I use a different sweetener?
Yes, you can substitute the Besti Monk Fruit Allulose Blend with another keto-friendly sweetener like erythritol, but adjust quantities according to its sweetness level.
How do I avoid cracks in my cheesecake?
Prevent cracks by baking the cheesecake in a water bath, not over-mixing the batter, and letting it cool gradually to room temperature before refrigerating.
PrintKeto Chocolate Peanut Butter Cheesecake Recipe
This Keto Chocolate Peanut Butter Cheesecake is a rich, creamy, and indulgent low-carb dessert perfect for keto dieters and chocolate lovers alike. Featuring a chocolate almond flour crust and a luscious peanut butter cream cheese filling studded with sugar-free peanut butter cups, this no-sugar, keto-friendly cheesecake is baked to perfection and topped with melted sugar-free chocolate for an extra decadent finish.
- Prep Time: 20 minutes
- Cook Time: 45 minutes
- Total Time: 5 hours 5 minutes
- Yield: 12 servings 1x
- Category: Dessert
- Method: Baking
- Cuisine: American
- Diet: Keto, Low Carb
Ingredients
Crust
- 1 1/2 cups Wholesome Yum Blanched Almond Flour
- 1/4 cup Besti Monk Fruit Allulose Blend
- 3 tbsp Dutch processed cocoa powder
- 1/8 tsp Sea salt
- 1/4 cup Unsalted butter (melted)
- 1 large Egg
- 1 tsp Vanilla extract
Filling
- 24 oz Cream cheese (softened)
- 1 cup Peanut butter (creamy natural)
- 1 cup Besti Powdered Monk Fruit Allulose Blend
- 3 large Eggs (at room temperature)
- 1 tsp Vanilla extract
- 9 individual ChocZero Sugar-Free Peanut Butter Cups (chopped; 1.5 bags)
Topping
- 1/4 cup ChocZero Sugar-Free Chocolate Chips
- 12 individual ChocZero Sugar-Free Peanut Butter Cups (chopped; 2 bags)
Instructions
- Preheat oven and prepare pan: Preheat your oven to 350°F (177°C). Line the bottom of a 9-inch (23 cm) springform pan with parchment paper or grease it well to prevent sticking.
- Make the crust: In a food processor, combine almond flour, Besti monk fruit sweetener, cocoa powder, and sea salt. Pulse until uniform. Add melted butter, egg, and vanilla extract, then process again until the mixture is fully combined, scraping down the sides as needed.
- Bake crust: Press the dough evenly into the bottom of the prepared springform pan. Prick the crust gently with a fork all over to prevent bubbling. Bake for about 10 minutes until set and no longer shiny. Remove and let cool for at least 10 minutes.
- Prepare the filling: In a large bowl, use a hand mixer to beat softened cream cheese with powdered Besti monk fruit sweetener at low to medium speed until fluffy. Beat in peanut butter and vanilla extract. Add eggs one at a time, continuing to beat at medium speed to avoid incorporating air bubbles.
- Fold in peanut butter cups: Gently fold chopped ChocZero sugar-free peanut butter cups into the filling using a rubber spatula.
- Assemble cheesecake: Pour the filling over the cooled crust and smooth the top with a spatula. If desired to prevent cracks, wrap the bottom of the pan with foil and set inside a rimmed baking dish with warm water halfway up the sides of the springform pan.
- Bake the cheesecake: Bake for 30-35 minutes until the center is almost set but still jiggles slightly and the edges start to brown.
- Cool and loosen edges: Remove from oven and run a knife around the edges to loosen, but keep the springform pan edge on. Let cool at room temperature.
- Add peanut butter cup topping: Arrange whole peanut butter cups along the edges, then crumble remaining chopped peanut butter cups over the center, pressing them gently into the filling.
- Refrigerate to set: Refrigerate the cheesecake for at least 4 hours or preferably overnight until completely set. Do not remove the springform pan sides before chilling.
- Prepare optional chocolate drizzle: Using a double boiler on the stovetop, melt the sugar-free chocolate chips until smooth.
- Finish and serve: Drizzle the melted chocolate over the chilled cheesecake topping using a spoon or pastry bag for precision. Slice and serve chilled.
Notes
- Make sure all eggs in the filling are at room temperature to prevent cracking and ensure smooth texture.
- Using a springform pan is crucial for easy removal and maintaining cheesecake shape.
- Wrapping the pan and using a water bath helps prevent cracking, but is optional.
- The cheesecake is best refrigerated overnight for full set and flavor development.
- Substitute sugar-free peanut butter cups if unavailable, but this may change sweetness and carb count.
- Be careful not to overbeat the filling to avoid incorporating too much air, which can cause cracks.
- Store leftover cheesecake in the refrigerator covered for up to 5 days.
Keywords: keto cheesecake, chocolate peanut butter cheesecake, low carb dessert, sugar free cheesecake, keto dessert, peanut butter cups cheesecake, keto chocolate dessert