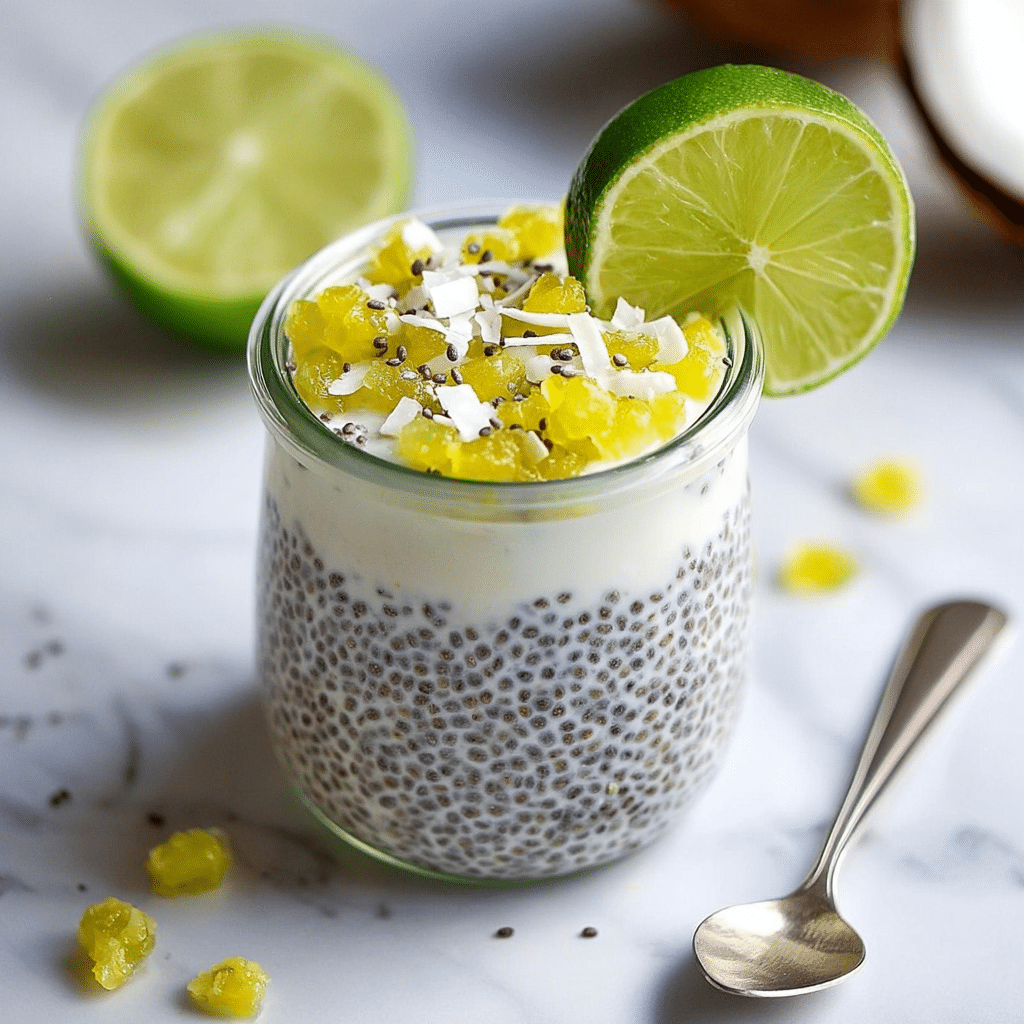
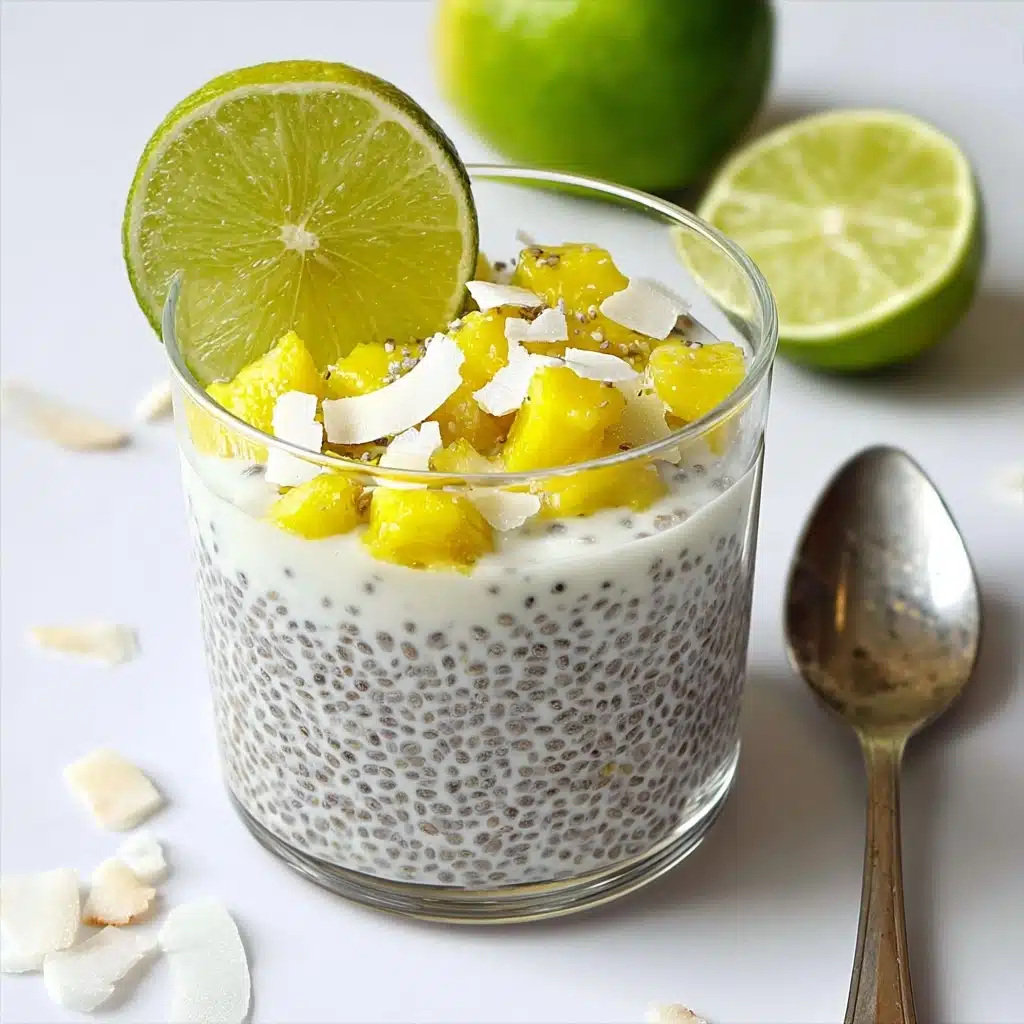
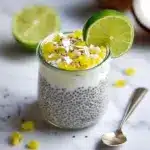
Refreshing No-Bake Chia Pudding Bars Recipe
If you are on the hunt for a delightful treat that perfectly balances health and indulgence, these Refreshing No-Bake Chia Pudding Bars are here to brighten your day. Packed with creamy coconut milk’s richness, zesty lime brightness, and the wholesome goodness of chia seeds, they offer a texture that’s both satisfying and light. The natural sweetness from maple syrup ties everything together into an irresistibly fresh bar that’s incredibly easy to make and impossible not to love. Whether you’re after a quick snack, a light dessert, or a portable breakfast option, these bars bring a refreshing twist to your routine.
Ingredients You’ll Need
Every ingredient in this recipe plays a crucial role in creating the perfect blend of flavor, texture, and visual appeal. These simple pantry staples come together to make a dessert that feels both wholesome and indulgent, demonstrating that less can truly be more in the kitchen.
- 1 cup full-fat coconut milk: Provides a creamy base that’s rich and smooth, enhancing the texture without overpowering the other flavors.
- ¼ cup chia seeds: The star ingredient adding body and a subtle nutty crunch, while naturally thickening the pudding into bars.
- 1 tablespoon maple syrup: Offers gentle sweetness with a warm, complex flavor that complements the coconut beautifully.
- 1 teaspoon vanilla extract: Adds a comforting aromatic depth that lifts the entire dish.
- Zest of 1 lime: Injects a burst of citrusy brightness that refreshes the palate and balances the creaminess perfectly.
How to Make Refreshing No-Bake Chia Pudding Bars
Step 1: Line Your Pan
Start by lining an 8-inch square pan with parchment paper, leaving enough overhang on the sides so you can easily lift the bars out once they’re set. This simple prep makes clean-up easier and ensures that your bars come out in perfect shapes.
Step 2: Whisk Coconut Milk
Give your full-fat coconut milk a good shake and then whisk it until it’s completely smooth. If the milk has separated, warming it just a little can help it come back together easily. This step ensures a velvety base for your pudding bars.
Step 3: Mix in Maple Syrup, Vanilla, and Lime Zest
Next, stir in the maple syrup, vanilla extract, and finely grated lime zest. This combination adds natural sweetness, aromatic warmth, and that signature citrus zing which makes these Refreshing No-Bake Chia Pudding Bars truly stand out.
Step 4: Add Chia Seeds and Whisk Thoroughly
Incorporate the chia seeds into the mixture, whisking for about one minute. This helps distribute the seeds evenly so the pudding thickens uniformly, creating that satisfying texture we all crave.
Step 5: Let the Mixture Rest and Whisk Again
Allow the pudding mixture to sit for 10 minutes. This resting period lets the chia seeds absorb the liquid and start to swell. Afterward, whisk the mixture again to break up any clumps that might have formed and ensure a smooth consistency.
Step 6: Spread and Smooth the Mixture
Pour the mixture into your prepared pan, smoothing the top with a spatula. Give the pan a gentle tap on the countertop to release any air bubbles trapped inside, which will help your bars set evenly and look neat.
Step 7: Refrigerate Until Firm
Cover the pan and refrigerate for 2 to 4 hours, or better yet, overnight. This chilling time allows the chia to fully absorb the coconut milk, transforming the mixture into firm, sliceable bars that hold their shape beautifully.
Step 8: Slice and Serve
Once chilled and firm, lift out the pudding with the help of the parchment overhang and place it on a cutting board. Slice into bars of your preferred size and serve chilled for the ultimate refreshing experience.
How to Serve Refreshing No-Bake Chia Pudding Bars
Garnishes
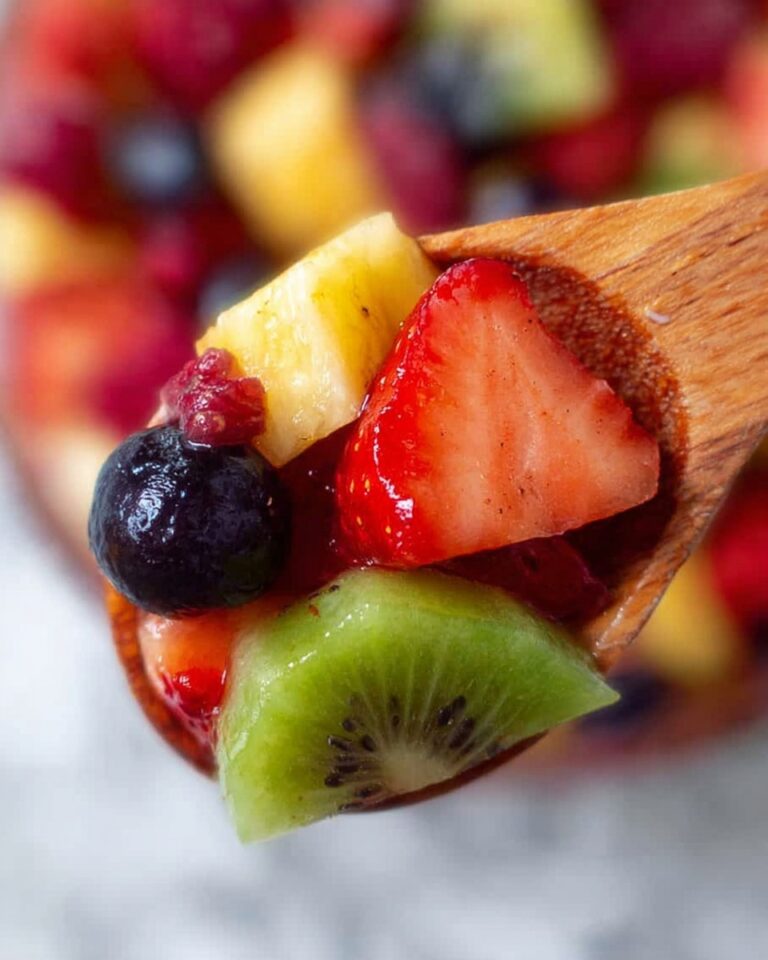
Adding a simple garnish can elevate your pudding bars from delicious to downright stunning. Try a light sprinkle of shredded coconut, a few fresh lime zest curls, or a scattering of berries. These touches add color, texture, and complementary flavors that enhance each bite.
Side Dishes
These bars pair wonderfully with a cup of herbal tea or freshly brewed coffee, making them fantastic for breakfast or afternoon snacks. You can also serve them alongside a small fresh fruit salad or a handful of crunchy nuts to add variation and satisfy different cravings.
Creative Ways to Present
For a fun twist, serve the bars on a decorative platter layered with edible flowers or mint leaves to highlight their bright lime essence. Cutting the bars into smaller bite-sized squares and arranging them in a pattern can make for a fabulous party appetizer that will have guests raving.
Make Ahead and Storage
Storing Leftovers
You can keep any leftover Refreshing No-Bake Chia Pudding Bars neatly stored in an airtight container in the refrigerator. They’ll stay fresh and flavorful for up to 4 days, making them a convenient grab-and-go option during busy weeks.
Freezing
If you want to make these bars ahead in larger batches, freezing is a great option. Wrap individual bars tightly in plastic wrap before placing them in a freezer-safe container. When you want a treat, just thaw them in the refrigerator for a few hours before enjoying.
Reheating
Since these bars are best served chilled, reheating isn’t necessary and can alter their delicate texture. If preferred, let frozen bars thaw naturally in the fridge rather than using heat to maintain their delicious consistency.
FAQs
Can I use almond milk instead of coconut milk?
While almond milk can be used, full-fat coconut milk offers the best creamy texture and richness for these bars. Almond milk tends to be thinner, which might affect how well the bars set.
How sweet should I make the bars?
You can adjust the sweetness by varying the amount of maple syrup. Start with one tablespoon and add more if you prefer a sweeter bar. Just be mindful not to overpower the lime’s refreshing brightness.
Are these bars suitable for a vegan diet?
Absolutely! All the ingredients are plant-based, making these Refreshing No-Bake Chia Pudding Bars a perfect vegan-friendly option.
Can I add other flavors or mix-ins?
Yes, feel free to experiment by adding fresh berries, nuts, or even a swirl of pureed fruit before chilling to customize your bars to your liking.
Do chia seeds have a strong flavor?
Chia seeds have a very mild, almost neutral flavor. They mainly add texture and nutritional benefits without overpowering the other flavors in the bars.
Final Thoughts
These Refreshing No-Bake Chia Pudding Bars are such a joy to make and enjoy, combining ease with vibrant, tasty rewards. Whether you’re new to chia puddings or a longtime fan, this recipe offers a fresh, zesty, and nourishing way to enjoy chia seeds at their best. Dive in and treat yourself to this delightful bar—you won’t regret it!
PrintRefreshing No-Bake Chia Pudding Bars Recipe
These Refreshing No-Bake Chia Pudding Bars are a delicious and healthy snack or breakfast option, combining creamy coconut milk with chia seeds, subtly sweetened with maple syrup and brightened with lime zest. Easy to prepare and requiring no baking, these bars are perfect for a quick grab-and-go treat that is both nutritious and satisfying.
- Prep Time: 10 minutes
- Cook Time: 0 minutes
- Total Time: 2 hours 10 minutes (including chilling time)
- Yield: 8 bars 1x
- Category: Snack, Breakfast
- Method: No-Bake
- Cuisine: Healthy, Vegan
- Diet: Vegan
Ingredients
Chia Pudding Bars Ingredients
- 1 cup full-fat coconut milk (well shaken)
- ¼ cup chia seeds
- 1 tablespoon maple syrup (adjust to taste)
- 1 teaspoon vanilla extract
- Zest of 1 lime (finely grated)
Instructions
- Prepare the Pan: Line an 8-inch square pan with parchment paper, leaving some overhang on the sides for easy removal of the bars later.
- Smooth the Coconut Milk: Whisk the well-shaken coconut milk until completely smooth. If the milk has separated, warm it briefly to help blend the fats evenly.
- Add Flavorings: Whisk in the maple syrup, vanilla extract, and the finely grated lime zest until the mixture is evenly fragrant and combined.
- Incorporate Chia Seeds: Stir in the chia seeds thoroughly and continue whisking for about 1 minute to ensure the seeds are well distributed.
- Rest and Rewhisk: Let the mixture stand for 10 minutes, then whisk again to prevent clumping of the chia seeds.
- Set in Pan: Pour the mixture into the prepared pan, smooth the top evenly, and gently tap the pan to release any air bubbles.
- Chill to Set: Cover the pan and refrigerate for 2 to 4 hours, or ideally overnight, until the pudding is firm enough to cut.
- Slice and Serve: Use the parchment overhang to lift the set pudding out of the pan, slice into bars, and serve chilled for a refreshing snack.
Notes
- Maple syrup quantity can be adjusted to taste or replaced with honey if preferred.
- For a vegan option, ensure the maple syrup or sweetener used is plant-based.
- Bars can be stored in an airtight container in the refrigerator for up to 5 days.
- Add fresh fruit or nuts on top before chilling for extra texture and flavor.
- If coconut milk separates, warming it gently helps reincorporate the fats for smooth pudding.
Nutrition
- Serving Size: 1 bar (approx. 1/8 of recipe)
- Calories: 120
- Sugar: 4g
- Sodium: 15mg
- Fat: 8g
- Saturated Fat: 7g
- Unsaturated Fat: 1g
- Trans Fat: 0g
- Carbohydrates: 10g
- Fiber: 5g
- Protein: 3g
- Cholesterol: 0mg
Keywords: chia pudding bars, no-bake chia bars, healthy snack, coconut milk chia, vegan dessert, gluten free snack