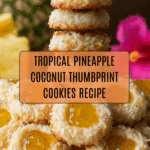
Pineapple Coconut Thumbprint Cookies Recipe
Introduction
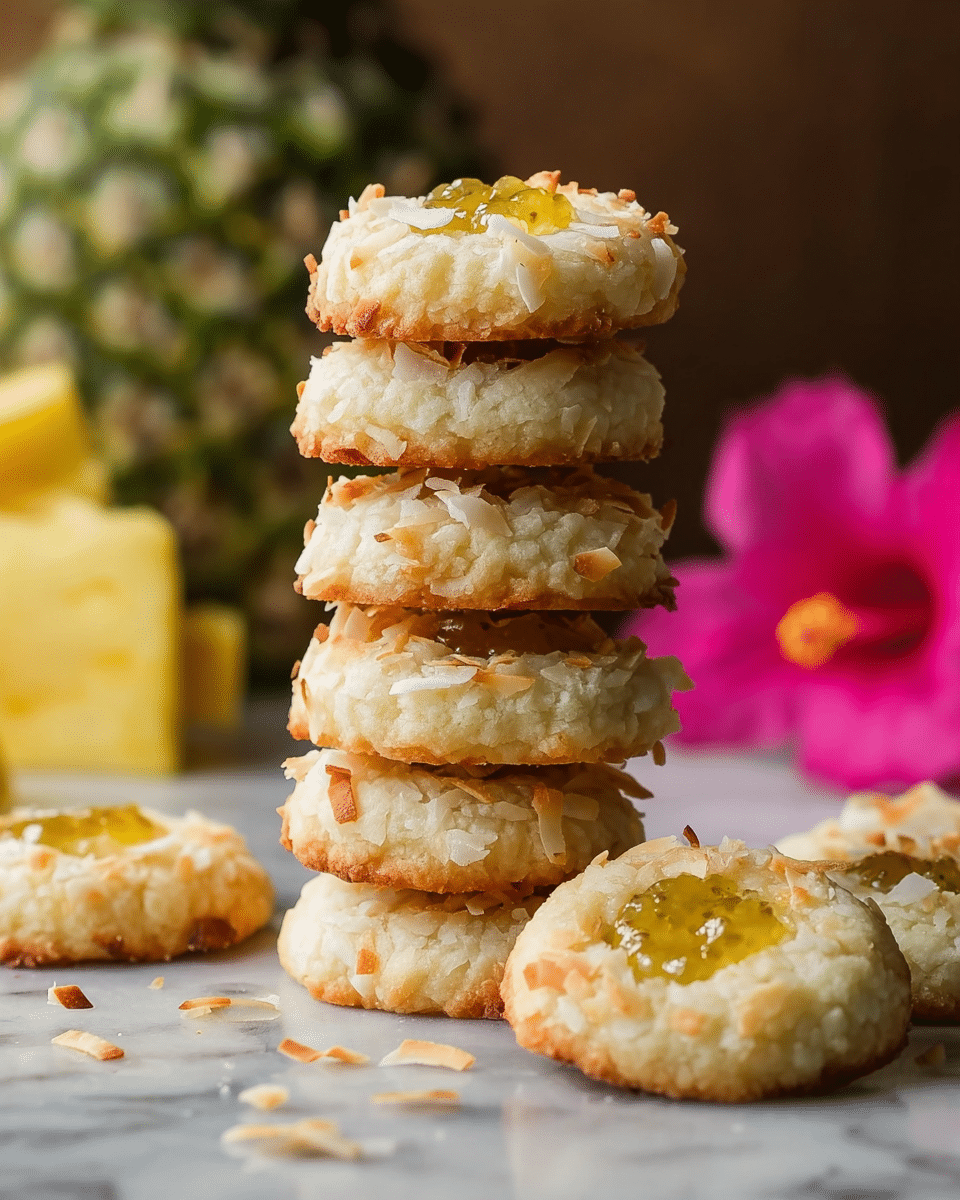
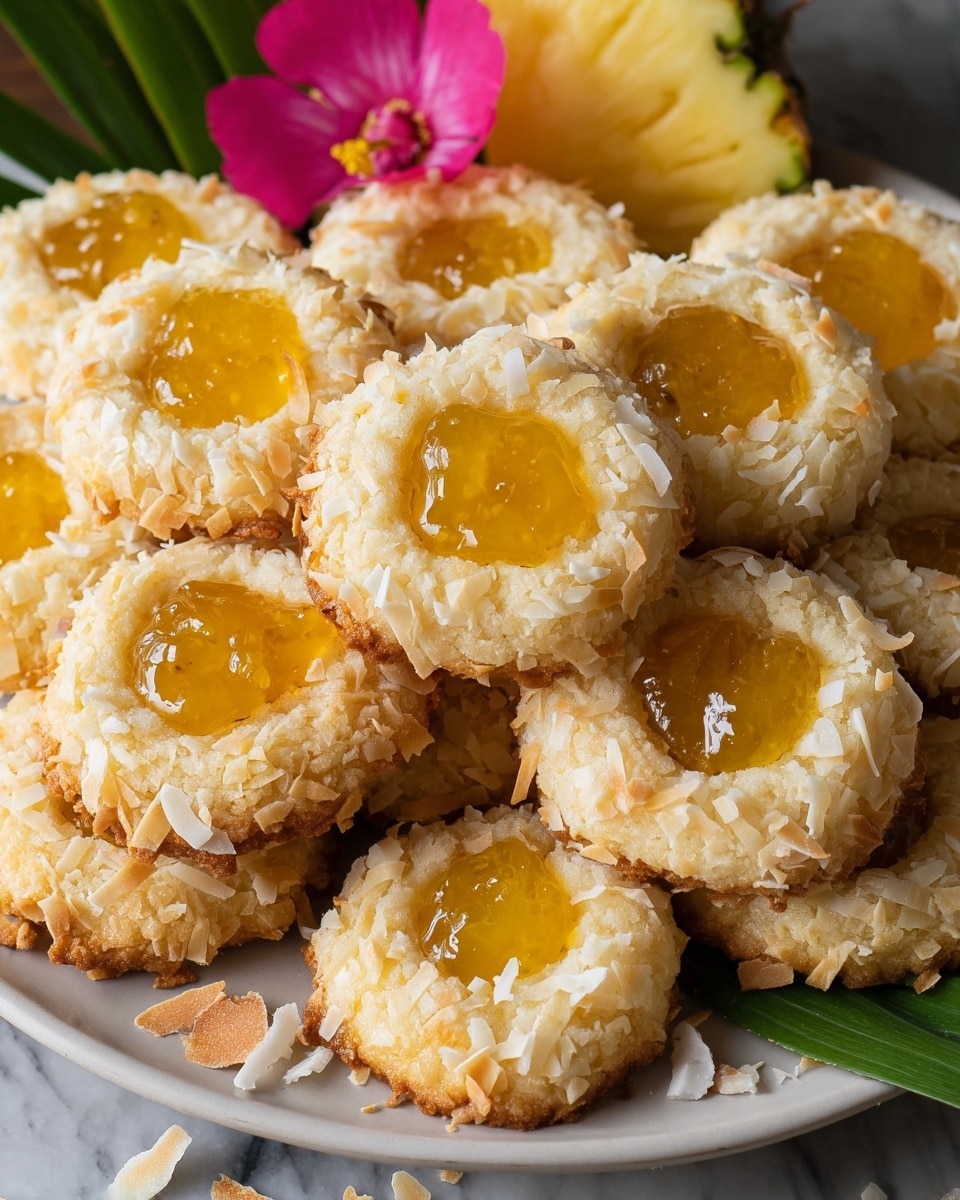
Pineapple Coconut Thumbprint Cookies offer a tropical twist on a classic treat. These chewy, buttery cookies coated in coconut and filled with tangy pineapple preserves make a perfect snack or dessert for any occasion.
Ingredients
- 1/2 cup (160g) pineapple preserves
- 1 tsp lemon zest
- 2 tsp fresh lemon juice
- 1 large egg mixed with 1 1/2 tsp water
- 1 3/4 cup (150g) shredded sweetened coconut
- 1 cup (226g) unsalted butter, cold and diced into small cubes
- 2/3 cup (140g) granulated sugar
- 1/2 tsp salt
- 1 Tbsp real coconut extract
- 2 cups (284g) all-purpose flour
Instructions
- Step 1: Preheat the oven to 350 degrees F (180 degrees C). Lightly butter a rimmed baking sheet.
- Step 2: In a small bowl, gently stir together pineapple preserves, lemon zest, and lemon juice. Set aside.
- Step 3: In another small bowl, whisk the egg and water until well blended.
- Step 4: Place shredded coconut in a separate bowl and set aside.
- Step 5: Using a stand mixer fitted with the paddle attachment, mix together the cold butter, sugar, and salt until combined.
- Step 6: Add the coconut extract, then gradually add the flour and mix until the dough comes together.
- Step 7: Scoop the dough by tablespoonfuls and shape into even balls.
- Step 8: Roll each dough ball first in the egg mixture, then gently press into the shredded coconut to coat thoroughly.
- Step 9: Place the coated balls on plates, press your thumb into the center of each to create an indentation, and fill each with 1/2 teaspoon of the pineapple preserve mixture.
- Step 10: Freeze the cookies for 10 minutes or chill in the refrigerator for 30 minutes. Remove 12 cookies at a time and arrange them on the prepared baking sheet.
- Step 11: Bake for 17 to 19 minutes until the coconut edges turn golden brown.
- Step 12: Let the cookies cool on the baking sheet for a few minutes before transferring them to a wire rack to cool completely.
- Step 13: Repeat with the remaining cookies. Store in an airtight container.
Tips & Variations
- Use cold butter for a better texture and easier mixing.
- Substitute raspberry preserves for a berry-flavored filling.
- For extra coconut flavor, lightly toast the shredded coconut before coating the cookies.
- If you don’t have coconut extract, a small amount of vanilla extract can work as a substitute.
Storage
Store the cookies in an airtight container at room temperature for up to 5 days. To keep them fresh longer, refrigerate and bring to room temperature before serving. They can also be frozen for up to 2 months; thaw at room temperature before enjoying.
How to Serve
Serve this delicious recipe with your favorite sides.
FAQs
Can I use fresh pineapple instead of preserves?
Fresh pineapple is much juicier and will not hold its shape well in the cookie centers. Using preserves ensures a thick, sweet filling that stays inside the thumbprint indentation.
Why do I need to chill or freeze the dough before baking?
Chilling firms up the dough, preventing the cookies from spreading too much in the oven and helping the coconut coating stick better for a crisp, textured finish.
PrintPineapple Coconut Thumbprint Cookies Recipe

These Pineapple Coconut Thumbprint Cookies are a tropical twist on the classic thumbprint cookie, featuring a buttery coconut crust rolled in shredded coconut and filled with a tangy pineapple preserve center. Perfectly golden with a burst of lemony pineapple flavor, these cookies are delightful for any occasion.
- Prep Time: 20 minutes
- Cook Time: 19 minutes
- Total Time: 45 minutes
- Yield: 24 cookies 1x
- Category: Dessert
- Method: Baking
- Cuisine: American
Ingredients
Preserve Filling
- 1/2 cup (160g) pineapple preserves
- 1 tsp lemon zest
- 2 tsp fresh lemon juice
Egg Wash
- 1 large egg mixed with 1 1/2 tsp water
Coating
- 1 3/4 cup (150g) shredded sweetened coconut
Cookie Dough
- 1 cup (226g) unsalted butter, cold and diced into small cubes
- 2/3 cup (140g) granulated sugar
- 1/2 tsp salt
- 1 Tbsp real coconut extract
- 2 cups (284g) all-purpose flour
Instructions
- Preheat Oven: Preheat your oven to 350 degrees Fahrenheit (175 degrees Celsius) and lightly butter a rimmed baking sheet to prepare for baking.
- Prepare Preserve Mixture: In a small mixing bowl, gently stir together the pineapple preserves, lemon zest, and lemon juice. Set this mixture aside for later use as the cookie filling.
- Prepare Egg Wash: In a separate small bowl, whisk together the large egg and 1 1/2 teaspoons of water until well blended. Set aside.
- Prepare Coconut Coating: Place the shredded sweetened coconut in another separate bowl and set aside.
- Make Dough Base: In the bowl of an electric stand mixer fitted with the paddle attachment, combine the cold, diced butter, granulated sugar, and salt. Mix on medium speed until the mixture is well combined and resembles a creamy texture.
- Add Flavor and Flour: Mix in the coconut extract thoroughly, then add the all-purpose flour and mix until the dough just comes together.
- Form Dough Balls: Scoop the dough out in even tablespoons and roll each portion into a ball.
- Coat Dough Balls: Roll each dough ball first in the egg wash, then in the shredded coconut, gently pressing the coconut into the dough to ensure it sticks well.
- Shape Cookies: Transfer the coated dough balls to plates, then make an indentation in the center of each ball with your thumb to create a thumbprint.
- Fill Cookies: Fill each thumbprint indentation with approximately 1/2 teaspoon of the pineapple preserve mixture.
- Chill Dough: Freeze the shaped and filled cookies for 10 minutes or chill in the refrigerator for 30 minutes to firm up the dough before baking.
- Bake Cookies: Remove 12 cookies at a time from the fridge and arrange them on the prepared baking sheet. Bake in the preheated oven for 17 to 19 minutes or until the coconut is golden brown around the edges.
- Cool: Allow the cookies to cool on the baking sheet for several minutes, then transfer them to a wire rack to cool completely.
- Repeat Baking: Repeat the chilling and baking process with any remaining cookies. Store the cooled cookies in an airtight container to maintain freshness.
Notes
- Make sure the butter is cold to help achieve a tender and flaky cookie texture.
- Gently pressing the coconut onto the dough ensures it sticks properly and adds a nice texture.
- Chilling the dough before baking prevents the cookies from spreading too much.
- You can use unsweetened coconut if you prefer a less sweet cookie, but the texture might differ slightly.
- These cookies can be stored in an airtight container at room temperature for up to one week.
Keywords: Pineapple Coconut Thumbprint Cookies, thumbprint cookies, pineapple preserves, coconut cookies, tropical cookies, homemade cookies, lemon zest cookies


