Homemade Caramels Recipe
Introduction
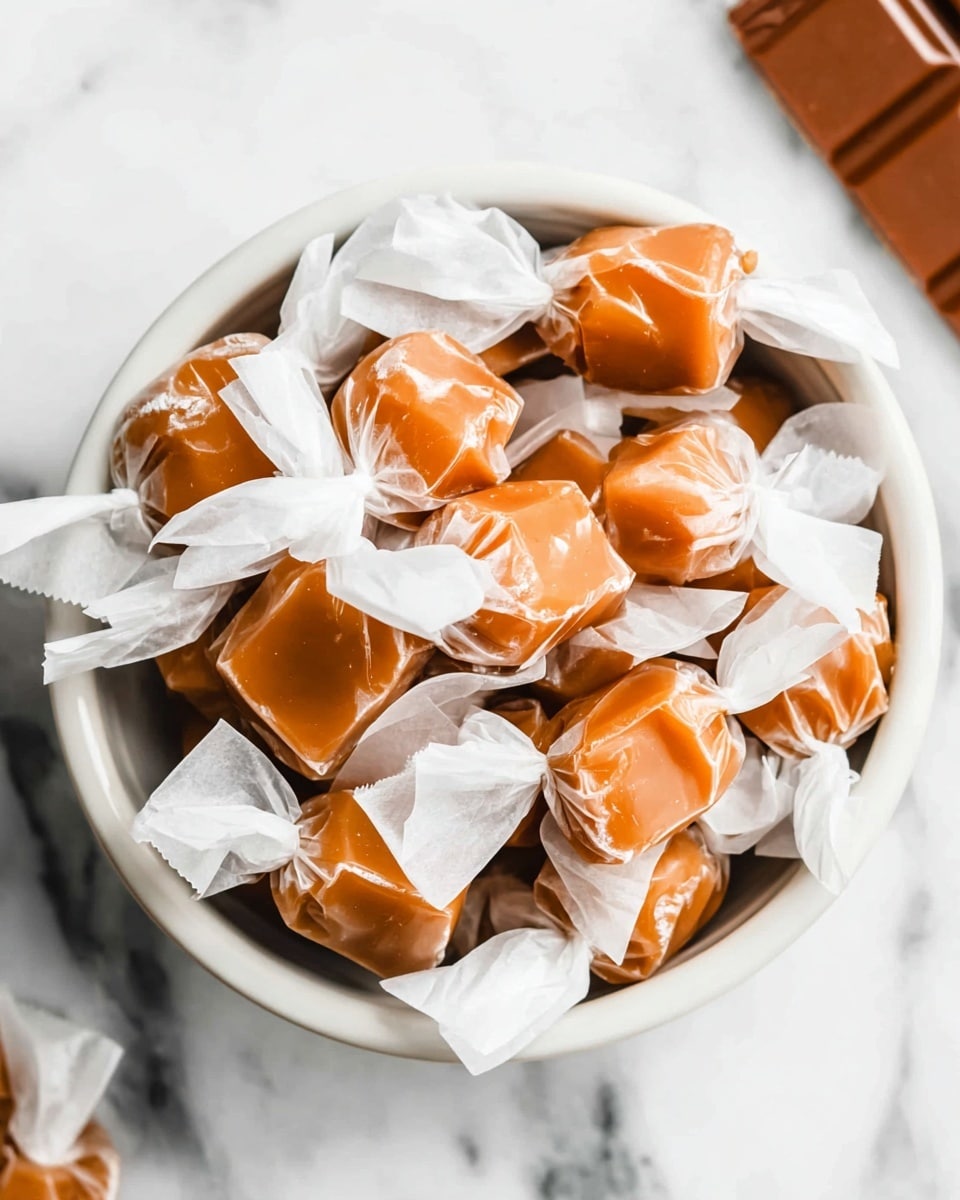
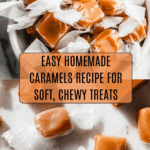
Rich, buttery, and perfectly chewy, homemade caramels are a delightful treat that’s easier to make than you might think. With just a handful of simple ingredients, you can create irresistible sweets that melt in your mouth. This recipe guides you step-by-step to caramel perfection.
Ingredients
- 1 cup butter (2 sticks)
- 4 cups granulated sugar
- 2 cups light corn syrup
- 24 ounces evaporated milk (2 cans)
- 1 teaspoon vanilla extract
Instructions
- Step 1: Line a 9×13-inch pan or jelly roll pan with parchment paper. If you don’t have parchment paper, generously butter the pan. Using a 9×13-inch pan will yield thicker caramels.
- Step 2: In a large heavy-bottom saucepan over medium heat, combine butter, sugar, and corn syrup. Stir constantly until the mixture begins to boil, about 5 to 10 minutes.
- Step 3: Gradually add the evaporated milk one can at a time, taking about 12 to 15 minutes per can. Stir constantly to maintain a steady boil and avoid temperature fluctuations that can cause curdling.
- Step 4: Continue stirring, scraping the sides occasionally, until the mixture reaches the firm ball stage (240-245°F on a candy thermometer). Alternatively, drop a spoonful into ice water and check if it forms a firm, pliable ball that’s slightly sticky.
- Step 5: Remove the pan from heat and stir in the vanilla extract until well combined.
- Step 6: Pour the caramel into the prepared pan and refrigerate until cooled and hardened, preferably overnight or for several hours to make cutting easier.
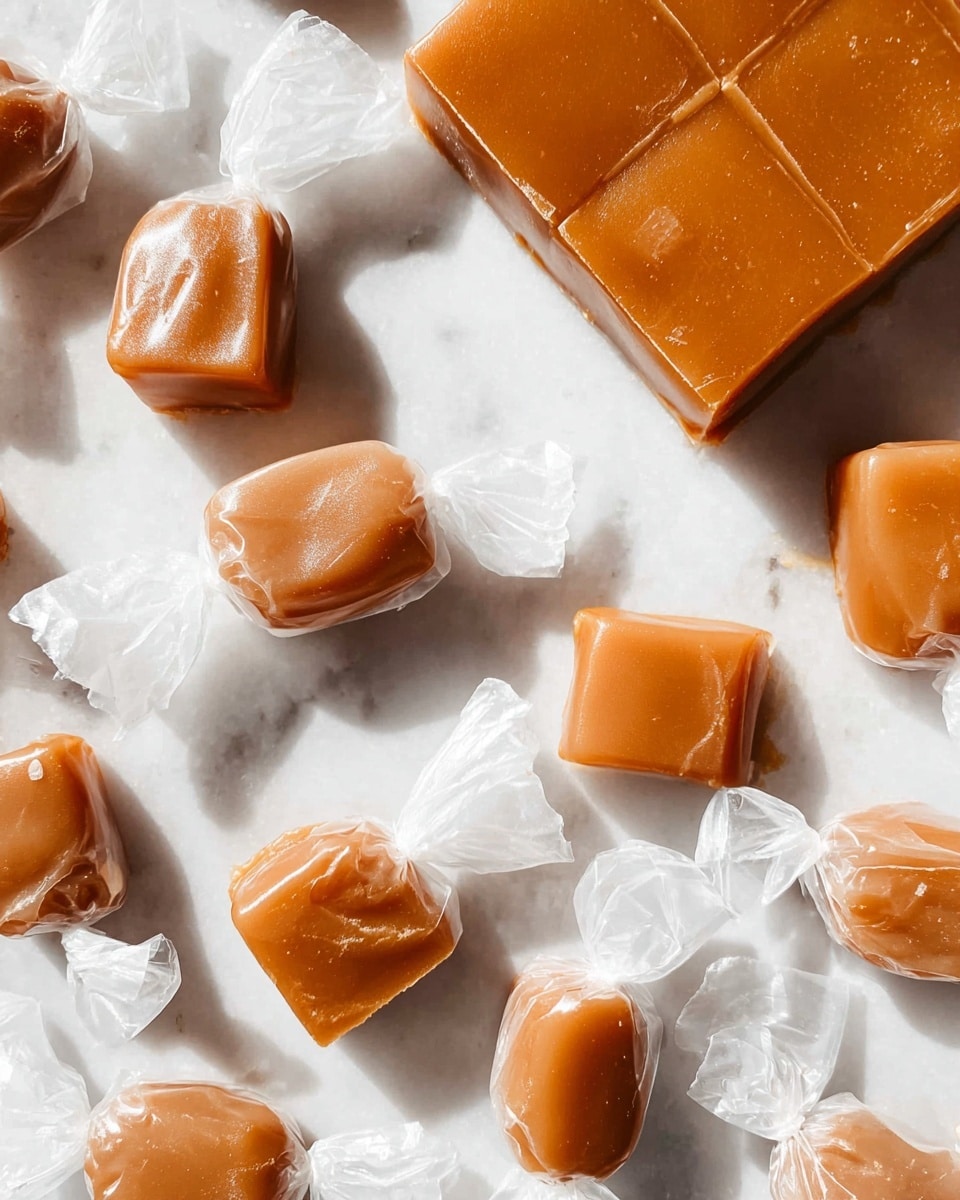
- Step 7: Once set, the caramel will feel hard in the fridge but soft at room temperature. Cut into small pieces and optionally wrap each piece like a tootsie roll in wax paper.
Tips & Variations
- For a richer flavor, toast the evaporated milk slightly before adding it to the mixture.
- If you don’t have a candy thermometer, use the ice water test to check doneness.
- Try adding a pinch of sea salt for salted caramel variation.
- Use light or dark corn syrup depending on your preferred sweetness and color.
Storage
Store homemade caramels in an airtight container at room temperature for up to two weeks. To prevent sticking, wrap individual pieces in wax paper or parchment. If refrigerated, allow caramels to come to room temperature before serving for the best chewy texture.
How to Serve
Serve this delicious recipe with your favorite sides.
FAQs
Can I use sweetened condensed milk instead of evaporated milk?
It’s not recommended because sweetened condensed milk contains added sugar, which can affect the caramel’s texture and sweetness balance. Stick to evaporated milk for best results.
What if my caramel is too soft or too hard?
If the caramel is too soft, it may need more cooking time to reach the firm ball stage. If too hard, it might have been cooked too long or at too high a temperature. Adjust cooking time and temperature carefully, and always test with the ice water method.
PrintHomemade Caramels Recipe
This homemade caramel recipe delivers rich, buttery, and perfectly chewy caramels made from simple ingredients like butter, sugar, corn syrup, and evaporated milk. Slow-cooked to the firm ball stage, these caramels are a classic treat that can be cut into bite-sized pieces and wrapped for gifting or snacking.
- Prep Time: 10 minutes
- Cook Time: 40 minutes
- Total Time: 50 minutes plus cooling time (several hours to overnight)
- Yield: Approximately 64 small caramel pieces 1x
- Category: Candy
- Method: Stovetop
- Cuisine: American
Ingredients
Caramel Ingredients
- 1 cup butter (2 sticks)
- 4 cups granulated sugar
- 2 cups light corn syrup
- 24 ounces evaporated milk (2 cans)
- 1 teaspoon vanilla extract
Instructions
- Prepare Pan: Line a 9×13-inch pan or jelly roll pan with parchment paper. If parchment is not available, generously butter the pan to prevent sticking. Using a 9×13-inch pan will produce thicker caramels.
- Combine Butter, Sugar, and Corn Syrup: In a large heavy-bottom saucepan over medium heat, add the butter, granulated sugar, and light corn syrup. Stir continuously until the mixture comes to a boil, which typically takes 5-10 minutes.
- Add Evaporated Milk Slowly: Gradually add the evaporated milk one can at a time, taking about 12-15 minutes per can. Stir constantly and maintain a steady boil with consistent heat to prevent curdling or drastic temperature fluctuations.
- Cook to Firm Ball Stage: Continue stirring the mixture, scraping down the sides occasionally, until it reaches the firm ball stage of 240-245°F (115-118°C) on a candy thermometer. Alternatively, test by dropping a spoonful of caramel into ice water; when it forms a firm but pliable ball, it is ready.
- Remove from Heat and Add Vanilla: Once the correct temperature and texture are achieved, remove the saucepan from heat and stir in the vanilla extract for flavor.
- Pour into Prepared Pan and Cool: Pour the hot caramel mixture into the lined pan. Place it in the refrigerator and chill until completely cooled and hardened, ideally overnight or for several hours to make cutting and wrapping easier.
- Cut and Wrap: Once set, remove the caramel from the pan and cut into small pieces. For a classic presentation, wrap each piece in wax paper like a tootsie roll to keep them fresh and prevent sticking.
Notes
- Slow and steady heat is crucial to prevent the caramel from curdling or burning.
- Using a candy thermometer is helpful, but the traditional ice water test ensures perfect texture.
- Store wrapped caramels in an airtight container at room temperature or refrigerated.
- If you prefer softer caramels, slightly reduce cooking time or temperature but be cautious not to undercook.
- If parchment paper is unavailable, a buttered pan is essential to avoid sticking.
- For easier cutting, allow caramels to come to room temperature briefly after refrigeration.
Keywords: caramel, homemade caramels, candy recipe, chewy caramel, holiday sweets, candy making


