Healthy Peanut Butter Crunch Bars Recipe
Introduction
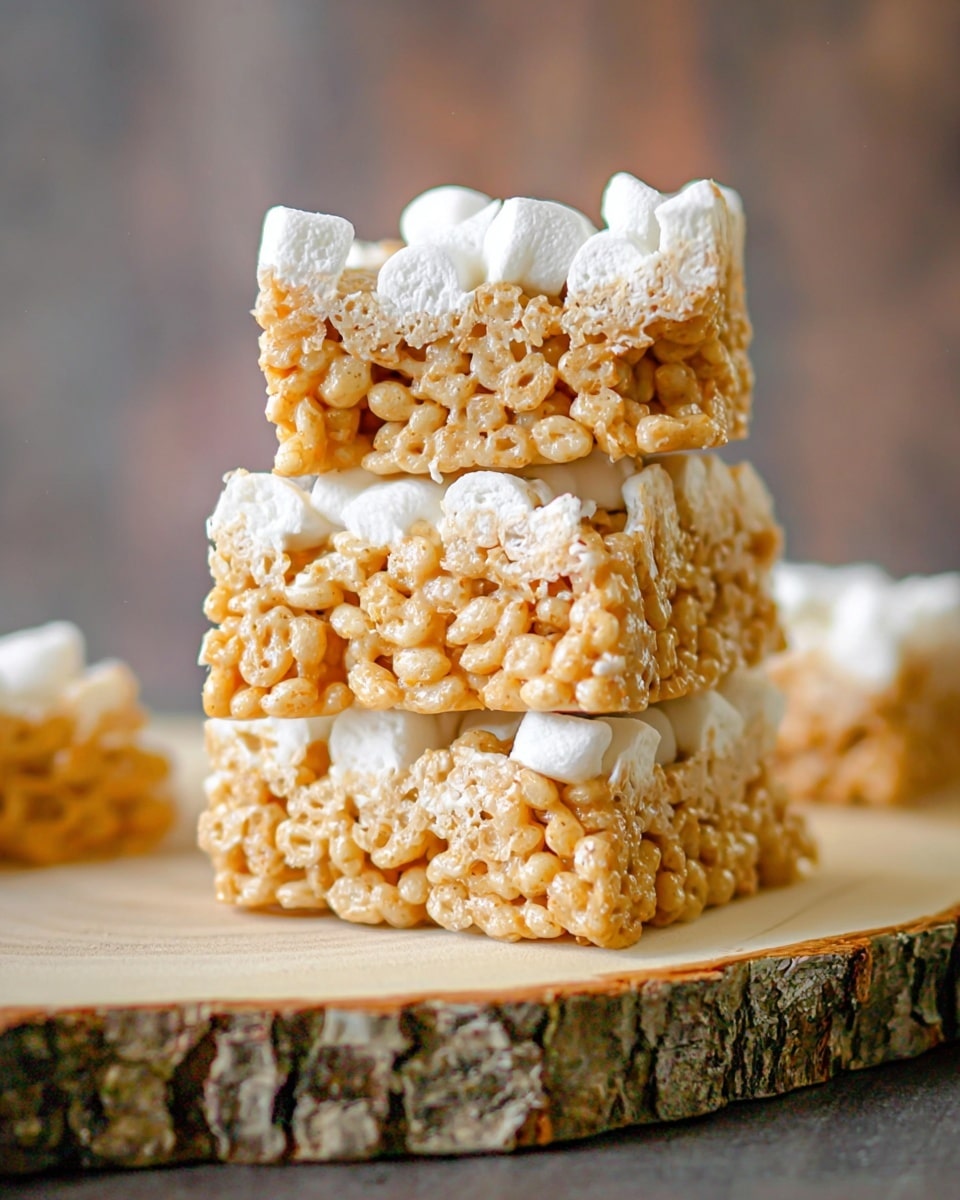
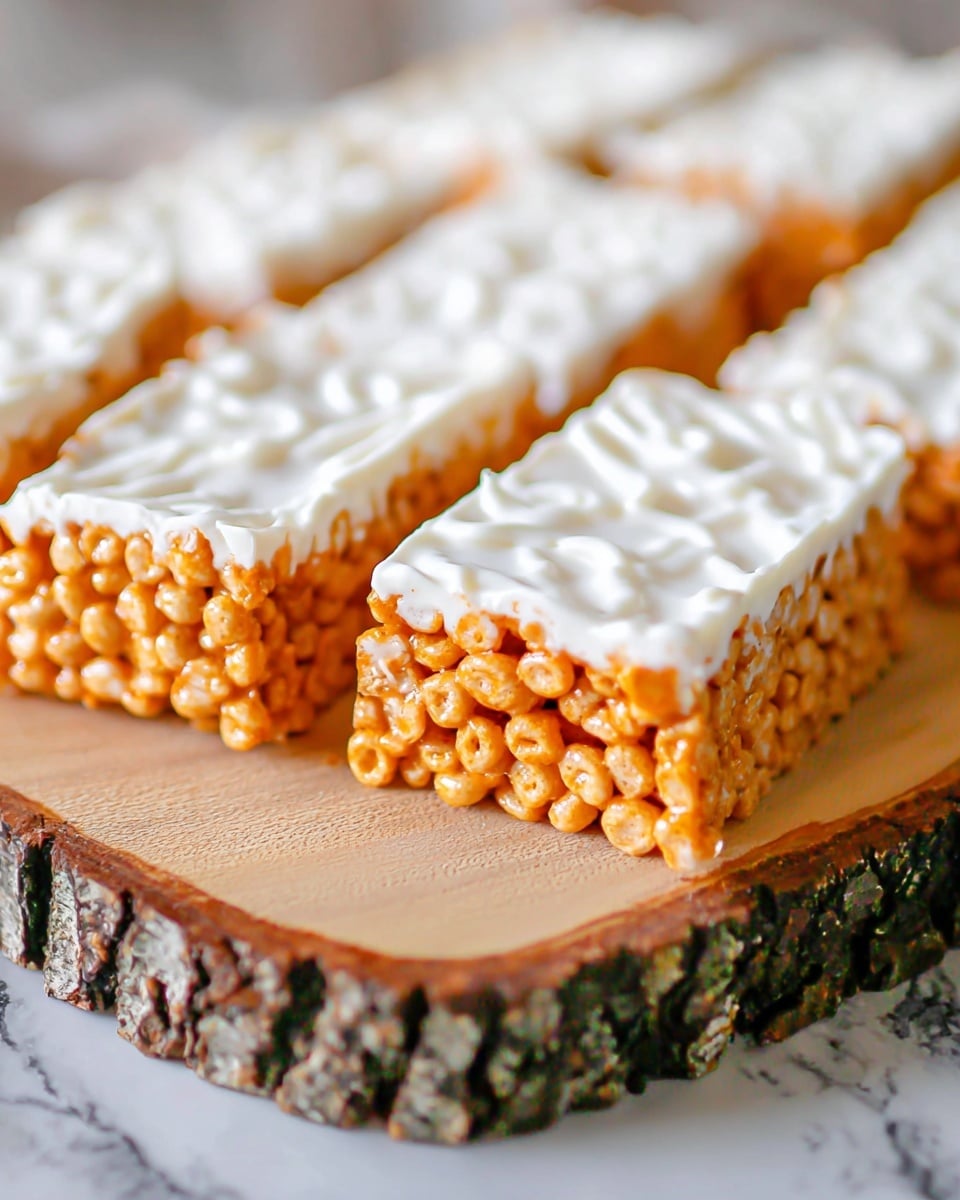
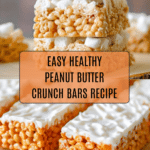
These Healthy Peanut Butter Crunch Bars are a delicious and easy treat that combines creamy peanut butter with crunchy cereal and a sweet chocolate topping. Perfect for a quick snack or a satisfying dessert, they come together with simple ingredients and no baking required.
Ingredients
- ⅓ cup agave syrup or maple syrup (can use sugar-free maple syrup if desired)
- ¼ cup coconut oil, melted
- 1 cup creamy peanut butter
- 3 to 3 ½ cups sweetened quinoa puffed cereal or any cereal you like (such as Rice Krispies, Chex, Cheerios)
- 1 cup dairy-free white chocolate, milk or dark chocolate chips or bar
Instructions
- Step 1: Grease an 8-inch or 9-inch baking dish lightly with non-stick cooking spray, or line it with parchment paper for easier removal. Set aside.
- Step 2: In a large bowl, melt the coconut oil. Add the agave or maple syrup and peanut butter, then mix until smooth and combined.
- Step 3: Add the cereal to the peanut butter mixture and stir well, making sure all the cereal is evenly coated.
- Step 4: Transfer the cereal mixture to the prepared pan and press it down evenly. Place it in the freezer for 10 minutes to set.
- Step 5: For the chocolate topping, melt the chocolate chips or chopped bar in a microwave-safe bowl in 30-second increments, stirring between each until smooth.
- Step 6: Drizzle the melted chocolate over the cereal layer using a spoon or pastry bag in a decorative pattern.
- Step 7: Place the pan in the fridge or freezer and let the chocolate set for 5 to 10 minutes.
- Step 8: Once set, transfer to the fridge for about 30 minutes or until firm enough to cut. Slice into bars and keep refrigerated to maintain crunch and firmness.
Tips & Variations
- Use your favorite cereal to customize the texture and flavor — gluten-free options work well too.
- For extra crunch, add chopped nuts or seeds to the cereal mixture before setting.
- Try drizzling melted dark chocolate for a richer flavor or white chocolate for a sweeter finish.
- If you prefer a softer bar, reduce chilling time slightly before cutting.
Storage
Store these bars in an airtight container in the refrigerator for up to one week. To keep them fresh and crunchy, avoid leaving them at room temperature for long. Reheat slightly at room temperature if the bars become too firm from chilling.
How to Serve
Serve this delicious recipe with your favorite sides.
FAQs
Can I use crunchy peanut butter instead of creamy?
Yes, crunchy peanut butter works well and will add a bit of extra texture to the bars.
Are these bars gluten-free?
They can be gluten-free if you use a certified gluten-free cereal. Always check the labels to be sure.
PrintHealthy Peanut Butter Crunch Bars Recipe
These Healthy Peanut Butter Crunch Bars are a delicious no-bake treat combining creamy peanut butter, sweetened quinoa puffed cereal, and a delightful drizzle of dairy-free white or dark chocolate. Perfect for a quick snack or dessert, they are easy to prepare and can be customized with your favorite cereal and chocolate options.
- Prep Time: 10 minutes
- Cook Time: 0 minutes
- Total Time: 45 minutes
- Yield: 12 bars 1x
- Category: Snack
- Method: No-Cook
- Cuisine: American
- Diet: Vegan
Ingredients
Main Ingredients
- ⅓ cup agave syrup or maple syrup (can use sugar-free maple syrup if desired)
- ¼ cup coconut oil, melted
- 1 cup creamy peanut butter
- 3 – 3 ½ cups sweetened quinoa puffed cereal or any cereal like rice krispies, Chex, Cheerios, etc.
- 1 cup dairy-free white chocolate chips or dark chocolate chips/bar
Instructions
- Prepare the Pan: Grease an 8-inch or 9-inch baking dish lightly with non-stick cooking spray or line it with parchment paper for easier removal. Set aside.
- Mix Wet Ingredients: Melt the coconut oil and pour it into a large bowl. Add agave or maple syrup and creamy peanut butter, mixing well until smooth and fully combined.
- Add Cereal: Add the sweetened quinoa puffed cereal to the wet mixture. Stir gently but thoroughly to coat every piece of cereal evenly with the peanut butter mixture.
- Press Mixture: Transfer the coated cereal mixture to the prepared baking dish, spreading it out evenly. Place the dish in the freezer for about 10 minutes to help the bars set.
- Melt Chocolate Topping: In a small microwave-safe bowl, melt the dairy-free white or dark chocolate chips by heating in 30-second bursts. Stir between each session until the chocolate is just melted and smooth, being careful not to burn it.
- Drizzle Chocolate: Using a tablespoon, large spoon, or a pastry bag, drizzle the melted chocolate on top of the set cereal layer evenly.
- Set the Bars: Place the baking dish in the fridge or freezer and allow the chocolate peanut butter mixture to set for 5 to 10 minutes.
- Chill Until Firm: Once the topping is set, keep the bars in the fridge for an additional 30 minutes or until solid enough to cut and maintain a crunchy texture.
- Serve: When ready, slice the bars into desired sizes and enjoy. Store remaining bars in the fridge to keep them firm and fresh.
Notes
- For easier removal, lining the pan with parchment paper is recommended.
- You can customize the cereal type depending on your preference and dietary needs.
- Use dairy-free chocolate options to keep the bars vegan and lactose-free.
- These bars are best stored in the refrigerator to maintain crunchiness and prevent melting.
Keywords: peanut butter bars, no bake bars, healthy snack, vegan dessert, quinoa cereal bars, dairy-free chocolate, peanut butter snack
