Frozen Strawberry Cheesecake Bites Recipe
Introduction
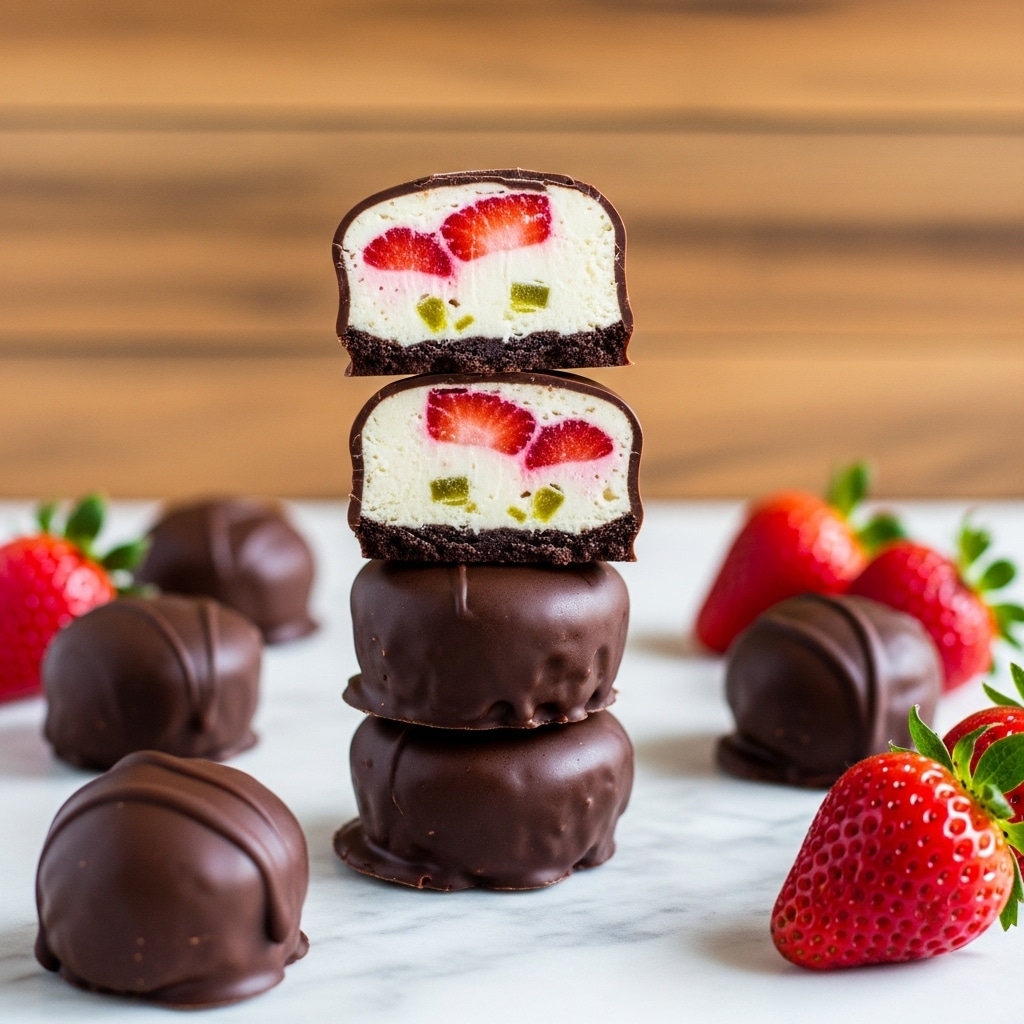
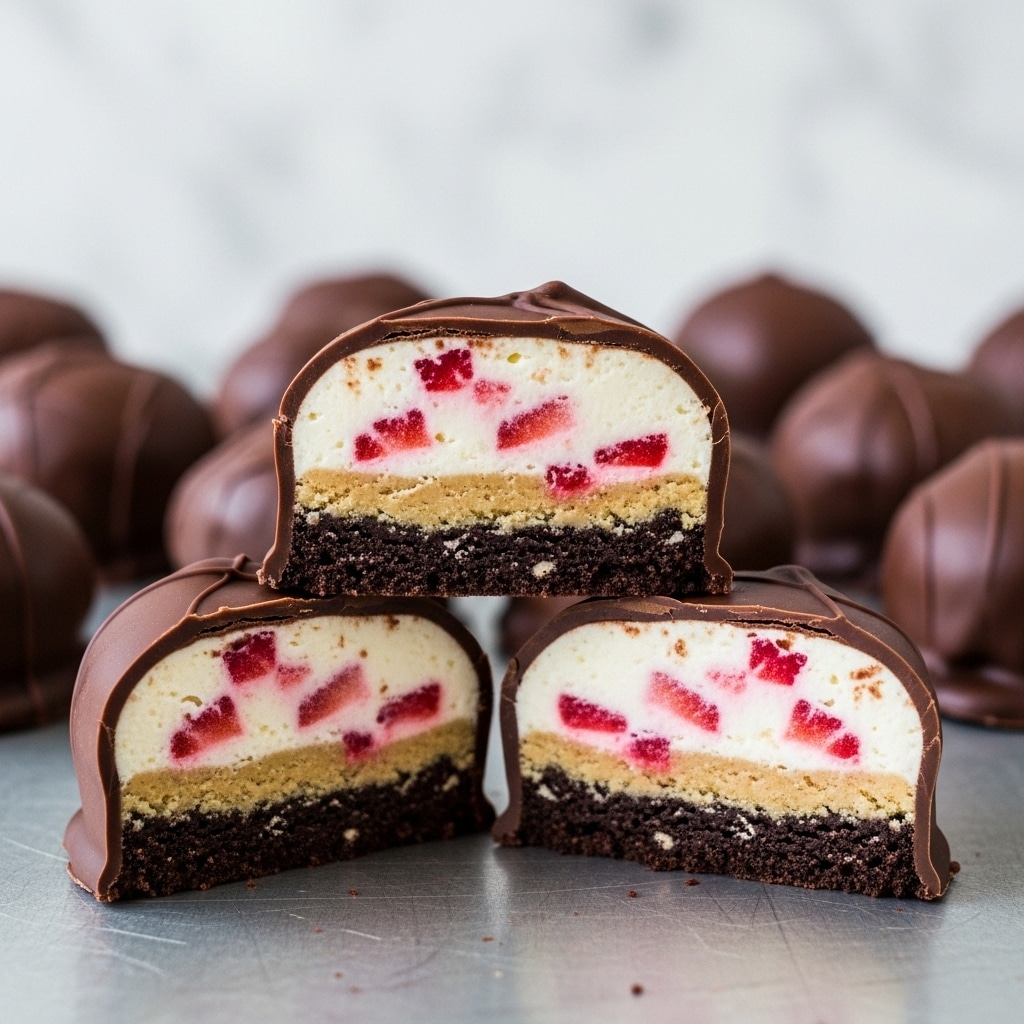
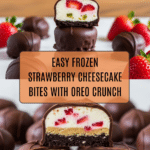
These Frozen Strawberry Cheesecake Bites are a delightful blend of creamy cheesecake, fresh strawberries, and a crunchy Oreo base, all coated in a luscious chocolate shell. Perfect for a refreshing treat on warm days or a bite-sized dessert to impress your guests.
Ingredients
- 6 oz strawberries (chopped to small pieces)
- 3 oz strawberry jam or preserves
- 1 cup heavy cream (35% fat)
- 8 oz cream cheese block (softened)
- 2 tsp vanilla extract
- 4 tbsp lemon juice
- 12 Oreo cookies
- 1 recipe for Chocolate Magic Shell
Instructions
- Step 1: Mix the chopped strawberries and strawberry jam in a bowl and set aside.
- Step 2: In a large bowl, pour the heavy cream, add vanilla extract, and whip until soft peaks form.
- Step 3: In a separate bowl, combine the softened cream cheese and lemon juice. Mix until smooth and creamy. Gently fold in the whipped cream until fully blended.
- Step 4: Fold the strawberry mixture into the cheesecake base gently, creating ripples rather than fully incorporating the fruit.
- Step 5: Line a mini muffin tin with cupcake liners if desired for easy removal, though this step is optional.
- Step 6: Use a 2-tablespoon cookie scoop to fill each muffin cavity with the cheesecake mixture.
- Step 7: Smooth the tops evenly, then place an Oreo cookie half on each cheesecake bite. Cover with foil or parchment and freeze for several hours until completely hardened.
- Step 8: Once frozen, remove the cheesecake bites from the pan. If using liners, peel them off. If not, dip the muffin pan briefly in warm water or use a blow torch to loosen, then gently pop the bites out with a spatula.
- Step 9: Return the bites to the freezer until ready to coat with the chocolate magic shell.
- Step 10: When the magic shell is smooth and cooled but still pourable, dip each cheesecake bite into the chocolate using a fork. Place on parchment paper to set. Freeze to harden the shell quickly.
- Step 11: Store the finished cheesecake bites in individual ziplock bags in the freezer. For best flavor, let them soften slightly before serving.
Tips & Variations
- Use mini cupcake liners for easy removal, especially if you want neat presentation without extra handling.
- For a different flavor, replace strawberries with raspberries or blueberries and use matching jam.
- Try using gluten-free cookies to make the recipe suitable for gluten-sensitive guests.
- To speed up removal, warm the pan slightly with a blow torch rather than dipping in water, which can cause condensation.
Storage
Store these cheesecake bites in the freezer inside airtight ziplock bags or containers for up to 2 weeks. When ready to enjoy, let them sit at room temperature for 5–10 minutes to soften slightly for the best texture and flavor. Refreeze any leftovers promptly.
How to Serve
Serve this delicious recipe with your favorite sides.
FAQs
Can I make these without the chocolate magic shell?
Yes, you can enjoy these cheesecake bites plain or dusted with some cocoa powder or freeze-dried strawberry powder for a simpler version.
How long do I need to freeze the cheesecake bites?
Freeze them for at least 3–4 hours or until completely firm so they hold their shape when dipped and served.
PrintFrozen Strawberry Cheesecake Bites Recipe

These Frozen Strawberry Cheesecake Bites are a delightful no-bake treat featuring a creamy strawberry-infused cheesecake base topped with Oreo cookie halves and coated in a homemade chocolate magic shell. Perfectly portioned as bite-sized desserts, they are frozen until firm and make a refreshing, indulgent snack for summer or any occasion.
- Prep Time: 20 minutes
- Cook Time: 0 minutes
- Total Time: 4 hours 20 minutes (including freezing time)
- Yield: 12 cheesecake bites 1x
- Category: No-Cook
- Method: No-Cook
- Cuisine: American
Ingredients
Strawberry Mixture
- 6 oz strawberries, chopped into small pieces
- 3 oz strawberry jam or preserves
Cheesecake Base
- 1 cup heavy cream (35% fat)
- 8 oz cream cheese, softened
- 2 tsp vanilla extract
- 4 tbsp lemon juice
Toppings and Additional
- 12 Oreo cookies (halved)
- 1 recipe for Chocolate Magic Shell (homemade or store-bought)
Instructions
- Prepare Strawberry Mixture: In a bowl, combine the chopped strawberries with the strawberry jam or preserves and set aside for later use.
- Whip Cream: In a large bowl, pour the heavy whipping cream and vanilla extract. Whip until soft peaks form using a hand mixer.
- Mix Cream Cheese Base: In a separate bowl, combine the softened cream cheese and lemon juice. Mix until smooth and creamy. Gently fold in the whipped cream and mix until fully incorporated, creating a light, fluffy base.
- Fold in the Strawberries: Gently fold the prepared strawberry mixture into the cheesecake base, ensuring you maintain visible strawberry ripples rather than fully blending it in.
- Prepare Muffin Tin: Line a mini muffin tin with mini cupcake liners if desired to ease removal, though this step is optional.
- Fill Muffin Cups: Use a 2 tbsp cookie scoop to fill the muffin cavities with the cheesecake mixture. Smooth the tops evenly.
- Add Oreo Topping: Top each cheesecake bite with a half Oreo cookie (or whole if preferred). Cover the muffin pan with foil or parchment paper and freeze for several hours until solid.
- Unmold Cheesecake Bites: Once frozen, remove the cheesecake bites carefully. If liners were used, peel them off. If not, dip the pan briefly in warm water or use a blow torch to loosen bites, then gently pop them out with a spatula.
- Freeze Until Chocolate Ready: Return cheesecake bites to the freezer while preparing the chocolate magic shell.
- Dip in Magic Shell: When the chocolate magic shell is cooled but still pourable and smooth, dip each cheesecake bite using a fork to coat lightly, then place on parchment paper to set. Freeze again to harden the chocolate coating quickly.
- Storage and Serving: Once the chocolate shell is completely hardened, store the frozen cheesecake bites in individual Ziploc bags. For best flavor and texture, allow them to soften slightly before enjoying.
Notes
- Using mini cupcake liners is optional but can make removal easier.
- Ensure the cream cheese is softened well for a smooth base.
- Gently fold in strawberries to keep pretty swirls in the cheesecake bites.
- To easily unmold without liners, briefly dipping the pan in warm water or using a blow torch prevents damage.
- The chocolate magic shell can be homemade or store-bought; make sure it is at the right consistency for dipping.
- Letting the bites soften a bit before eating enhances the creamy texture.
Keywords: frozen cheesecake bites, strawberry cheesecake bites, no-bake cheesecake, mini cheesecake desserts, chocolate coated cheesecake bites, Oreo cheesecake bites, summer desserts
