Deck The Halls Pop-Tart Ornaments Recipe
Introduction
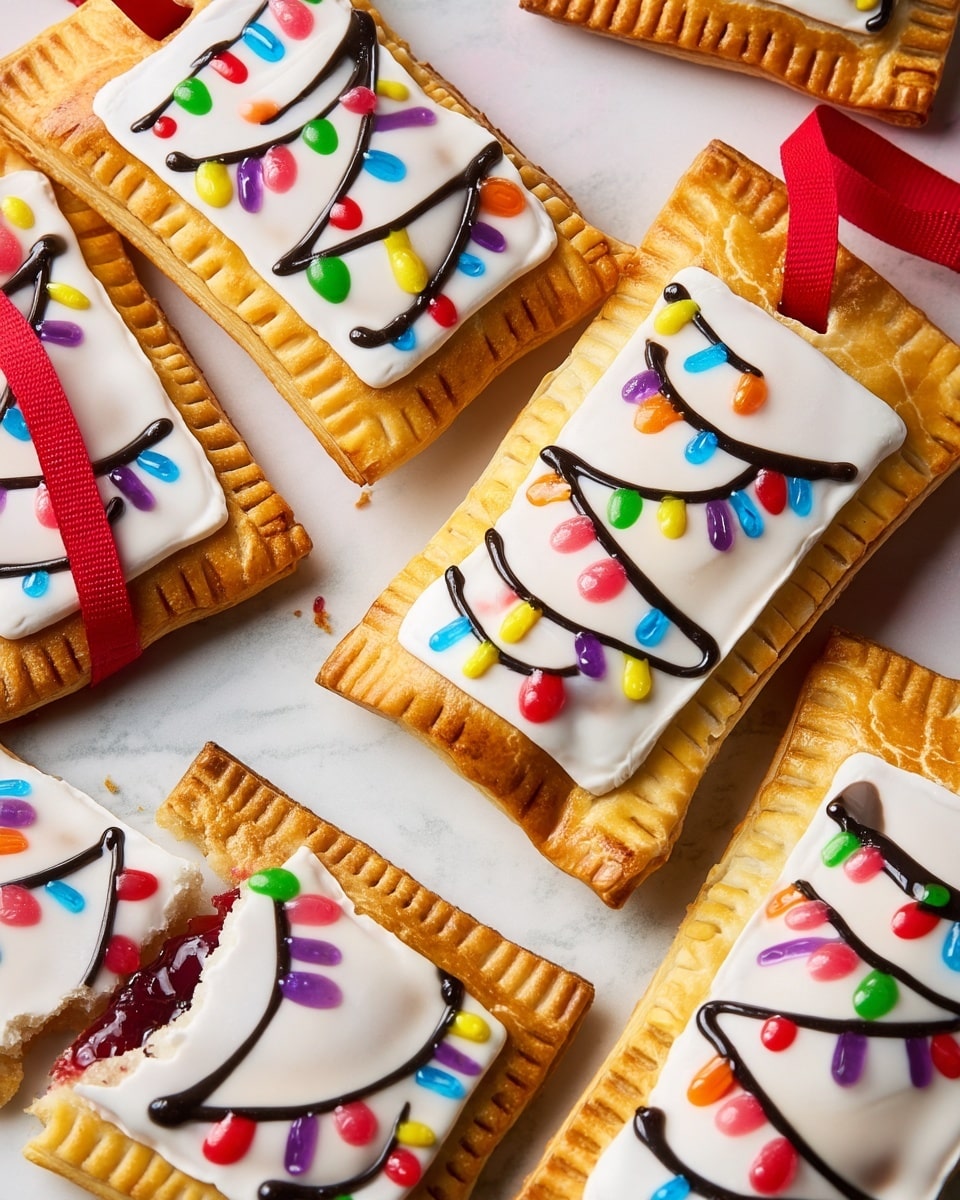
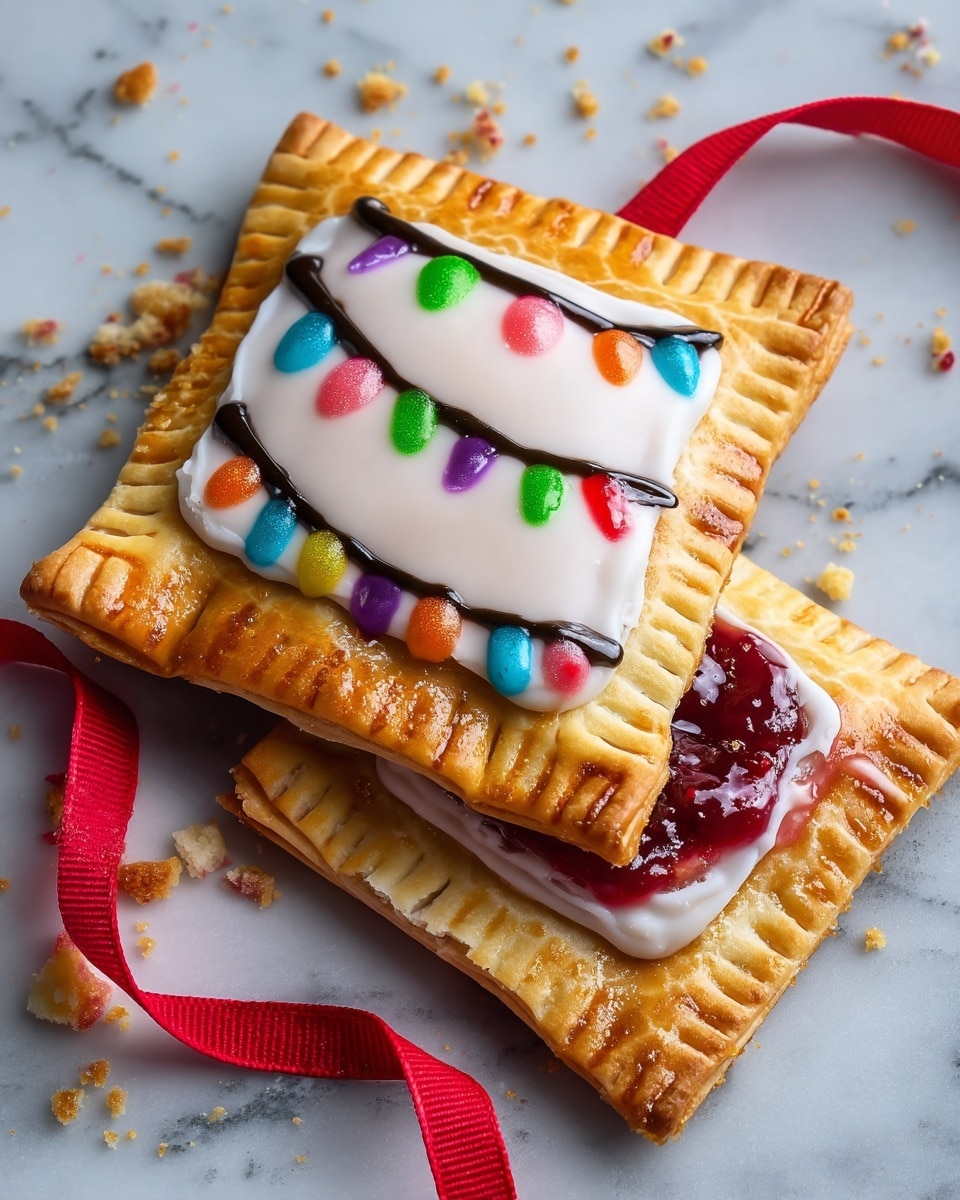
These Deck The Halls Pop-Tart Ornaments are a fun and festive treat perfect for the holiday season. Featuring flaky, golden crusts filled with sweet fruit preserves and decorated with colorful icing, they double as edible decorations for your tree. Simple to make and delightful to share, this recipe brings holiday cheer to any gathering.
Ingredients
- 1 (14-oz.) box pie dough (for 2 crusts)
- All-purpose flour, for dusting
- 1 large egg
- 8 to 9 Tbsp. cherry or other fruit preserves, or Nutella
- 1 cup (115 g) confectioners’ sugar (or more)
- 1 tsp. corn syrup (optional)
- Kosher salt
- Colored gel icing, for decorating
- Ribbon or string, for hanging (optional)
Instructions
- Step 1: Arrange a rack in the center of the oven and preheat to 425°F (220°C). Let the pie dough sit at room temperature for 10 to 15 minutes.
- Step 2: On a lightly floured surface, roll out one round of dough into a rectangle, about 1/8″ to 1/4″ thick. Use a cookie cutter, pastry wheel, or sharp knife to cut 5″ x 3″ rectangles. Reroll scraps to make a total of 6 rectangles. Repeat with the second dough round for a total of 12 rectangles. Place on two parchment-lined baking sheets.
- Step 3: In a small bowl, beat the egg with 1 teaspoon of water to make an egg wash. Lightly brush the edges of 6 rectangles with the egg wash. Place about 1 heaping tablespoon of fruit preserves in the center of each. Top with the remaining 6 rectangles and pinch edges to seal tightly. Crimp edges with a fork and lightly brush the tops with egg wash.
- Step 4: Bake the pastries until golden brown, about 15 to 18 minutes. If adding ribbon, use the end of a chopstick or thin skewer to poke a hole about 1/2″ from the top before baking. Cool on a wire rack.
- Step 5: Make the glaze by stirring together confectioners’ sugar, corn syrup (if using), a pinch of kosher salt, and 1 tablespoon of water. Add more water in 1/2 teaspoon increments as needed until smooth. If glaze is too thin, add more sugar.
- Step 6: Spread about 2 tablespoons of glaze over each cooled pastry. Decorate with colored gel icing in festive patterns or shapes. Let the icing set for at least 15 minutes before tying with ribbon or string, if desired.
Tips & Variations
- Use your favorite preserves or Nutella for different flavor combinations. Raspberry, strawberry, or apricot preserves work beautifully.
- For a shinier glaze, add the optional corn syrup. Skip it for a more matte finish.
- If you don’t have a cookie cutter, carefully cut rectangles with a sharp knife or pizza cutter.
- Try adding a pinch of cinnamon or vanilla extract to the glaze for extra warmth and flavor.
Storage
Store these pop-tart ornaments in an airtight container at room temperature for up to 3 days. Avoid refrigerating as it can dry them out. To refresh, warm briefly in a low oven before serving. These are best enjoyed within a few days as the crust may soften over time.
How to Serve
Serve this delicious recipe with your favorite sides.
FAQs
Can I use homemade pie dough for this recipe?
Absolutely! Homemade pie dough works just as well and can add a fresh, buttery flavor to your pop-tarts. Just roll it out to the same thickness and proceed as directed.
How do I prevent the filling from leaking out during baking?
Make sure to not overfill the pastries and firmly pinch and crimp the edges to seal them tightly. Using an egg wash on the edges before sealing also helps create a strong seal.
PrintDeck The Halls Pop-Tart Ornaments Recipe

Deck The Halls Pop-Tart Ornaments are festive, homemade pastries resembling pop-tarts, filled with cherry or other fruit preserves, or Nutella. These delightful treats are baked until golden, decorated with colorful icing, and can be hung as edible ornaments, perfect for holiday celebrations and gifting.
- Prep Time: 20 minutes
- Cook Time: 15 to 18 minutes
- Total Time: 40 minutes
- Yield: 12 pastries 1x
- Category: Dessert, Pastry, Holiday Treat
- Method: Baking
- Cuisine: American
Ingredients
Pastry
- 1 (14-oz.) box pie dough (for 2 crusts)
- All-purpose flour, for dusting
- 1 large egg
- 8 to 9 Tbsp. cherry or other fruit preserves, or Nutella
Glaze and Decoration
- 1 cup (115 g) confectioners’ sugar (or more as needed)
- 1 tsp. corn syrup (optional)
- Kosher salt, a pinch
- Water, approximately 1 to 2 Tbsp.
- Colored gel icing, for decorating
Optional
- Ribbon or string, for hanging
Instructions
- Preheat Oven and Prepare Dough: Arrange a rack in the center of the oven and preheat to 425°F (220°C). Let the pie dough sit at room temperature for 10 to 15 minutes to soften slightly, making it easier to roll out.
- Roll and Cut Dough: Lightly flour a clean surface and roll out one round of dough into a rectangle approximately 1/8″ to 1/4″ thick. It does not need to be perfectly rectangular. Using a 5″ x 3″ cookie cutter, pastry wheel, or sharp knife, cut the dough into rectangles. Reroll scraps to make a total of 6 rectangles from this round. Repeat with the second round of dough to yield 12 total rectangles. Arrange the rectangles on two parchment-lined baking sheets.
- Assemble Pop-Tarts: In a small bowl, beat the egg with 1 teaspoon of water to create an egg wash. Lightly brush the borders of 6 rectangles with the egg wash. Spoon about 1 heaping tablespoon of fruit preserves into the center of these rectangles, taking care not to overfill. Top each with a plain rectangle. Pinch the edges firmly to seal, then crimp with a fork for a decorative edge. Lightly brush the tops with more egg wash.
- Bake Pastries: Bake the assembled pastries in the preheated oven for 15 to 18 minutes or until they turn golden brown. If you plan to decorate with ribbon, immediately after baking use the end of a chopstick or a thin skewer to make a 1/2″ hole near the top of each pastry. Transfer the pastries to a wire rack and allow them to cool completely.
- Prepare Glaze: In a medium bowl, combine the confectioners’ sugar, corn syrup (if using), a pinch of kosher salt, and 1 tablespoon of water. Stir until smooth. If the glaze is too runny, add more confectioners’ sugar; if too thick, add water 1/2 teaspoon at a time until the desired consistency is reached.
- Decorate: Spread about 2 tablespoons of the glaze over the top of each cooled pastry. Using colored gel icing, add festive decorations such as lights or other holiday designs. Allow the icing to set for at least 15 minutes.
- Finish with Ribbon: Once the icing has set, thread ribbon or string through the hole made earlier to create a loop for hanging the pop-tart ornaments on your holiday tree or gifting.
Notes
- Do not overfill the pastries to prevent leaks during baking.
- Allow pastries to cool completely before icing to ensure glaze doesn’t melt.
- Use a gentle hand while pinching and crimping edges to avoid tearing the dough.
- Ribbon for hanging is optional but adds an extra festive touch making these treats great edible ornaments.
- Feel free to experiment with different fillings like Nutella or various fruit preserves.
Keywords: pop-tarts, holiday treats, edible ornaments, pie dough, fruit preserves, festive pastries