Cookie Decorating Buttercream Recipe
Introduction
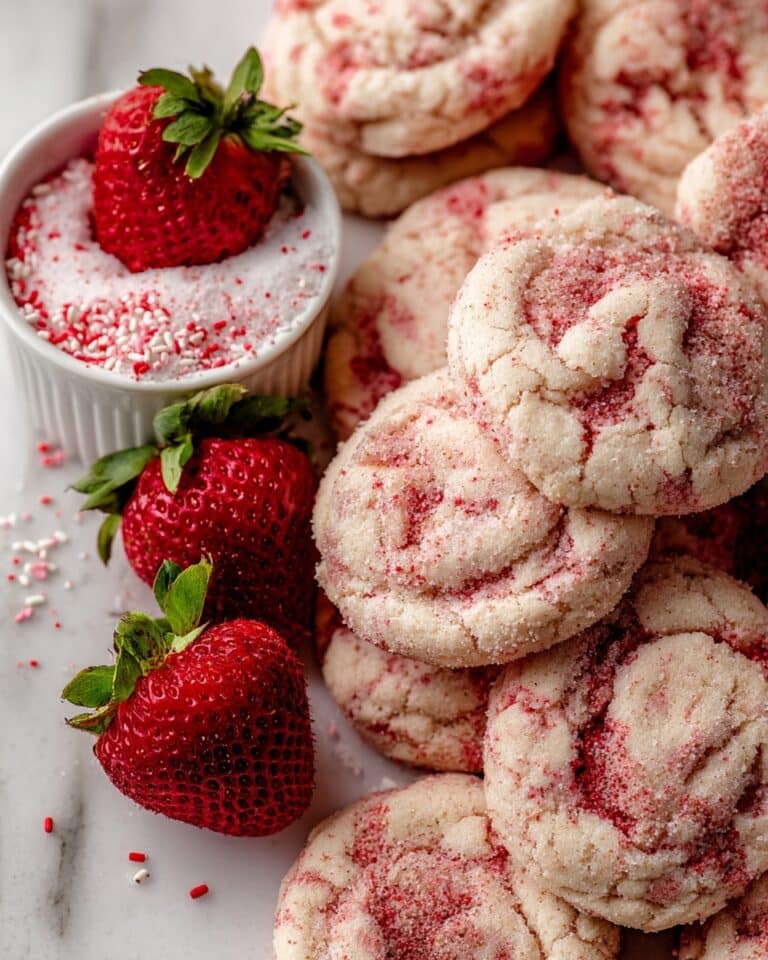
Cookie Decorating Buttercream is a smooth, creamy frosting perfect for adding a beautiful finish to your sugar cookies. It’s easy to make, versatile, and can be tinted with your favorite colors to match any occasion.

Ingredients
- 1 batch sugar cookies, baked & cooled completely
- 1 cup (16 Tbsp; 226g) unsalted butter, softened to room temperature
- 4 cups (480g) confectioners’ sugar
- 2 Tablespoons (30ml) heavy cream, half-and-half, or whole milk, at room temperature
- 1 teaspoon pure vanilla extract
- 1/8 teaspoon salt
- optional: gel food coloring, for tinting
Instructions
- Step 1: Have your sugar cookies baked and completely cooled. You can use your favorite cookie recipe or a ready batch.
- Step 2: Make the buttercream frosting. In a mixer fitted with a paddle attachment, beat the softened butter on medium speed until creamy, about 2 minutes.
- Step 3: Add the confectioners’ sugar, heavy cream, vanilla extract, and salt. Beat on low speed for 30 seconds, then increase to medium-high and beat for 2 full minutes.
- Step 4: Adjust consistency and flavor by adding more sugar to thicken, more cream to thin, or a pinch more salt to balance sweetness if needed.
- Step 5: If desired, divide the buttercream into bowls and add gel food coloring a little at a time, stirring to achieve your preferred shade.
- Step 6: Use a knife, icing spatula, or fill a piping bag fitted with a tip to decorate your cookies. Get creative with swirls, dots, or lines.
- Step 7: Let the frosting set for a few hours to “soft-set” or slightly dry on top before storing.
Tips & Variations
- Use gel food coloring for bright, vibrant colors without altering the frosting’s consistency.
- To create multiple colors, divide the buttercream into small bowls before tinting.
- For a lighter texture, substitute half the butter with shortening.
- If frosting is too thick, add cream a teaspoon at a time rather than all at once.
Storage
Store decorated cookies at room temperature in an airtight container for up to 1 day. For longer storage, refrigerate them for up to 5 days. Allow refrigerated cookies to come to room temperature before serving for the best texture. The frosting will slightly soften as it sets but remains delicious.
How to Serve
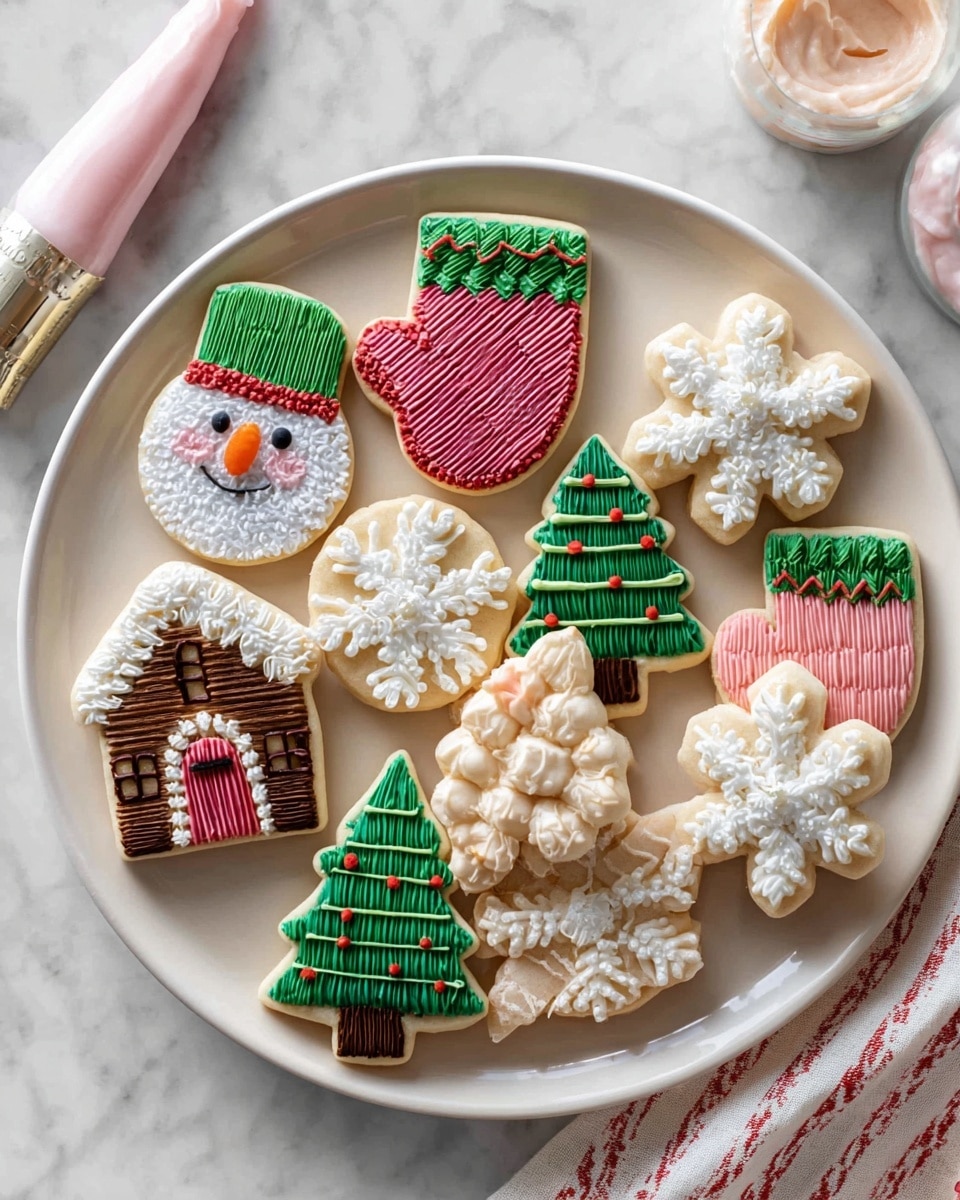
Serve this delicious recipe with your favorite sides.
FAQs
Can I use this buttercream for other types of cookies or cakes?
Yes, this buttercream works well for decorating many types of cookies and cakes. Its creamy texture makes it ideal for spreading or piping.
What if my buttercream is too runny or too stiff?
If it’s too runny, add more confectioners’ sugar a little at a time. If it’s too stiff, add a small amount of cream or milk and beat until smooth.
PrintCookie Decorating Buttercream Recipe

This luscious and creamy cookie decorating buttercream is perfect for adding beautiful, customizable designs to sugar cookies. Made with softened unsalted butter, confectioners’ sugar, heavy cream, and vanilla extract, this buttercream can be tinted with gel food coloring to create vibrant hues. Whether using a piping bag with tips or a simple spatula, it spreads smoothly and holds its shape well, making your decorated cookies not only delicious but also visually stunning.
- Prep Time: 15 minutes
- Cook Time: 0 minutes
- Total Time: 15 minutes (excluding cookie baking and cooling time)
- Yield: Enough frosting for approximately 24 medium-sized sugar cookies
- Category: Dessert
- Method: No-Cook
- Cuisine: American
- Diet: Vegetarian
Ingredients
Cookies
- 1 batch sugar cookies, baked & cooled completely
Buttercream Frosting
- 1 cup (16 Tbsp; 226g) unsalted butter, softened to room temperature
- 4 cups (480g) confectioners’ sugar
- 2 Tablespoons (30ml) heavy cream, half-and-half, or whole milk, at room temperature
- 1 teaspoon pure vanilla extract
- 1/8 teaspoon salt
- Optional: gel food coloring, for tinting
Instructions
- Prepare Cookies: Ensure your sugar cookies are fully baked and completely cooled before frosting. This prevents the buttercream from melting and keeps decorations neat.
- Make the Buttercream: Using a handheld or stand mixer fitted with a paddle attachment, beat the softened butter on medium speed until creamy, about 2 minutes. Add confectioners’ sugar, heavy cream, vanilla extract, and salt. Beat on low speed for 30 seconds to combine, then increase to medium-high speed and beat for 2 minutes until smooth and fluffy.
- Adjust Consistency: Taste the buttercream. If it is too thick, add more heavy cream a little at a time until you reach the desired spreadability. To thicken, add more confectioners’ sugar. If too sweet, add a pinch more salt to balance flavors.
- Color the Icing: Divide the buttercream into separate bowls if making multiple colors, or keep it whole for one color. Add small dots of gel food coloring with a toothpick into the frosting and stir well. Add more gel coloring gradually to deepen the shade without altering consistency.
- Decorate the Cookies: Use a knife or icing spatula to spread the buttercream, or fit a piping bag with the desired tip to pipe designs such as zig-zags, swirls, lines, and dots. Ensure you leave space at the top of the piping bag before sealing by twisting or clipping the end to control flow.
- Store Decorated Cookies: Allow frosting to “soft-set” at room temperature for a few hours to slightly dry on top. Store cookies at room temperature for up to 1 day or refrigerate for up to 5 days, ensuring freshness and decoration integrity.
Notes
- Use gel food coloring to avoid thinning the buttercream as liquid colors can affect texture.
- Buttercream will soften if cookies are warm, so always frost completely cooled cookies.
- For stiffer buttercream suitable for detailed piping, add more confectioners’ sugar as needed.
- Store decorated cookies in an airtight container to prevent drying out.
- Bring refrigerated cookies to room temperature before serving for best texture and flavor.
Keywords: buttercream, cookie decorating, sugar cookies, frosting, icing, piped cookies, sweet frosting recipes, homemade buttercream