Cherry Cheesecake Tacos Recipe
Introduction
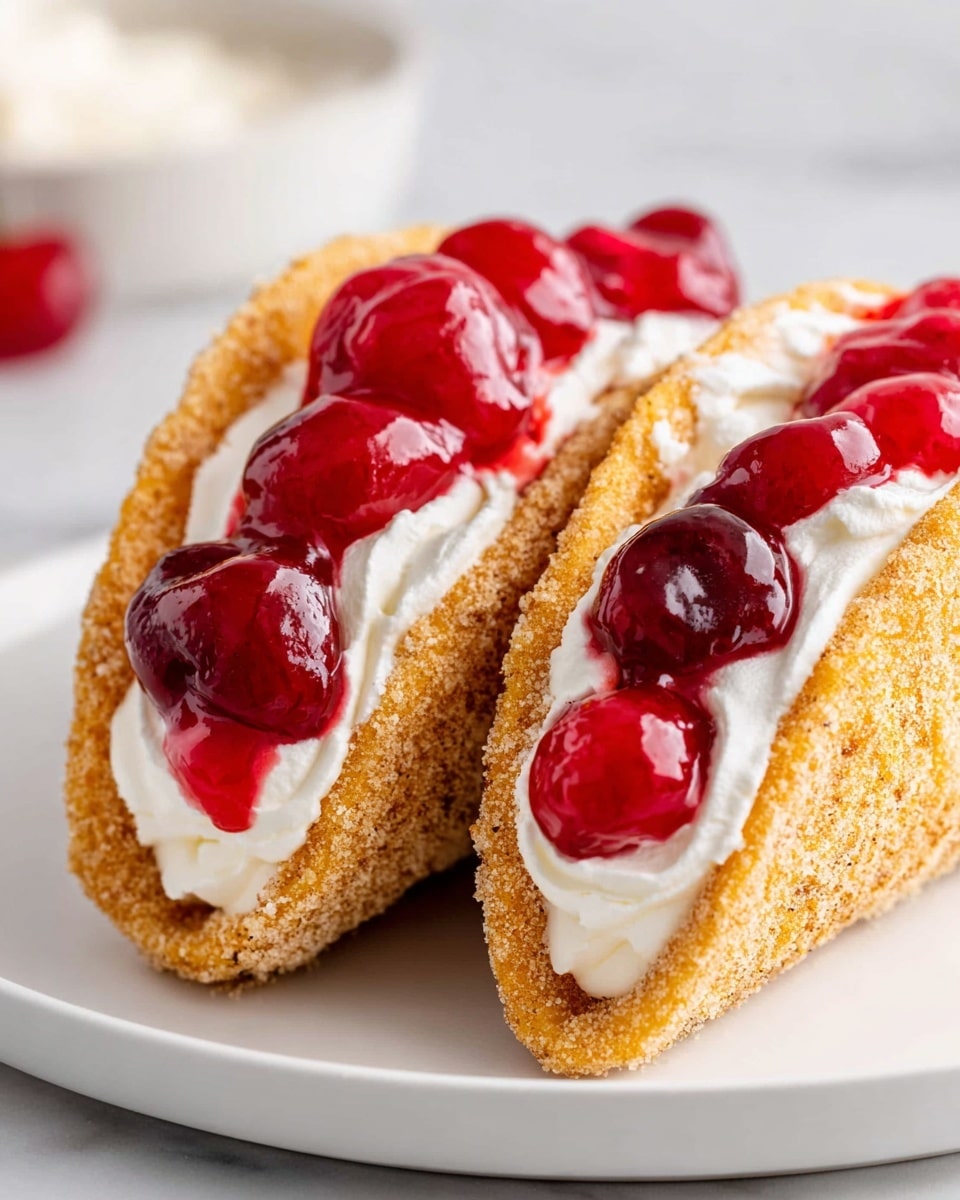
Cherry Cheesecake Tacos are a fun and delicious twist on traditional dessert tacos. With crispy cinnamon-sugar shells filled with creamy cheesecake and juicy cherry pie filling, they make a perfect treat for any occasion.
Ingredients
- 8 ounces cream cheese, softened
- ⅓ cup powdered sugar
- 2 teaspoons vanilla extract
- 8 ounces Cool Whip frozen whipped topping, thawed
- 21 ounces cherry pie filling
- 1 cup granulated sugar
- 3 teaspoons ground cinnamon
- 18 street taco-size flour tortillas (or cut soft taco-size tortillas to a 4-inch round with a bowl, glass, or cookie cutter)
- ½ cup butter, melted
Instructions
- Step 1: Combine the granulated sugar and ground cinnamon in a small bowl. Set aside.
- Step 2: In a medium mixing bowl, beat together softened cream cheese, powdered sugar, and vanilla extract until smooth and well combined.
- Step 3: Add the thawed Cool Whip to the cream cheese mixture and beat until the filling is smooth and fluffy.
- Step 4: Transfer the cheesecake filling to a piping bag fitted with a large decorative tip or use a gallon-sized Ziploc bag with the corner snipped. Place it in the refrigerator to keep cold while preparing the taco shells.
- Step 5: Preheat your oven to 400°F (200°C). Line the bottom of a cupcake pan with parchment paper.
- Step 6: Brush both sides of each tortilla with melted butter. Sprinkle cinnamon sugar generously on both sides of the tortillas.
- Step 7: Fold each tortilla in half to form a taco shape. Place the folded tortillas over the upside-down cupcake pan’s wells, using the “bumps” to support the taco shape. Repeat until the pan is filled.
- Step 8: Bake the taco shells for 8 to 10 minutes, or until they begin to brown. Allow them to cool in the pan for 10 minutes to help them set, then transfer to a cooling rack to cool completely.
- Step 9: Once cooled, pipe a line of cheesecake filling down the center of each taco shell.
- Step 10: Top each filled shell with 3 to 4 cherries and some sauce from the cherry pie filling can.
- Step 11: Serve immediately for the best texture and flavor.
Tips & Variations
- Use fresh cherries or other fruit toppings, like blueberries or strawberries, for a seasonal twist.
- For extra crunch, lightly toast the taco shells again after filling, but watch carefully to avoid burning.
- Try substituting the Cool Whip with homemade whipped cream for a less processed filling.
- You can prepare the taco shells a day ahead and store them in an airtight container to keep crisp.
Storage
Store any leftover taco shells separately in an airtight container at room temperature for up to 2 days to maintain crispness. Keep the cheesecake filling and cherry pie filling refrigerated in sealed containers for up to 3 days. Assemble tacos just before serving, as filled tacos do not store well and may become soggy.
How to Serve
Serve this delicious recipe with your favorite sides.
FAQs
Can I make the taco shells gluten-free?
Yes, substitute the flour tortillas with gluten-free tortillas of similar size. Keep an eye on baking time as they may vary slightly.
How do I keep the taco shells from becoming soggy?
To prevent sogginess, bake the taco shells well and cool completely before filling. Assemble the tacos right before serving to enjoy the crisp texture.
PrintCherry Cheesecake Tacos Recipe

Delight in these Cherry Cheesecake Tacos, a creative dessert combining crispy cinnamon sugar taco shells with a smooth and fluffy cherry cheesecake filling. Perfect for parties or a fun homemade treat, these tacos feature a buttery, golden-baked tortilla shell filled with a luscious blend of cream cheese, Cool Whip, and cherry pie filling.
- Prep Time: 15 minutes
- Cook Time: 10 minutes
- Total Time: 25 minutes
- Yield: 18 tacos 1x
- Category: Dessert
- Method: Baking
- Cuisine: American
- Diet: Vegetarian
Ingredients
Cheesecake Filling
- 8 ounces cream cheese, softened
- ⅓ cup powdered sugar
- 2 teaspoons vanilla extract
- 8 ounces Cool Whip frozen whipped topping, thawed
Cherry Topping
- 21 ounces cherry pie filling
Taco Shells
- 1 cup granulated sugar
- 3 teaspoons ground cinnamon
- 18 street taco-size flour tortillas (or cut soft taco-size tortillas into 4-inch rounds with a bowl, glass, or cookie cutter)
- ½ cup butter, melted
Instructions
- Make Cinnamon Sugar: Combine the granulated sugar and ground cinnamon in a small bowl and set aside for coating the tortillas later.
- Prepare Cheesecake Filling: In a medium mixing bowl, beat softened cream cheese, powdered sugar, and vanilla extract together until smooth and thoroughly combined. Gradually add the thawed Cool Whip and continue beating until the mixture is fluffy and smooth.
- Chill Filling: Transfer the cheesecake filling to a piping bag fitted with a large round or star tip (#1M) or use a gallon-sized Ziploc bag with the corner snipped off. Refrigerate to keep cold while preparing the taco shells.
- Preheat Oven: Heat the oven to 400°F (204°C). Line the bottom of a cupcake pan with parchment paper to catch drips and keep it clean.
- Prepare Taco Shells: Brush both sides of each tortilla with melted butter, then sprinkle generously with the cinnamon sugar mixture on both sides. Fold each tortilla in half to form a taco shape and place them over the upside-down bumps of the cupcake pan to support the shape during baking.
- Bake Shells: Bake the assembled tortillas in the preheated oven for 8–10 minutes, or until they begin to brown and crisp. Remove and allow them to cool in the pan for 10 minutes to firm up, then transfer to a cooling rack to cool completely.
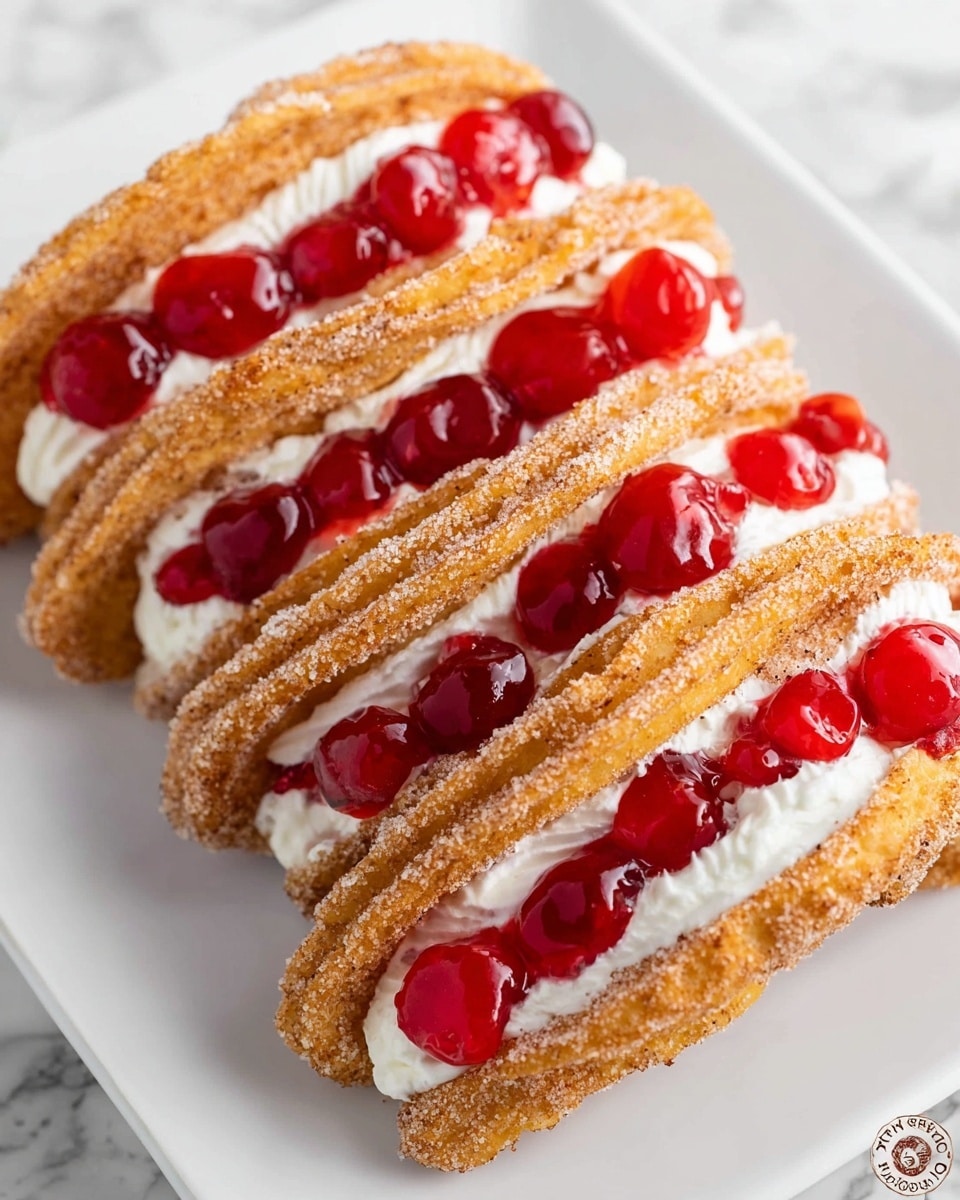
- Fill Tacos: Once cooled, pipe a line of the cheesecake filling down the center of each taco shell.
- Add Cherry Topping: Spoon 3 to 4 cherries along with some sauce from the cherry pie filling on top of the cheesecake filling in each taco.
- Serve: Serve the cherry cheesecake tacos immediately for best texture and flavor.
Notes
- Using a cupcake pan to shape the tortillas helps maintain the taco shell form during baking.
- Cooked taco shells will be soft initially, but chilling allows them to crisp up nicely.
- Store any leftover cheesecake filling in the refrigerator for up to 2 days.
- You can substitute cherry pie filling with other fruit pie fillings for variety.
- For a gluten-free version, use gluten-free tortillas if available.
Keywords: cherry cheesecake tacos, dessert tacos, cinnamon sugar taco shells, no-bake cheesecake filling, party dessert

