Tartlet Shells Recipe
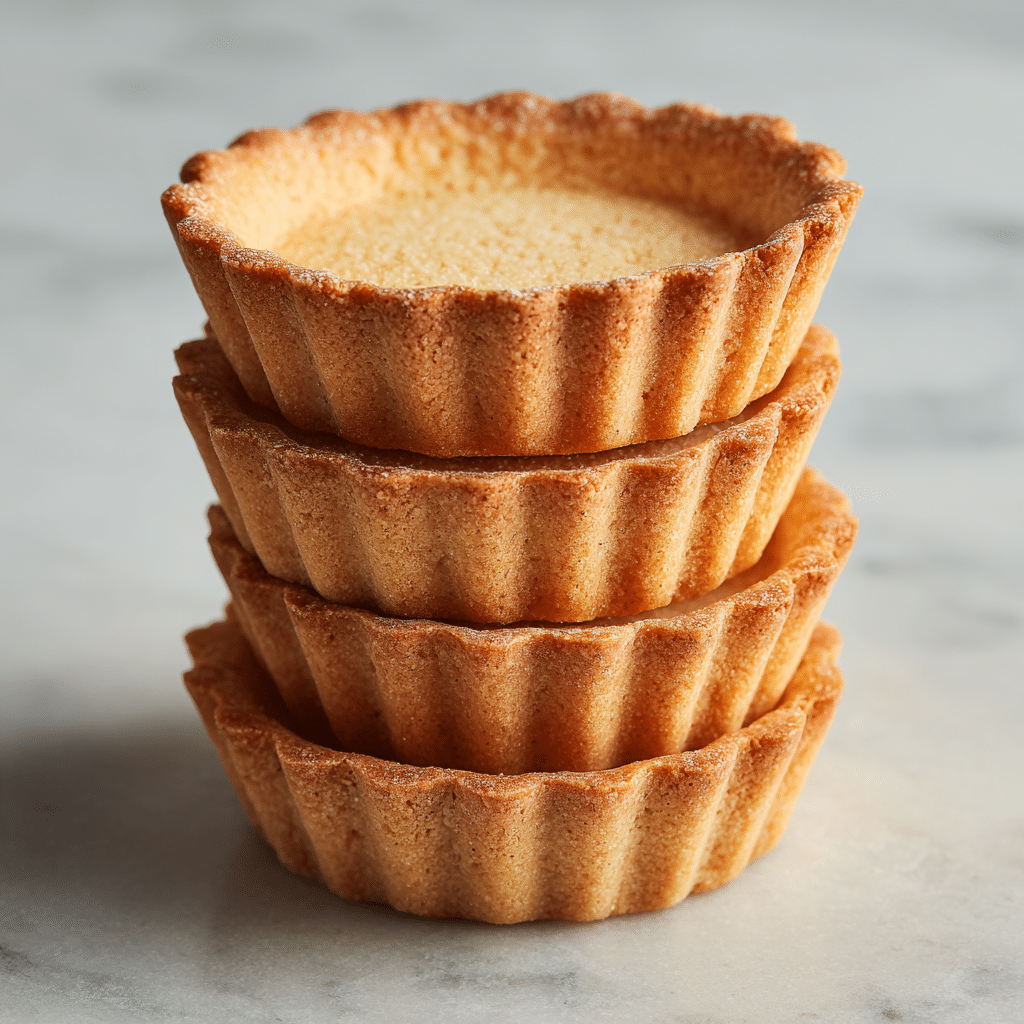
Creating Tartlet Shells from scratch is one of my favorite kitchen projects, and I’m endlessly excited to share this recipe with you! With a crisp, buttery bite and delicately sweet undertones, these little pastry wonders are the foundation for countless sweet or savory masterpieces. Learning how to make perfect tartlet shells gives you the keys to an entire world of elegant desserts—think lemon curd, chocolate ganache, fresh fruit, or even gorgeous brunch quiches. Their versatility and flavor make this recipe an absolute must-have for your baking repertoire.
Ingredients You’ll Need
The beauty of Tartlet Shells lies in their simplicity. Just a handful of kitchen-staple ingredients combine to create a melt-in-your-mouth pastry that tastes way fancier than the effort required. Each one plays a crucial role in achieving that tender, golden crust.
- Plain flour (all-purpose): This is your base, providing structure and that flaky bakery-style texture—measure carefully for the best results.
- Icing sugar (powdered sugar): A touch of sweetness balances the butter and delivers a smooth, almost silky crumb.
- Unsalted butter, chilled & cubed: Cold butter is non-negotiable! It creates irresistible layers and rich flavor; cubing it helps it incorporate quickly.
- Large egg, cold: The egg brings the dough together, adding richness and just enough moisture for a supple yet sturdy pastry.
How to Make Tartlet Shells
Step 1: Combine Flour and Sugar
Start by adding your flour and icing sugar to the bowl of a food processor. Give them a few pulses to ensure everything is evenly distributed—this simple blend ensures each bite of your tartlet shells is perfectly balanced and avoid those frustrating clumps of sugar.
Step 2: Work in the Butter
Add your chilled, cubed butter to the mixture. Pulse until the texture resembles sand with a few lentil-sized pieces of butter still visible. Seeing those small dots of butter is a good thing—it means your tartlet shells will bake up beautifully crisp and flaky!
Step 3: Add the Egg
Now, crack in your cold egg and process on low until the dough starts to gather into large clumps. The magic is happening! This step is where the richness and tenderness of the tartlet shells really start to come together.
Step 4: Shape the Dough
Turn your dough out onto the counter and gently bring it together using your hands—less is more here, as overhandling can make the pastry tough. Once it’s a smooth ball, press it into a 1-inch thick disk. This makes rolling easier and helps the dough chill evenly.
Step 5: Roll Out the Dough
On a lightly floured surface, place your dough disk and dust the top with a sprinkle of flour. Gently and gradually roll the dough to about 3mm (just under 1/8 inch) thick, rotating as you go. This helps prevent sticking and ensures even thickness for your tartlet shells.
Step 6: Cut and Line the Tin
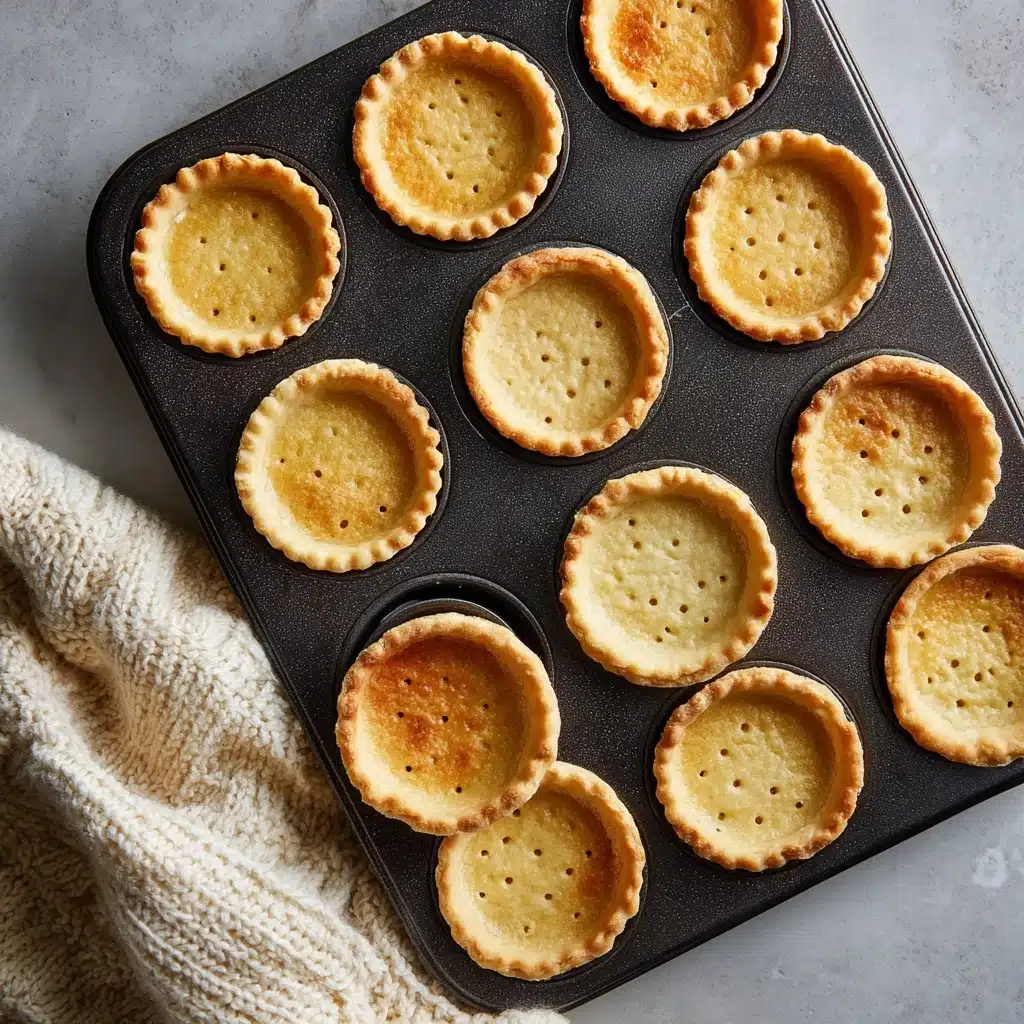
Grab a 9cm (3 ½ inch) round cutter and cut out circles of dough—try to get 12 on the first roll and as many as possible on the second roll, handling the dough as little as you can. Use an offset spatula to lift the rounds so they don’t lose their shape, and gently fit them down into the holes of a 12-cup non-stick muffin tin. Press lightly into corners for that classic tartlet shape.
Step 7: Chill the Tartlet Shells
Pop your lined tin into the fridge and chill for at least 2 hours (or overnight if you want to get ahead). Please don’t skip this step! Chilling keeps your tartlet shells from shrinking and helps maintain their gorgeous, crisp edges when baked.
Step 8: Prep for Baking
Preheat your oven to 180C (350F). Prick the base of each shell with a fork, line with cupcake cases or small pieces of baking paper, and fill with rice or pie weights. Press down slightly to anchor the lining, and you’re ready to go! This ensures your tartlet shells hold their shape and don’t bubble up in the oven.
Step 9: Bake to Perfection
Bake for 15 minutes, then remove the weights and liners. For shells that will be baked again with filling, pop them back in for 2-3 minutes to just set the bases. If you’re filling them with something no-bake (like pastry cream or mousse), continue baking for another 7-8 minutes until they’re beautifully golden brown. Once done, let your tartlet shells cool on a wire rack and marvel at your own pastry prowess!
How to Serve Tartlet Shells
Garnishes
There’s something magical about dressing up tartlet shells with simple yet stunning garnishes. Fresh berries, a dusting of powdered sugar, a swirl of whipped cream, or even delicate edible flowers turn your tartlets into true showstoppers. A little garnish goes a long way for both flavor and flair!
Side Dishes
Pair your tartlet shells with a lightly dressed salad or cheese board if you’re going savory, or offer a bowl of fresh seasonal fruit for a sweet treat. They’re delightful alongside coffee, tea, or sparkling wine, making them perfect for any brunch table or afternoon gathering.
Creative Ways to Present
Try arranging your filled tartlet shells on a tiered cake stand for high tea vibes, or give each guest their own mini tartlet flight with a variety of fillings to taste. For extra charm, tie a little ribbon around a batch and gift them as edible party favors—they’re every bit as delightful to give as to eat!
Make Ahead and Storage
Storing Leftovers
Tartlet shells keep beautifully for up to 3 days at room temperature in an airtight container. If you’ve already filled them, refrigerate and enjoy within 24 hours for the best texture. The shells stay crisp and delicious, ready for an impromptu treat!
Freezing
Unfilled tartlet shells freeze like a dream. Simply cool them completely, layer between sheets of baking paper in an airtight container, and freeze for up to one month. They thaw quickly at room temperature and taste just as lovely as the day you made them.
Reheating
To recharge day-old tartlet shells, pop them back in a hot oven (about 150C/300F) for 5 minutes. This refreshes their crispness without any fuss—your guests will never know they weren’t baked that same morning!
FAQs
Can I make the tartlet dough ahead of time?
Absolutely! You can prep the dough, shape it into a disk, and keep it wrapped in the fridge for up to two days. Just let it soften slightly before rolling out for easier handling.
Is it possible to make tartlet shells without a food processor?
Yes, you can easily make the dough by hand using a pastry cutter or your fingertips to rub in the butter until the mixture resembles sand. It’s a wonderful hands-on baking experience!
What’s the best way to keep tartlet shells from shrinking?
Chilling the lined tartlet shells thoroughly before baking and using pie weights during the first bake are both crucial. These steps help your tartlets keep their lovely shape and size.
Can I use these tartlet shells for savory fillings?
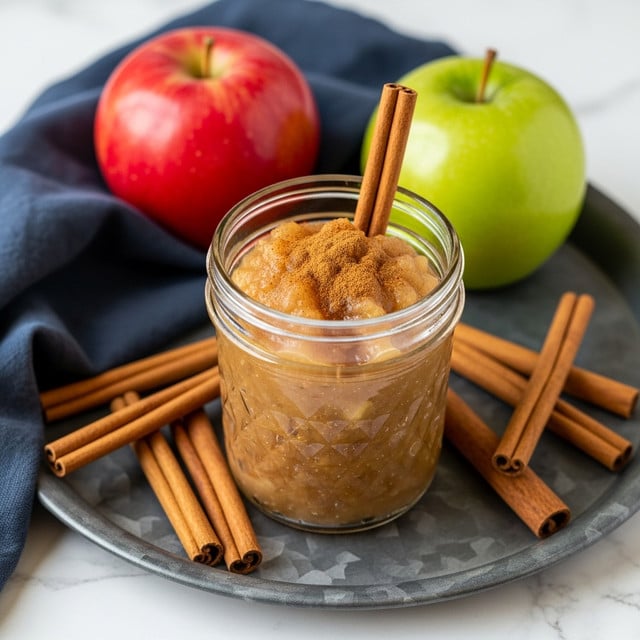
Definitely! All you need to do is reduce the icing sugar a bit (or omit it altogether), and you’ll have a perfect base for quiches, cheese, or roasted veggie fillings. The dough is wonderfully adaptable.
Why prick the bases before baking?
Pricking the bases with a fork helps release steam and keeps the tartlet shells from puffing up, ensuring a flat, even surface that’s perfect for any filling you can imagine.
Final Thoughts
I hope you’re feeling inspired to roll up your sleeves and try these Tartlet Shells yourself. They’re a core baking skill that opens up so many sweet and savory possibilities—plus, nothing beats that sense of accomplishment when you bite into your own homemade pastry. Happy baking!
PrintTartlet Shells Recipe
Learn how to make perfect tartlet shells from scratch with this easy recipe. These tender, buttery pastry shells are ideal for sweet or savory fillings.
- Prep Time: 20 minutes
- Cook Time: 20 minutes
- Total Time: 2 hours 40 minutes
- Yield: 12 tartlet shells 1x
- Category: Dessert
- Method: Baking
- Cuisine: Global
- Diet: Vegetarian
Ingredients
Dough
- 225 g plain flour (1 ¾ cups / 8oz)
- 60 g icing sugar (½ cup / 2oz)
- 100 g unsalted butter, chilled & cubed (7 tablespoons / 3.5oz)
- 1 large egg, cold
Instructions
- Combine Dry Ingredients: Place flour and icing sugar in a food processor.
- Add Butter: Add cubed cold butter and blitz until sand-like texture.
- Add Egg: Process on low until clumps form.
- Form Dough: Shape into a disk, roll out, and cut into circles.
- Prepare Muffin Tin: Press dough circles into tin holes and chill.
- Bake: Preheat oven, prick bases, fill with weights, and bake until golden.
- Cool: Remove from oven and let cool on a wire rack.
Nutrition
- Serving Size: 1 tartlet shell
- Calories: 150
- Sugar: 6g
- Sodium: 75mg
- Fat: 9g
- Saturated Fat: 5g
- Unsaturated Fat: 3g
- Trans Fat: 0g
- Carbohydrates: 15g
- Fiber: 0.5g
- Protein: 2g
- Cholesterol: 30mg
Keywords: tartlet shells, pastry shells, homemade tartlets
