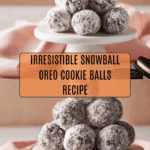
Snowball Oreo Cookie Balls Recipe
If you have a serious sweet tooth and a love for easy, impressive treats, then Snowball Oreo Cookie Balls are about to become your new dessert obsession. These little bites are ultra-creamy, satisfyingly chocolatey, and finished with a blanket of powdered sugar that looks like soft snow—hence the name! Not only do they come together with just three simple ingredients, but the end result is always stunningly delicious and delightfully festive. Whether you’re sharing them at a party or sneaking one for yourself with an afternoon coffee, Snowball Oreo Cookie Balls add a touch of joy to any occasion.
Ingredients You’ll Need
Gather your ingredients—these are the building blocks that guarantee every bite bursts with flavor and has that perfect melt-in-your-mouth texture. Each one truly pulls its weight, giving you creamy richness, deep chocolate flavor, and that signature snowy finish.
- Softened cream cheese: Provides the ultra-creamy texture that binds everything together—be sure it’s fully softened for the smoothest mixture.
- OREO Cookies (finely crushed): These bring the iconic chocolatey crunch and a little bit of magic as the backbone of our cookie balls.
- Powdered sugar: This not only sweetens the mix but, when used for rolling, gives the cookie balls their gorgeous “snowball” look and an irresistible sweet finish.
How to Make Snowball Oreo Cookie Balls
Step 1: Prepare Your Baking Sheet
Start by covering a large, rimmed baking sheet with wax paper. This nonstick surface makes it super easy to later transfer your Snowball Oreo Cookie Balls, and it keeps cleanup to a minimum. Trust me, this simple prep-step saves you so much time!
Step 2: Blend the Cream Cheese and OREO Crumbs
In a large bowl, combine the softened cream cheese and your finely crushed OREO cookies. You can use a food processor to pulse the OREOs into fine crumbs before mixing. Stir everything together until you have a rich, uniform mixture—don’t worry if your hands get involved; that’s all part of the fun.
Step 3: Shape the Cookie Balls
Take about a tablespoon of the mixture and roll it gently between your palms to form a 1-inch ball. The mixture should be soft but manageable. Set each ball aside until you’ve shaped them all—aim for consistency, but don’t stress if each one has its own unique character!
Step 4: Roll in Powdered Sugar
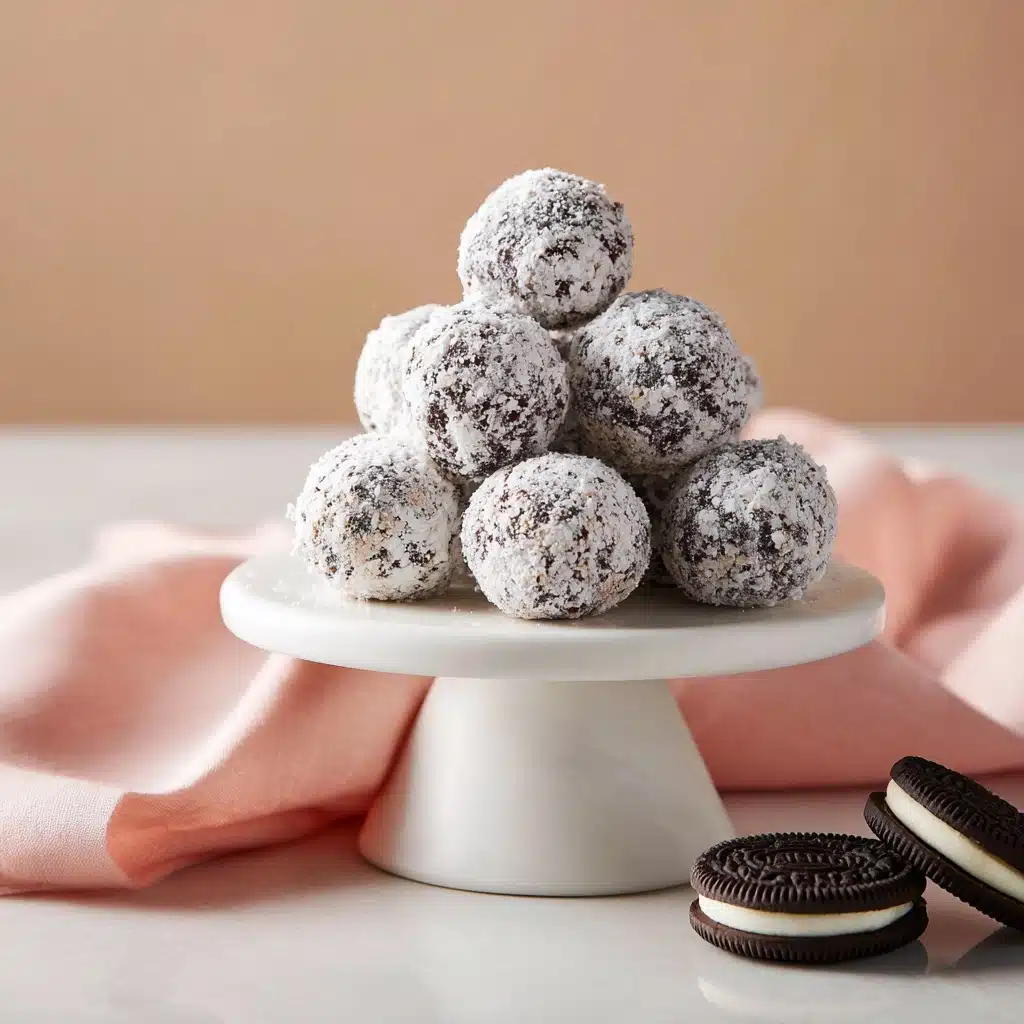
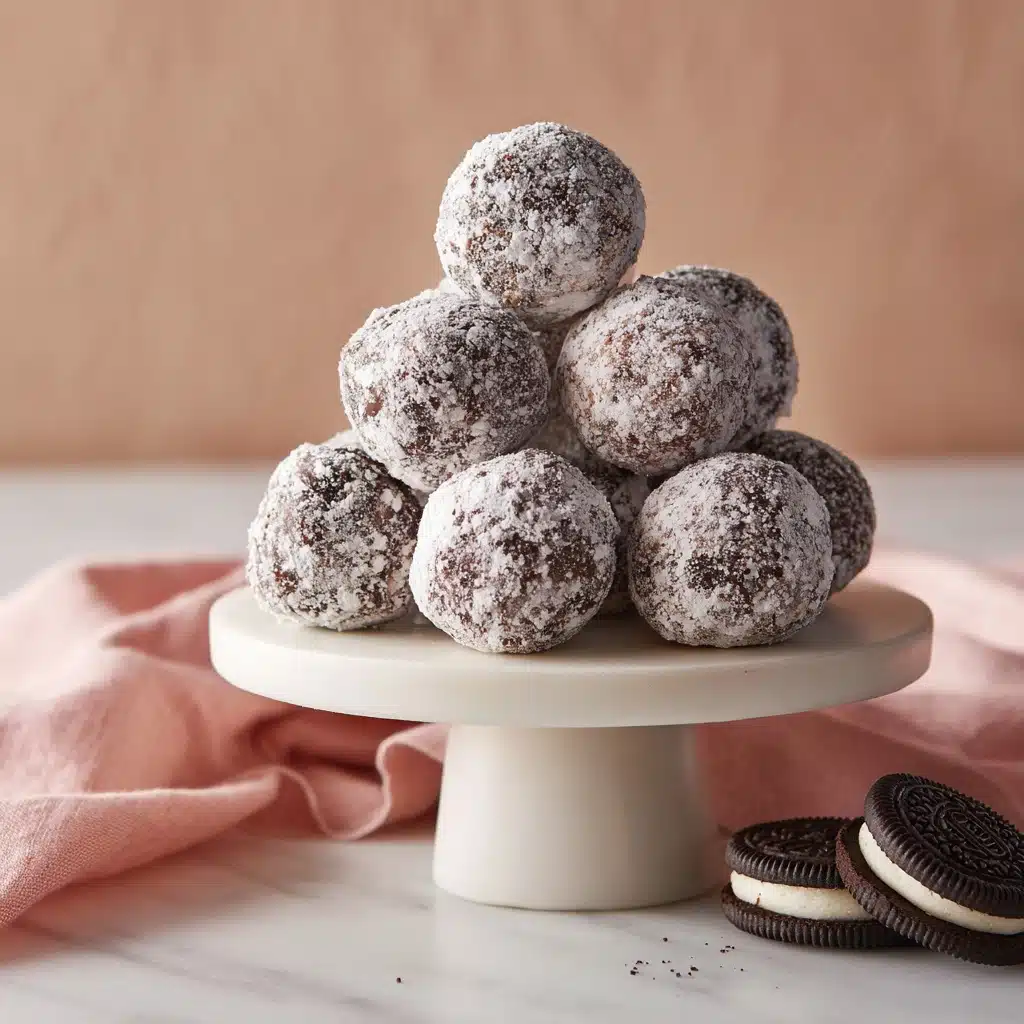
Pour your powdered sugar into a shallow bowl. Gently roll each OREO cream cheese ball in the sugar until it’s evenly coated on all sides, completely blanketing it like a snowball. This step is what gives Snowball Oreo Cookie Balls their distinct look and an extra pop of sweetness.
Step 5: Chill Until Firm
Arrange your finished cookie balls on the wax-paper-lined baking sheet in a single layer. Pop the tray into the refrigerator for at least one hour, or until the balls are firm to the touch. This helps all the flavors meld and ensures each bite is perfectly creamy and set when you’re ready to serve.
How to Serve Snowball Oreo Cookie Balls
Garnishes
To take your presentation up a notch, consider adding a sprinkle of extra powdered sugar just before serving. A little dusting makes everything look fresh and extra snowy. You can also add a touch of edible glitter or a single mini chocolate chip on top for a playful twist!
Side Dishes
While Snowball Oreo Cookie Balls shine on their own, they pair surprisingly well with bright, tangy berries or a platter of sliced fresh fruit. If you want to go really decadent, set out a bowl of coffee or hot chocolate for dunking. The warmth and creaminess are a match made in dessert heaven.
Creative Ways to Present
For a festive look at parties, pile your Snowball Oreo Cookie Balls into a pyramid on a cake stand or arrange them in mini cupcake liners on a platter. You could even skewer each one with a toothpick or small decorative stick to turn them into easy grab-and-go treats—perfect for dessert buffets or holiday gatherings!
Make Ahead and Storage
Storing Leftovers
Leftover Snowball Oreo Cookie Balls keep beautifully in the fridge. Simply store them in an airtight container, layering parchment or wax paper between each row to prevent sticking. They’ll stay fresh and creamy for up to a week, ready whenever a sweet craving strikes.
Freezing
If you want to get ahead, these cookie balls freeze well! Arrange them on a baking sheet and freeze until solid, then transfer to a zip-top bag or airtight container. They’ll keep for up to two months—just remember to let them thaw in the fridge before serving so you get that signature creamy center.
Reheating
Good news: No reheating required for Snowball Oreo Cookie Balls! They’re meant to be enjoyed chilled straight from the fridge. If they’ve been frozen, give them a few hours to thaw in the refrigerator before savoring every bite.
FAQs
Can I use a different flavor of Oreo cookies?
Absolutely! Feel free to get creative with Golden OREOs, Mint OREOs, or any other flavor that catches your eye. Each one adds its own signature flair to the classic Snowball Oreo Cookie Balls recipe.
Do I need a food processor to crush the cookies?
While a food processor makes crushing OREOs quick and easy, you can definitely place them in a sturdy bag and crush them with a rolling pin if you prefer a more hands-on approach. Just be sure the crumbs are fine for the smoothest texture.
Can I make these ahead for a party?
Yes! These treats are a dream for advance prep. Make your Snowball Oreo Cookie Balls up to 2–3 days ahead, keep them chilled, and roll them in a little extra powdered sugar right before serving to freshen up their snowy appearance.
What’s the best way to gift these cookie balls?
A decorative box or cellophane bag tied with a ribbon turns Snowball Oreo Cookie Balls into a gorgeous homemade gift. Just layer them with wax paper to keep them pretty and prevent them from sticking together.
Do I need to bake anything for this recipe?
Not at all! This recipe is entirely no-bake, which means you can satisfy your cookie (and chocolate) cravings without ever turning on the oven. It’s a fantastic quick fix for dessert emergencies or summer treats!
Final Thoughts
Trust me when I say that once you’ve tried Snowball Oreo Cookie Balls, they’ll become your go-to treat for parties, holidays, or just because. They’re effortless, totally delicious, and guaranteed to bring a smile to anyone who tastes one. Don’t wait—gather your ingredients and treat yourself (and some friends!) to these irresistible bites of happiness today.
PrintSnowball Oreo Cookie Balls Recipe

Irresistibly delicious Snowball Oreo Cookie Balls are a perfect no-bake treat for any occasion. Creamy, chocolaty Oreo cookie truffles coated in a snowy layer of powdered sugar – a delightful indulgence!
- Prep Time: 20 minutes
- Cook Time: 0 minutes
- Total Time: 1 hour 20 minutes
- Yield: Makes about 36 cookie balls 1x
- Category: Dessert
- Method: No-Bake
- Cuisine: American
- Diet: Vegetarian
Ingredients
Cream Cheese Mixture:
- 1 8 oz. brick cream cheese, softened
Cookie Balls:
- 36 OREO Cookies, finely crushed
Coating:
- 1/2 cup powdered sugar
Instructions
- Combine the ingredients: Cover a large rimmed baking sheet with wax paper. Mix the softened cream cheese and crushed cookie crumbs until well combined.
- Shape the OREO Cookie balls: Form the cream cheese mixture into 1-inch balls. Roll each ball in powdered sugar until evenly coated. Place the coated balls on the prepared baking sheet in a single layer.
- Chill the cookie balls: Refrigerate the cookie balls for at least 1 hour or until firm. Keep them refrigerated until serving.
Nutrition
- Serving Size: 1 cookie ball
- Calories: 90
- Sugar: 8g
- Sodium: 70mg
- Fat: 5g
- Saturated Fat: 2.5g
- Unsaturated Fat: 2g
- Trans Fat: 0g
- Carbohydrates: 10g
- Fiber: 0.5g
- Protein: 1g
- Cholesterol: 10mg
Keywords: Oreo, Cookie Balls, No-Bake, Dessert, Easy, Cream Cheese, Powdered Sugar


