Homemade Coffee Creamer Recipe
Imagine waking up to the aroma of freshly brewed coffee and (even better!) having your own homemade Chocolate Coffee Creamer, ready to swirl into your cup. This simple yet decadent treat is about more than just flavor — it’s about customizing your mornings and dazzling your friends and family with your barista skills! Whether you like a classic vanilla touch or dream of more adventurous spins, homemade creamer transforms your coffee break into a mini celebration you’ll look forward to each day.
Ingredients You’ll Need
Let’s embrace the beauty of building blocks — these basic ingredients are your ticket to a super-smooth, perfectly balanced homemade creamer. Each plays a vital role, from the luscious texture of dairy to the mellow sweetness that brings every flavor to life.
- 3/4 cup half and half: This adds richness and that luxurious mouthfeel you crave in every sip.
- 14 ounces sweetened condensed milk: The star for sweetness, condensed milk also brings creamy body to the mix. (396 grams)
- 1 cup milk: Go skim for a lighter version, or use whole milk if you love full-bodied creamers. Any option works! (227 grams or 236.6 ml)
- 2-3 teaspoons vanilla extract: This is what gives the original its signature warmth and aroma — a must for classic, or your “base note” for flavors like Chocolate Coffee Creamer
How to Make homemade Coffee Creamer
Step 1: Gather and Measure Your Ingredients
Set out all your ingredients so you have everything at arm’s reach. Measuring accurately is key — it ensures that the balance of sweetness, creaminess, and flavor comes out just right, whether you’re keeping it classic or venturing into Chocolate Coffee Creamer.
Step 2: Combine in a Mixing Bowl or Pitcher
Pour the half and half, sweetened condensed milk, regular milk, and vanilla extract into a medium mixing bowl or a large pitcher. By mixing everything in one container, you’ll make blending and pouring much easier — especially if you want to transfer it to pretty bottles later!
Step 3: Whisk Until Perfectly Smooth
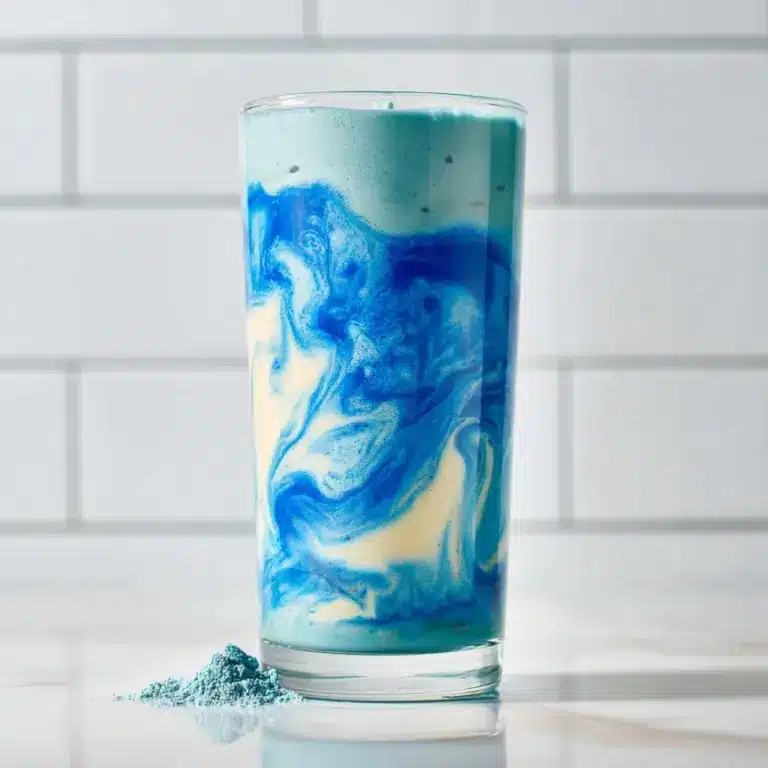
Grab a whisk and stir until you see one silky-smooth, uniform liquid. Don’t rush — just a good minute or two does the magic. If you’re making a flavored version, this is the time to stir in your chocolate syrup, cinnamon, mint extract, almond extract, or caramel sauce for that unique twist.
Step 4: Transfer and Store
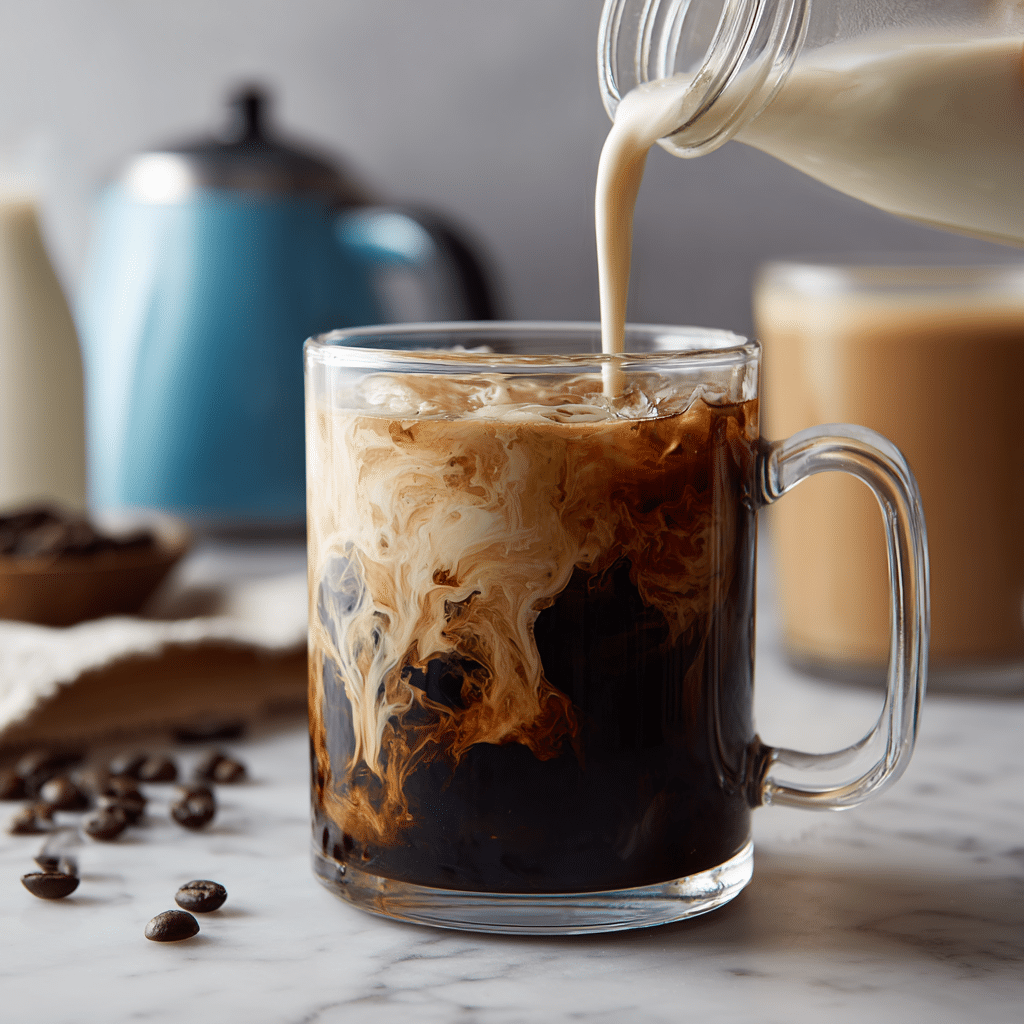
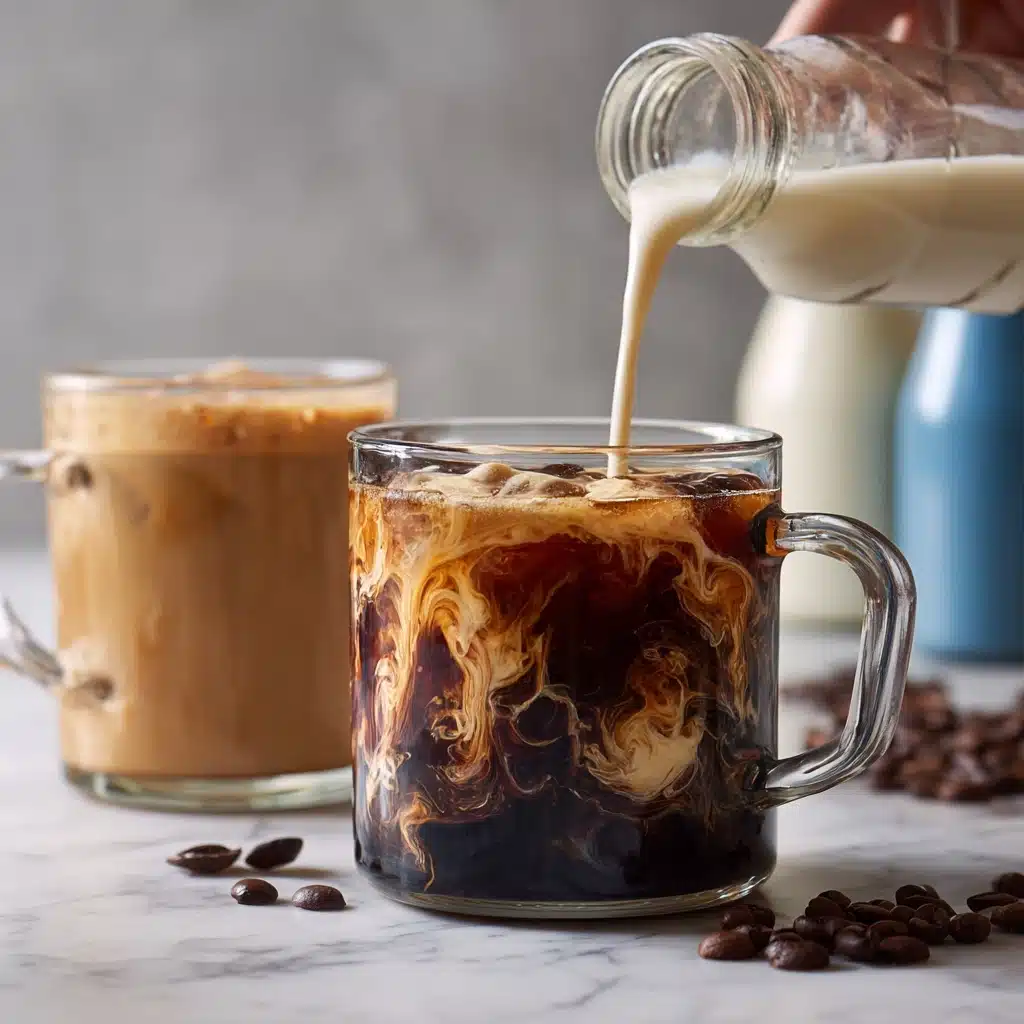
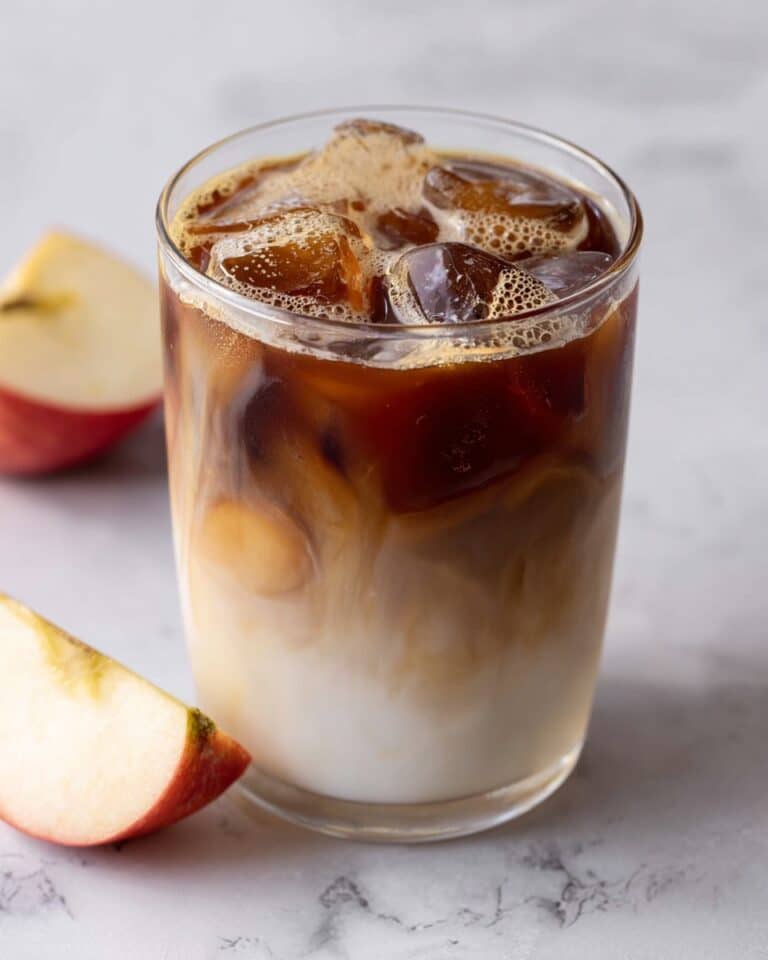
Carefully pour your homemade creamer into a clean, sealable container or bottle. The best part is labeling and storing your masterpiece in the fridge, ready to jazz up your morning routine or impress surprise guests with a custom Chocolate Coffee Creamer.
Step 5: Shake and Serve
Don’t forget, creamers settle a little! Shake the container before each use to make sure all those rich, creamy elements are perfectly blended. Now, go ahead—pour it straight into your hot cup, iced java, or let your imagination roam!
How to Serve Homemade Coffee Creamer
Garnishes
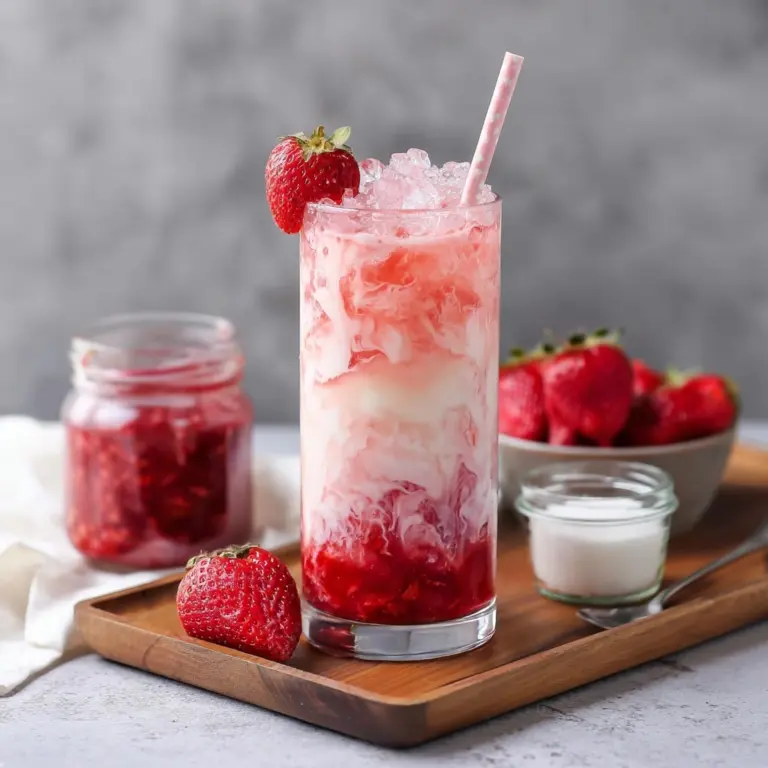
Take your coffee game a notch higher with a dollop of whipped cream, a pinch of spice, or chocolate shavings on top. For a Cinnamon Coffee Creamer, a dusting of ground cinnamon does wonders, and for Caramel Coffee Creamer, try a caramel drizzle over the foam. These little extras make your mug as gorgeous as it is scrumptious!
Side Dishes
Pairing is part of the fun! Enjoy alongside a buttery croissant, a crisp biscotti, or even a hearty breakfast cookie. Flavored creamers like Mint or Almond are surprisingly great with chocolate pastries or simple toast with nut butter. Seriously, it all becomes café-worthy in seconds.
Creative Ways to Present
Nothing impresses friends more than a homemade touch, so decant your Chocolate Coffee Creamer into small glass bottles or mason jars. Add a handwritten label, tie on a ribbon, or set up a mini “creamer bar” with several flavors for brunch gatherings.
Make Ahead and Storage
Storing Leftovers
Homemade coffee creamer keeps beautifully in the refrigerator for up to one week. Use a tightly sealed container or a bottle with a pour spout for spill-proof storage. Always shake before pouring, as natural separation can occur — but that’s a sign of true, fresh ingredients!
Freezing
If you made a big batch or want to plan ahead, freeze portions in ice cube trays. Once solid, transfer the cubes to a freezer bag. Pop a cube or two into a hot mug of coffee as needed, or defrost in the fridge overnight for larger servings of Chocolate Coffee Creamer time you crave it!
Reheating
If you prefer your creamer warmed, gently heat a portion in the microwave for 10-15 seconds. Stir and check that it’s not too hot before adding to your coffee. This step is especially cozy on chilly mornings, making your favorite cup even more comforting.
FAQs
Can I use non-dairy milk for this creamer?
Absolutely! Substitute the half and half and milk with your favorite non-dairy options like almond, oat, or coconut milk. The flavor and consistency might vary, but it still results in a silky, delicious creamer.
How do I make a Homemade Coffee Creamer?
Just add your desired flavoring to the base creamer—think chocolate syrup for chocolate, a teaspoon of ground cinnamon for cinnamon, a splash of mint extract for mint, a dash of almond extract for almond, or caramel sauce for caramel. Adjust to taste, and you’ve got a personalized creamer in seconds!
Is it possible to make this sugar-free?
While sweetened condensed milk brings the signature sweetness and texture, you can find sugar-free versions at most groceries. Alternatively, experiment with homemade recipes using sugar substitutes and evaporated milk blended with your sweetener of choice.
How long does homemade creamer last in the fridge?
Plan on using your homemade creamer within a week for the freshest flavor and best texture. Always check for any signs of spoilage and err on the side of caution if it’s been longer.
Can I double or halve the recipe?
Definitely! This recipe is super flexible. Double it for a crowd or halve it if you’re making it just for yourself. The process and results stay the same—just be sure to keep the ingredient ratios in proportion.
Final Thoughts
There’s truly nothing cozier than mixing up a batch of Chocolate Coffee Creamer to call your own. If you’re after a coffee ritual that’s both simple and swoon-worthy, this homemade touch is all you need! Give it a try, have fun experimenting with flavors, and don’t be surprised when you retire the store-bought stuff for good.
PrintHomemade Coffee Creamer Recipe

Enjoy a rich and creamy cup of coffee with this easy homemade coffee creamer recipe. Say goodbye to store-bought versions and customize your coffee just the way you like it!
- Prep Time: 5 minutes
- Cook Time: 0 minutes
- Total Time: 5 minutes
- Yield: About 3 cups 1x
- Category: Beverage
- Method: Mixing
- Cuisine: American
- Diet: Vegetarian
Ingredients
Homemade Coffee Creamer
- 3/4 cup half and half
- 14 ounces sweetened condensed milk (396 grams)
- 1 cup milk (skim works great, but you can use a higher fat content milk (227 grams or 236.6 ml))
- 2–3 teaspoons vanilla extract
Instructions
- Mix the Ingredients: Combine all the ingredients in a bowl. Whisk until well combined.
- Store: Transfer the mixture to a jar or container. Store in the refrigerator.
- Enjoy: Shake well before each use. Use within one week for best flavor.
Notes
- This recipe is for vanilla coffee creamer. Check the post for other flavor variations.
Nutrition
- Serving Size: 1 tablespoon
- Calories: 40 kcal
- Sugar: 4g
- Sodium: 20mg
- Fat: 2g
- Saturated Fat: 1.5g
- Unsaturated Fat: 0.5g
- Trans Fat: 0g
- Carbohydrates: 4g
- Fiber: 0g
- Protein: 1g
- Cholesterol: 10mg
Keywords: Coffee Creamer, Homemade, Vanilla, Beverage
