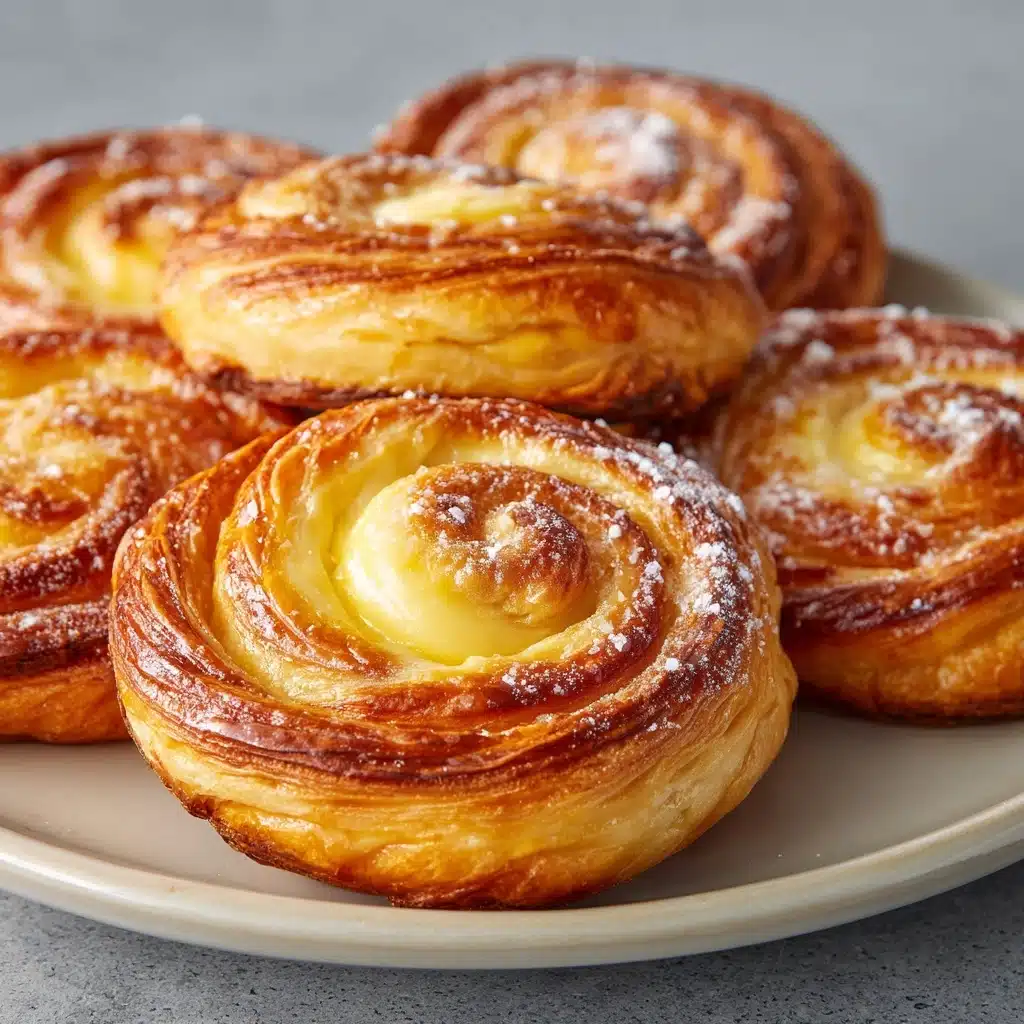
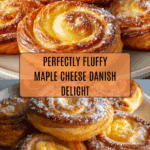
Heavenly Cheese Danish Recipe
If you’re in the mood for something irresistibly decadent yet delightfully easy to whip up, let me introduce you to my all-time favorite: Heavenly Cheese Danish. This gorgeous, bakery-worthy treat features pillowy, buttery pastry spirals with a sweetened, tangy cream cheese center and a hint of maple glaze. Baked until golden and lightly kissed with cinnamon, these danishes are the ultimate comfort — perfect for breakfast, brunch, or a cozy anytime snack. I guarantee they’ll vanish in a heartbeat, so make extra!
Ingredients You’ll Need
The best recipes don’t need a mile-long list — just the right high-quality ingredients paired perfectly. Every element in this Heavenly Cheese Danish plays a crucial role, from creating that flaky texture to infusing gentle sweetness and warmth.
- Active dry yeast: The magic that brings the dough to life with a satisfying rise and airy texture.
- Warm water: Ideal for activating the yeast and getting your dough started right — make sure it’s not too hot!
- All-purpose flour: The backbone of the pastry, giving structure and that classic bakery crumb.
- Granulated sugar: For just the right touch of sweetness in both the dough and cheese filling.
- Salt: An essential balance for all the sweet flavors, enhancing depth and complexity.
- Cold butter, cubed: The secret to those impossibly flaky layers and rich, melt-in-your-mouth bites.
- 2% milk: Helps to create a tender and luscious dough without making it heavy.
- Large egg yolks: Imparts beautiful color, richness, and a supple, soft crumb to the finished pastry.
- Ground cinnamon: Adds irresistible warmth and aromatic flair in every twist.
- Cream cheese, softened: At the heart of every Heavenly Cheese Danish — tangy, creamy, and utterly indulgent.
- Egg (separated): The yolk gives body to the filling, while the white makes the dough shine when baked.
- Maple syrup: A luscious glaze that adds sweet finish and that signature glossy top.
How to Make Heavenly Cheese Danish
Step 1: Activate the Yeast
Pour your warm water into a small bowl and sprinkle in the yeast. Give it a gentle stir and let it sit for about 5 minutes until it looks foamy on top. This little step is the start of a lofty, tender dough!
Step 2: Prepare the Dough Base
In a roomy bowl, mix together your flour, sugar, and salt. Now, cut in those cold cubes of butter with a pastry blender or two forks until you have a crumbly mix; this ensures pockets of buttery goodness all throughout your Heavenly Cheese Danish.
Step 3: Combine Wet Ingredients
Stir the milk and egg yolks into the yeast mixture, then pour everything into your flour blend. Mix until a soft, slightly sticky dough forms. It doesn’t have to be perfect! Cover the bowl and refrigerate this magic overnight — or even up to 24 hours — to let all the flavors deepen and the dough chill for easy handling.
Step 4: Shape the Danish
Once chilled, punch down the dough and divide it into four equal parts. On a lightly floured surface, gently pat each piece into a 9 by 4-inch rectangle. Sprinkle each with a touch of cinnamon, then slice lengthwise into four 1-inch strips per rectangle. Give each strip a gentle twist, coil it up, and tuck the end underneath, pinching to seal. Place your future delights on greased baking sheets, making sure they aren’t crowded.
Step 5: Make the Cream Cheese Filling
Beat together the softened cream cheese, remaining sugar, and egg yolk until silky smooth. Then, press a little well into the center of each dough coil, filling each with a generous tablespoon of the cream cheese mixture. Prepare yourself for the best part — your kitchen will smell phenomenal!
Step 6: Let Rise
Cover the prepared danishes and let them rise somewhere warm and cozy for around 45 minutes, until doubled in size. This is when they become truly fluffy and airy.
Step 7: Egg Wash and Bake
Preheat your oven to 350°F. Beat the egg white with a tablespoon of water, then brush it gently over the pastry. Pop the trays in for 15 to 20 minutes, until golden and beautiful. Immediately transfer to wire racks and brush the warm danishes with maple syrup. Resist the urge to sneak one — but only if you must!
How to Serve Heavenly Cheese Danish
Garnishes
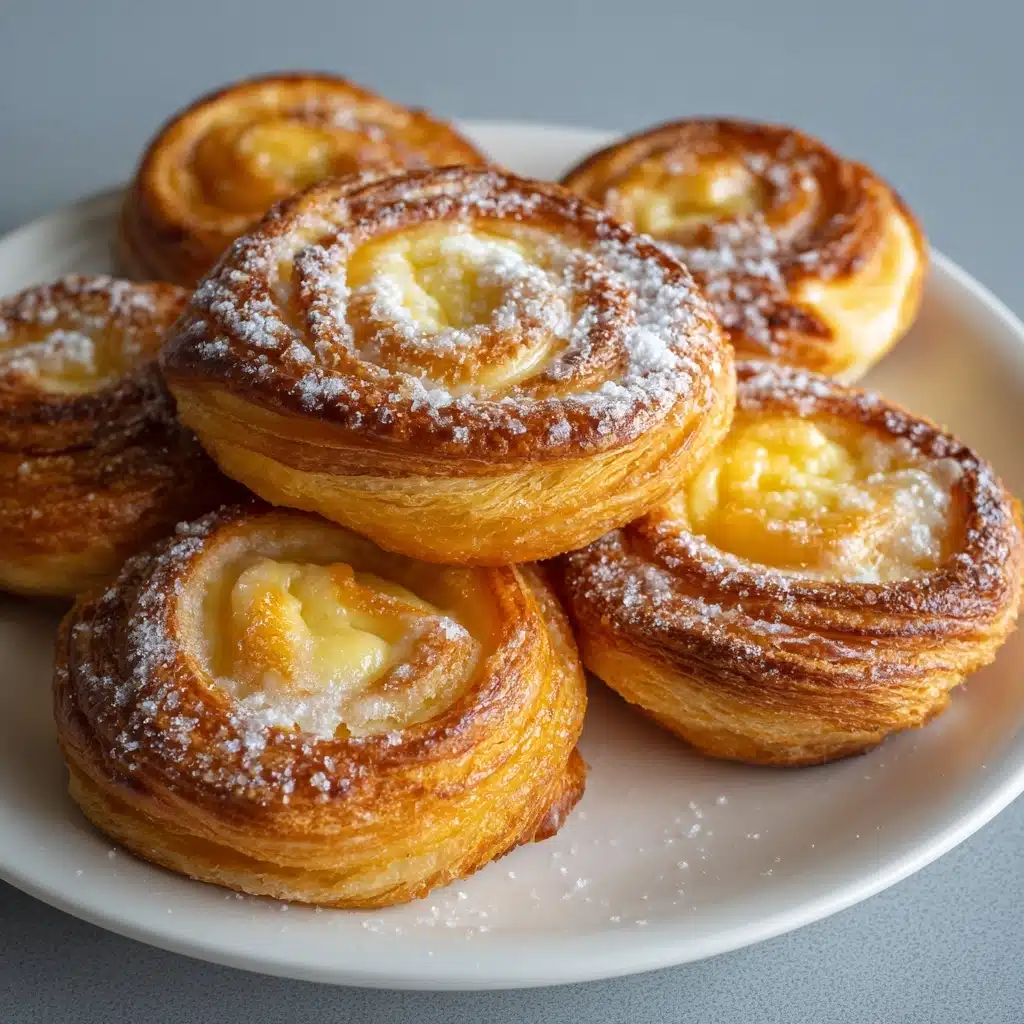
A sprinkle of powdered sugar is pure magic here, while an extra drizzle of maple syrup or a few fresh berries can make your Heavenly Cheese Danish look (and taste) even more special. Chopped toasted pecans or almonds add a satisfying crunch and extra luxury.
Side Dishes
Pair a warm danish with velvety coffee or a frothy latte for breakfast bliss, or serve alongside an easy fruit salad for a brunch spread that’ll have everyone coming back for seconds. For an indulgent treat, add a dollop of vanilla whipped cream on the side.
Creative Ways to Present
Arrange your Heavenly Cheese Danish in a wreath shape on a platter for holidays and brunches, or tuck individual pieces into festive bakery boxes for gifting. Mini versions are perfect for a party, while full-size coils look fabulous with a dusting of edible flower petals or citrus zest.
Make Ahead and Storage
Storing Leftovers
If you somehow manage to have any leftovers, simply store your cooled danishes in an airtight container at room temperature for one day, or refrigerate for up to three days. Let them come to room temperature before serving for best flavor and softness.
Freezing
Your Heavenly Cheese Danish freeze beautifully! After baking and cooling, wrap each danish snugly in plastic wrap and pop them in a freezer bag. They’ll keep happily for up to two months — perfect for whenever you need a sweet lift.
Reheating
To rewarm, arrange danishes on a baking sheet and bake at 300°F for about 8–10 minutes, or until warmed through. You can also use a toaster oven for a quick treat. Avoid microwaving, as it can make the pastry a bit gummy instead of flaky.
FAQs
Can I make Heavenly Cheese Danish with pre-made dough?
Absolutely! If you’re short on time, using good-quality puff pastry or crescent dough creates a quick shortcut. Just know you’ll miss out on some of the deep flavor and pillowy softness that homemade dough brings.
What’s the best way to prevent the filling from leaking?
Be sure to press an indentation deep enough into the coil and don’t overfill. A bit of pinching to close the ends helps keep your creamy filling perfectly in place while baking.
Can I add fruit to the filling?
Yes! A spoonful of blueberry preserves, diced strawberries, or apple compote alongside the cream cheese turns your Heavenly Cheese Danish into a fruity, festive delight. Just don’t overfill, so the pastries hold their shape.
Is it possible to make mini Heavenly Cheese Danish?
Definitely. Divide the dough into smaller sections, twist thinner strips, and shorten the baking time accordingly. Perfect for brunches or dessert platters when you want a bite-sized treat.
What can I use instead of maple syrup for glazing?
Honey, apricot jam, or even a simple powdered sugar glaze works wonders as a finishing touch. Each lends its unique flavor twist while keeping that glistening, tempting sheen.
Final Thoughts
Baking up a batch of Heavenly Cheese Danish isn’t just about the incredible flavors — it’s about creating those warm, joyful kitchen moments you’ll remember. Give them a try and don’t be surprised if they become the star of your breakfast table or a new family tradition. Happy baking!
PrintHeavenly Cheese Danish Recipe

Indulge in the heavenly delight of homemade cheese danish pastries with a flaky, buttery crust and a rich, sweet cheese filling. Perfect for breakfast or brunch, these treats will elevate your baking game.
- Prep Time: 30 minutes
- Cook Time: 20 minutes
- Total Time: 9 hours 50 minutes (includes resting and rising time)
- Yield: 16 pastries 1x
- Category: Breakfast, Brunch
- Method: Baking
- Cuisine: American
- Diet: Vegetarian
Ingredients
Dough:
- 2 packages (1/4 ounce each) active dry yeast
- 1/2 cup warm water (110° to 115°F)
- 4 cups all-purpose flour
- 1/3 cup granulated sugar
- 2 teaspoons salt
- 1 cup cold butter, cubed
- 1 cup 2% milk
- 4 large egg yolks, room temperature
Filling:
- 3 teaspoons ground cinnamon
- 12 ounces cream cheese, softened
- 1/3 cup sugar
- 1 large egg, separated
- 1 tablespoon water
- 2 tablespoons maple syrup
Instructions
- Dough Preparation: Dissolve the yeast in warm water and let sit until foamy, about 5 minutes. In a large bowl, mix flour, sugar, and salt. Cut in the cold butter until the mixture is crumbly. Add the milk, egg yolks, and yeast mixture; stir to form a soft, sticky dough. Cover and refrigerate for 8 to 24 hours.
- Shaping and Filling: Punch down the dough and divide into four equal portions. On a lightly floured surface, pat each into a 9×4-inch rectangle. Sprinkle each with 3/4 teaspoon cinnamon. Cut each rectangle lengthwise into four 9×1-inch strips. Twist each strip and loosely coil it around itself; tuck the end under and pinch to seal. Place on greased baking sheets, 3 inches apart.
- Cheese Filling: Beat cream cheese, 1/3 cup sugar, and egg yolk until smooth. Press an indentation into the center of each dough coil and fill with 1 rounded tablespoon of the cream cheese mixture. Cover and let rise in a warm place until doubled in size, about 45 minutes.
- Baking: Preheat oven to 350°F. Beat the egg white with 1 tablespoon of water and brush over the dough. Bake for 15–20 minutes, until golden brown. Remove to wire racks and brush with maple syrup. Serve warm.
Notes
- For best results, ensure all ingredients are at room temperature when preparing the dough.
- You can customize the filling by adding nuts, raisins, or fruit preserves to the cream cheese mixture.
- These danishes are best enjoyed fresh but can be stored in an airtight container for up to 2 days.
Nutrition
- Serving Size: 1 pastry
- Calories: 280
- Sugar: 10g
- Sodium: 260mg
- Fat: 17g
- Saturated Fat: 10g
- Unsaturated Fat: 6g
- Trans Fat: 0g
- Carbohydrates: 26g
- Fiber: 1g
- Protein: 5g
- Cholesterol: 90mg
Keywords: Cheese Danish, Danish Pastry, Breakfast Pastry, Homemade Pastry

