Healthy & Easy Ninja Creami Blizzard Dream Recipe
Introduction
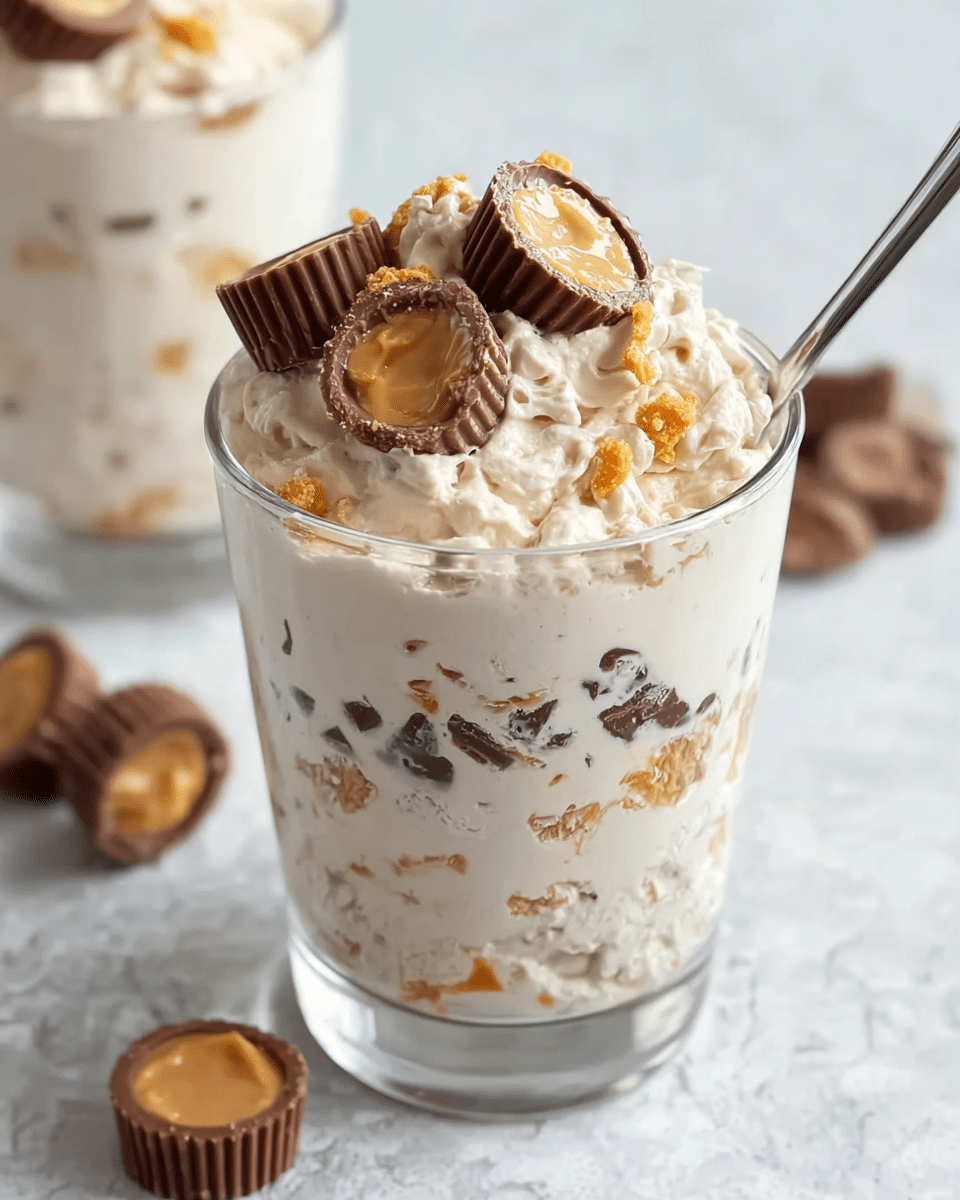
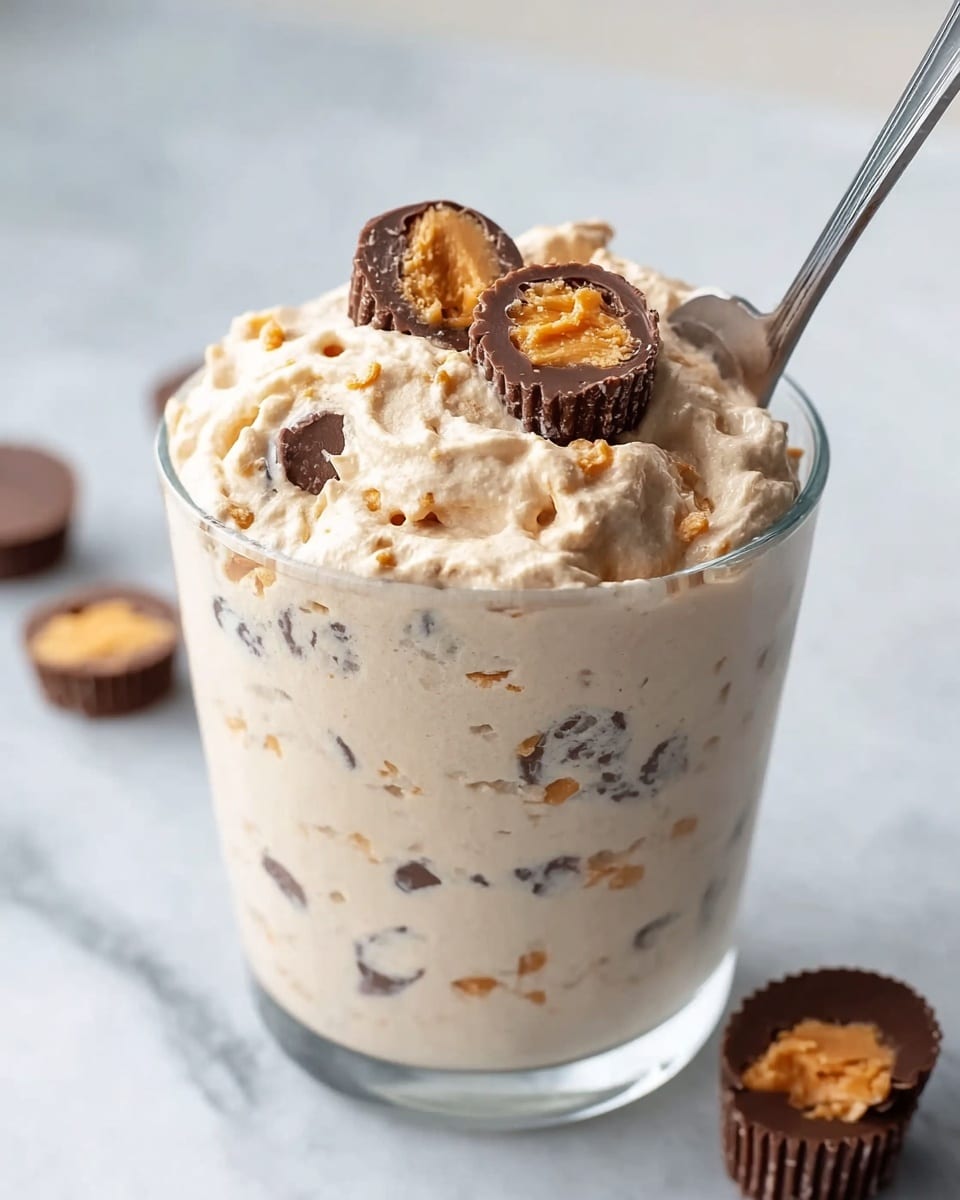
This Healthy & Easy Ninja Creami Blizzard Dream is a deliciously creamy frozen treat you can make at home with minimal effort. Using simple ingredients and your Ninja Creami machine, you’ll enjoy a guilt-free dessert that’s customizable with your favorite mix-ins.
Ingredients
- 1 cup milk (skim or almond milk for a lighter option)
- 3/4 cup light whipped topping (like Cool Whip Lite)
- 1 Tablespoon Junket vanilla ice cream mix
- 1/2 cup heavy cream (or use half-and-half for fewer calories)
- 1/4 teaspoon vanilla extract
- 1/4 cup mini Reese’s cups (or fresh fruit, nuts, or dark chocolate for a healthier mix-in), plus more for garnish if desired
Instructions
- Step 1: In a small mixing bowl or large liquid measuring cup, combine the milk, light whipped topping, and Junket vanilla ice cream mix. Use an immersion blender to blend until the mixture is perfectly smooth.
- Step 2: Gently stir in the heavy cream (or half-and-half) and vanilla extract until well combined. Pour the mixture into a Ninja Creami pint container, seal with the lid, and freeze on a level surface for at least 24 hours.
- Step 3: Once fully frozen, remove the pint from the freezer and take off the lid. Place the container into the Ninja Creami outer bowl, secure the outer bowl lid, and lock it into the machine. Press the “Ice Cream” button to process.
- Step 4: Check the texture once the cycle finishes. If crumbly, put it back in the machine and press the “Re-spin” button for a smoother consistency.
- Step 5: Create a small well in the center of the ice cream about an inch wide. Add your chosen mix-ins, press them in gently, then replace the outer bowl in the machine and press the “Mix-in” button to blend them throughout.
- Step 6: Serve immediately and enjoy your homemade, healthier Blizzard. Optionally, garnish with extra mix-ins on top.
Tips & Variations
- For a lighter option, substitute heavy cream with half-and-half or use almond milk instead of regular milk.
- Try adding fresh berries, chopped nuts, or dark chocolate pieces instead of mini Reese’s cups for a healthier twist.
- Allow the mixture to freeze for a full 24 hours to ensure the best creamy texture after processing.
Storage
Store any leftover Blizzard in the freezer in the sealed Ninja Creami container. It’s best enjoyed within 1 week for optimal flavor and texture. To serve again, let it soften slightly at room temperature for a few minutes, then use the Ninja Creami’s “Re-spin” function for smoothness.
How to Serve
Serve this delicious recipe with your favorite sides.
FAQs
Can I use a different ice cream mix instead of Junket?
Yes, you can substitute with other vanilla ice cream mixes, but Junket is recommended for the best creamy texture specific to this recipe.
What if I don’t have a Ninja Creami machine?
This recipe is designed for the Ninja Creami, but you can try freezing the mixture and stirring it every 30 minutes to mimic a soft-serve consistency, although texture may vary.
PrintHealthy & Easy Ninja Creami Blizzard Dream Recipe

This Healthy & Easy Ninja Creami Blizzard Dream recipe offers a guilt-free, homemade alternative to store-bought ice cream treats. Using light ingredients and customizable mix-ins, it combines convenience with flavor, delivering a creamy, soft-serve style dessert that’s perfect for any time you crave a sweet but healthier indulgence.
- Prep Time: 10 minutes
- Cook Time: 0 minutes
- Total Time: 24 hours 10 minutes
- Yield: 1 pint (about 4 servings) 1x
- Category: Dessert
- Method: Freezing with Ninja Creami machine processing
- Cuisine: American
- Diet: Low Fat
Ingredients
Base Ingredients
- 1 cup milk (skim or almond milk for a lighter option)
- 3/4 cup light whipped topping (like Cool Whip Lite)
- 1 Tablespoon Junket vanilla ice cream mix
- 1/2 cup heavy cream (or use half-and-half for fewer calories)
- 1/4 teaspoon vanilla extract
Mix-Ins
- 1/4 cup mini Reese’s cups (or fresh fruit, nuts, or dark chocolate for healthier mix-in alternatives)
- Extra mix-ins for garnish, if desired
Instructions
- Whisk It Up: In a small mixing bowl or large liquid measuring cup, combine your chosen milk, light whipped topping, and Junket vanilla ice cream mix. Use an immersion blender to blend the mixture until it is perfectly smooth for the best texture.
- Add Flavor & Freeze: Gently stir in the heavy cream or your lighter cream alternative and vanilla extract to combine fully. Pour this mixture into a Ninja Creami pint container, seal it with the lid, and place it on a level surface in your freezer. Freeze for at least 24 hours to allow the mixture to solidify properly.
- Creamify!: Once the pint is frozen solid, remove it from the freezer and take off the lid. Place the container into the Ninja Creami’s outer bowl, secure the outer bowl lid, and lock it into place on the machine. Press the “Ice Cream” button and let the machine process the frozen mixture until creamy.
- Perfect Consistency: Check the texture after the initial cycle. If it is crumbly, place it back in the machine and use the “Re-spin” function to achieve a smoother consistency.
- Mix-In Magic: Create a small well in the center of the ice cream about 1 inch wide extending to the bottom of the pint. Add your favorite mix-ins like fresh berries, chopped nuts, or mini Reese’s cups. Gently press them in, place the outer bowl back into the machine, and press the “Mix-in” button to thoroughly incorporate your chosen mix-ins.
- Enjoy Guilt-Free: Serve immediately and enjoy your homemade, healthier Blizzard. Optionally, add extra mix-ins on top as garnish for a finishing touch.
Notes
- The recipe allows customization with different types of milk, whipped topping, and mix-ins for lighter or dietary-specific versions.
- Freezing for a full 24 hours is essential to get the best creamy texture from the Ninja Creami machine.
- If the initial ice cream texture is crumbly, the re-spin function improves creaminess without compromising flavor.
- Consider healthier mix-in alternatives such as fresh fruit, nuts, or dark chocolate for a more nutritious dessert.
- Using an immersion blender ensures a smooth blend of ingredients before freezing.
Keywords: Ninja Creami, Healthy Blizzard, Light Ice Cream, Homemade Ice Cream, Low Fat Dessert, Easy Frozen Treat

