Coconut Rice Krispie Treats Recipe
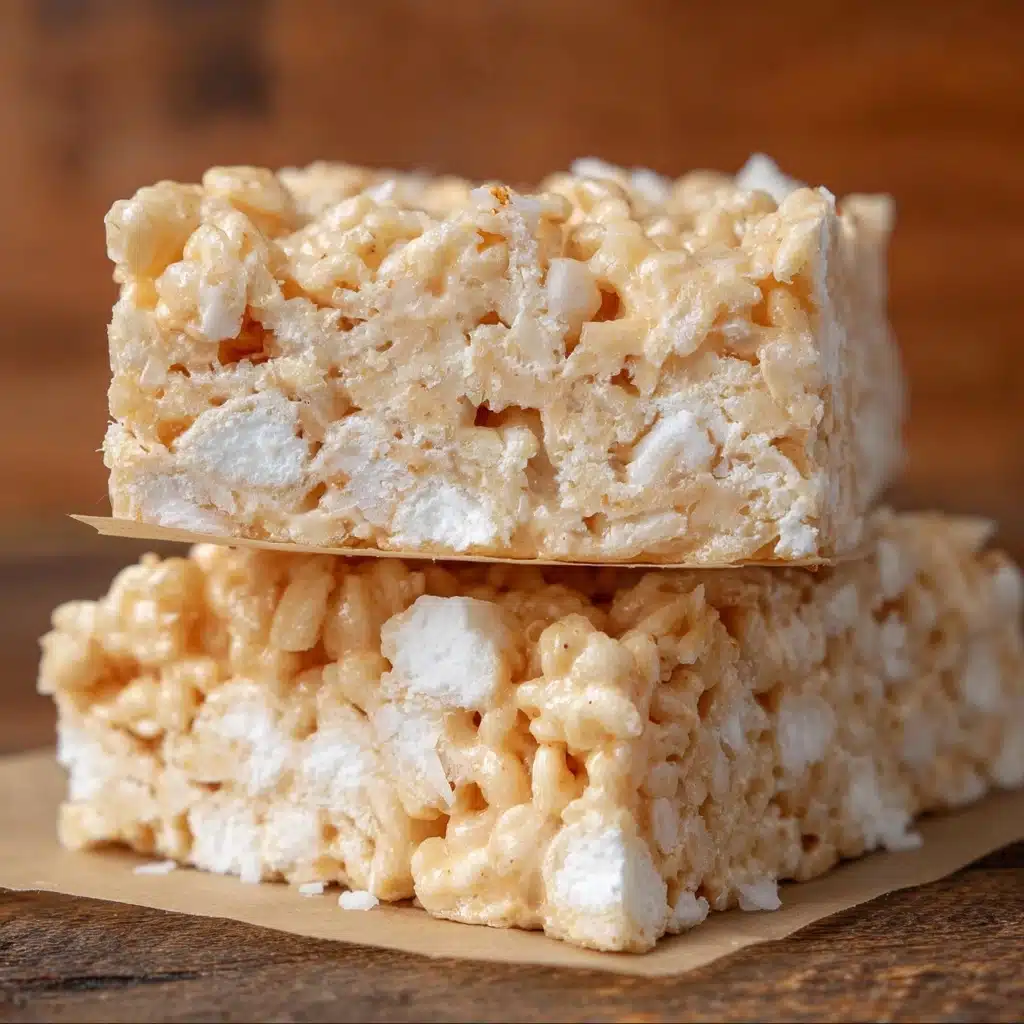
If you have a serious sweet tooth and a love for nostalgic treats with a tropical twist, these Coconut Rice Krispie Treats are going to become your new go-to snack. Imagine the classic, crispy, gooey marshmallow rice cereal bliss enhanced by a delightful coconut flavor that adds just the right touch of chew and a hint of sunny sweetness. This recipe not only celebrates the comforting crunch we all adore but also surprises your taste buds with that fantastic coconut flair making every bite irresistible and refreshingly fun.
Ingredients You’ll Need
Gathering the right ingredients is the first step toward mixing up delicious Coconut Rice Krispie Treats. Each component plays a crucial role, from the buttery richness to the marshmallow stickiness that holds everything together, to the crispy cereal and coconut providing texture and flavor balance.
- 6 tablespoons butter: Adds a creamy richness and helps melt the marshmallows smoothly.
- 8 cups miniature marshmallows (about 14 ounces): These melt perfectly, creating that signature gooey binding texture.
- 6 cups crisp rice cereal: The crunch powerhouse giving the treats their classic crispness.
- 2 cups marshmallows (additional): Mixed in whole for extra chewy pockets throughout the bars.
- 1½ cups sweetened shredded coconut: Infuses the treats with tropical flavor and chewy texture.
- Extra ¼ cup shredded coconut for topping: Adds a pretty, toasty finish when sprinkled on top.
How to Make Coconut Rice Krispie Treats
Step 1: Prepare Your Pan
Start by lining a large baking sheet or a 9×13-inch pan with parchment paper. This simple step ensures your treats won’t stick and makes clean-up a breeze. If you choose foil instead, don’t forget to butter it generously to prevent any sticky mess.
Step 2: Melt Butter and Marshmallows
On medium heat, melt the butter in a large pot until it’s golden and fragrant. Toss in the 8 cups of miniature marshmallows and stir continuously until the marshmallows are completely melted and silky smooth. This warm, luscious mixture is the glue that will hold your Coconut Rice Krispie Treats together perfectly.
Step 3: Combine Cereal, Coconut, and Extra Marshmallows
Remove the pot from the heat and gently fold in the crisp rice cereal until every piece is coated. Next, stir in the additional 2 cups of whole marshmallows along with the 1½ cups of shredded coconut. These extra marshmallows will create delightful chewy surprises throughout the treats, while the coconut adds texture and a naturally sweet twist.
Step 4: Press Mixture Into Pan
Using a buttered spatula or spoon, carefully scoop the sticky mixture into your prepared pan. Press it down gently but firmly enough to compact it, while being careful not to squash the airy texture. This step is key to ensuring your Coconut Rice Krispie Treats have that perfect balance of soft and crunchy.
Step 5: Add Coconut Topping and Cool
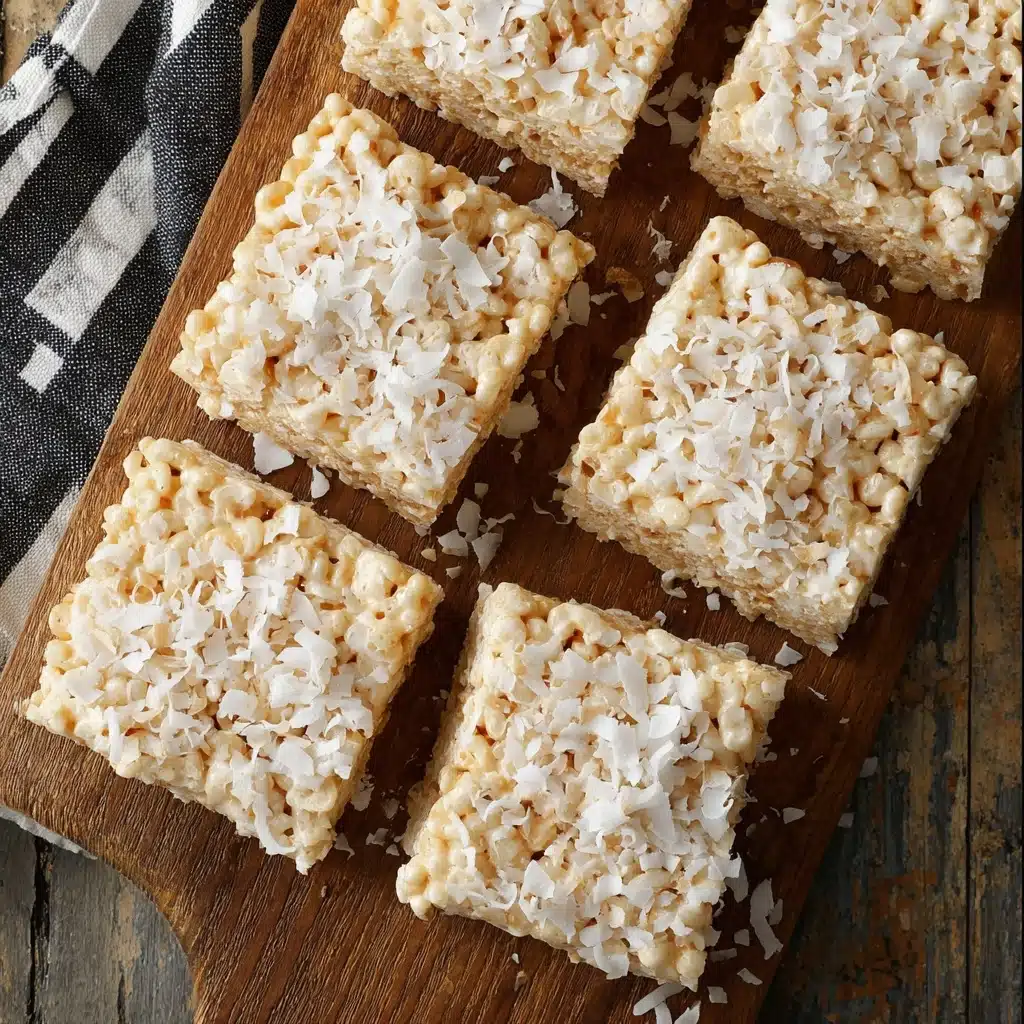
Sprinkle the remaining ¼ cup of shredded coconut evenly over the top, pressing lightly so it sticks. Let your treats cool for a few minutes at room temperature, allowing them to set and firm up just enough for slicing.
How to Serve Coconut Rice Krispie Treats
Garnishes
Enhance your Coconut Rice Krispie Treats by dusting with a little toasted coconut or a light drizzle of melted white chocolate for added sweetness and elegance. Fresh berries on the side can also add a burst of color and a hint of tart contrast that pairs wonderfully with coconut’s smooth sweetness.
Side Dishes
These treats are fantastic as a standalone snack, but if you’re serving them as part of a dessert spread, consider pairing them with tropical fruits like pineapple or mango salsa. They also complement a chilled cup of coconut milk or a creamy vanilla yogurt for a playful and refreshing snack time experience.
Creative Ways to Present
Get creative by cutting your Coconut Rice Krispie Treats into bite-sized squares and creating fun sandwich stacks with layers of fresh fruit or nut butters. You could even press some mini chocolate chips into the top before cooling or use cookie cutters to fashion festive shapes that will wow your guests.
Make Ahead and Storage
Storing Leftovers
Your Coconut Rice Krispie Treats will stay fresh when stored in an airtight container at room temperature for up to five days. Make sure they’re fully cooled before storing to avoid sogginess and keep that wonderful chewy-crunchy texture intact.
Freezing
If you want to keep these treats longer, they freeze beautifully. Wrap pieces individually in plastic wrap and seal them in a freezer-safe bag or container. When stored this way, they can last for up to three months without losing their freshness or flavor.
Reheating
When you’re ready to indulge, let frozen Coconut Rice Krispie Treats thaw at room temperature for about half an hour. For a little warm-up, a few seconds in the microwave can bring back some softness but go easy—you want to maintain that signature chewy texture without melting the marshmallows again.
FAQs
Can I use regular-sized marshmallows instead of miniature?
Absolutely! Just chop the regular marshmallows into smaller bits so they melt evenly and combine smoothly with the butter. This helps maintain the perfect texture for your Coconut Rice Krispie Treats.
Is it possible to make these treats vegan or dairy-free?
Yes, you can substitute the butter with coconut oil and use vegan marshmallows to make this recipe dairy-free and vegan-friendly. The coconut flavor will shine even more with coconut oil, giving the treats a slightly different but delicious twist.
Can I add nuts or dried fruit to these treats?
Definitely! Adding chopped nuts like macadamias or toasted almonds and dried fruits like cranberries or pineapple can elevate the flavor and add delightful bursts of texture to your Coconut Rice Krispie Treats.
What’s the best way to cut these treats cleanly?
Use a sharp knife dipped in hot water and wiped dry before slicing. This technique prevents sticking and helps you get smooth, clean edges without tearing the treats.
Can I make these in different shapes or sizes?
For sure! After mixing, press into different pans or cookie cutters to create bars, squares, or fun shapes. Just remember to adjust the pressing time slightly depending on the thickness so they set up nicely.
Final Thoughts
Making Coconut Rice Krispie Treats is like bringing a bit of sunshine and joy into your kitchen with each batch. They’re wonderfully simple yet incredibly satisfying, delivering that classic marshmallow and crisp rice cereal goodness with an exciting coconut twist. Whether for parties, a sweet afternoon pick-me-up, or a fun family treat, I can’t recommend these enough—go ahead, make them, share them, and enjoy every delicious bite!
PrintCoconut Rice Krispie Treats Recipe

Deliciously chewy Coconut Rice Krispie Treats combining the classic crispy cereal and marshmallow base with the tropical flavor and texture of shredded coconut. Perfect for a quick dessert or snack, these treats offer a delightful twist on the traditional Rice Krispie bars by adding sweetened shredded coconut both inside and as a topping for an extra coconutty crunch.
- Prep Time: 10 minutes
- Cook Time: 10 minutes
- Total Time: 20 minutes
- Yield: About 24 bars 1x
- Category: Dessert, Snack
- Method: No-bake, Stove-top melting
- Cuisine: American
- Diet: Vegetarian
Ingredients
Main Ingredients
- 6 tablespoons butter
- 8 cups miniature marshmallows (about 14 ounces)
- 6 cups crisp rice cereal
Additional Mix-ins
- 2 cups marshmallows (for additional add-in, do not melt these with the butter)
- 1½ cups sweetened shredded coconut
- ¼ cup sweetened shredded coconut (for topping)
Instructions
- Prepare the Pan: Line a large baking sheet or a 9×13-inch pan with parchment paper and set aside. If using foil, thoroughly grease it with butter to prevent sticking.
- Melt Marshmallows: In a large pot over medium heat, melt the butter. Add 8 cups of miniature marshmallows and stir continuously until fully melted and smooth. (Alternatively, melt in the microwave by heating butter and marshmallows in short intervals, stirring in between.)
- Combine Ingredients: Remove the pot from heat. Add the crisp rice cereal and stir well to coat all pieces evenly. Then gently fold in the extra 2 cups of marshmallows and 1½ cups of shredded coconut for extra texture and flavor.
- Transfer Mixture: Scoop the sticky mixture onto the prepared pan. Using a lightly buttered spatula or spoon, gently press the mixture evenly across the pan, being careful not to press too firmly to maintain a light texture.
- Cool and Add Topping: Sprinkle the remaining ¼ cup of shredded sweetened coconut evenly over the top for garnish. Allow the treats to cool for a few minutes until set enough to slice.
- Store: Once cooled and sliced, store the Coconut Rice Krispie Treats in an airtight container at room temperature. They will stay fresh and chewy for several days.
Notes
- To avoid melting the additional marshmallows added after the cereal, do not stir them in while the marshmallow mixture is hot; fold them in gently after removing from heat.
- If you prefer, you can melt the butter and marshmallows in the microwave in 30-second increments, stirring after each until smooth.
- For best results, use sweetened shredded coconut to add balance of sweetness and chewiness.
- Lightly butter your spatula or spoon to prevent sticking while pressing the mixture evenly in the pan.
Nutrition
- Serving Size: 1 bar (assuming 24 bars)
- Calories: 150 kcal
- Sugar: 16 g
- Sodium: 80 mg
- Fat: 6 g
- Saturated Fat: 4 g
- Unsaturated Fat: 1.5 g
- Trans Fat: 0 g
- Carbohydrates: 24 g
- Fiber: 1 g
- Protein: 1 g
- Cholesterol: 15 mg
Keywords: Coconut Rice Krispie Treats, Rice Krispies, Marshmallow dessert, No-bake treats, Coconut sweets, Easy dessert recipes


