Chocolate Butter Cookies Recipe
Introduction
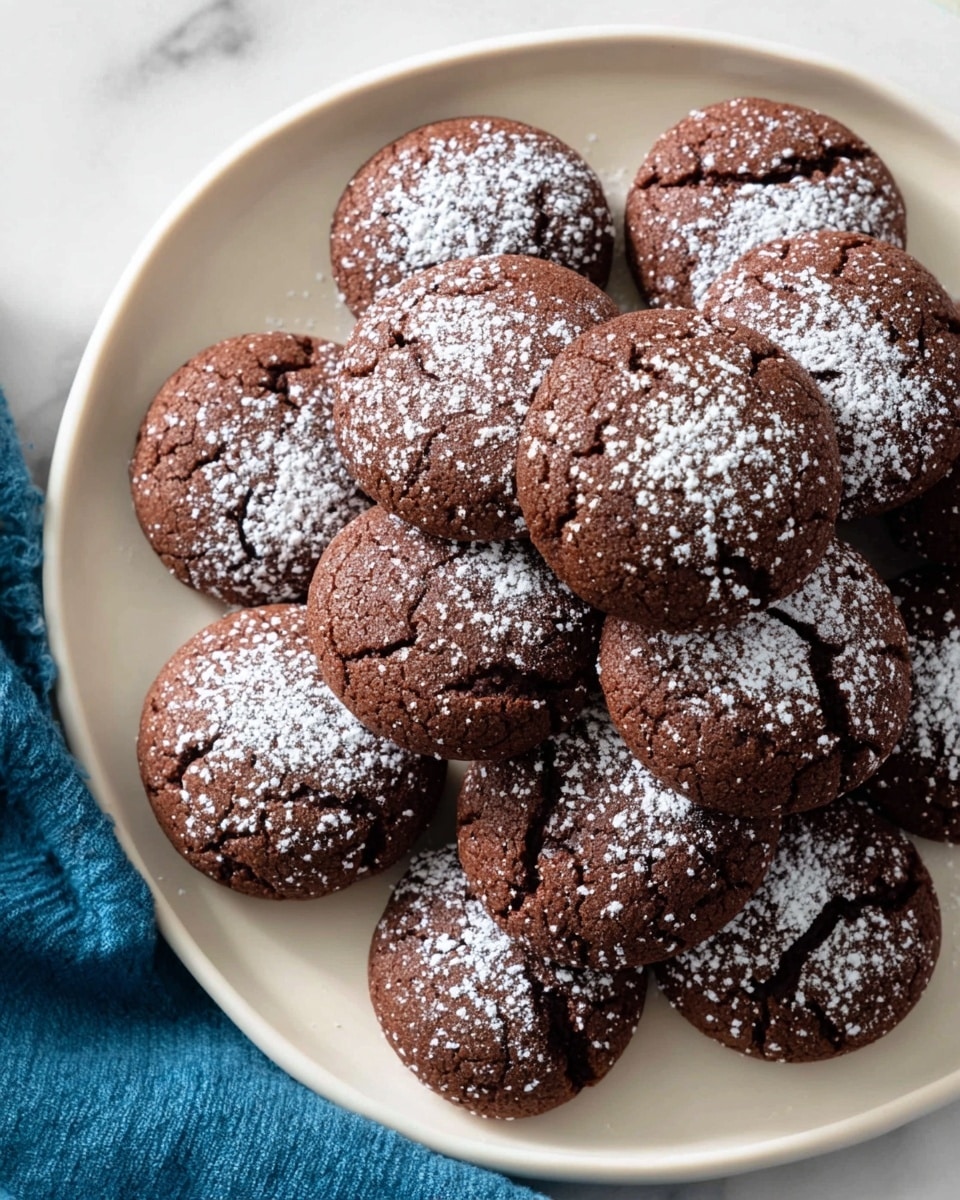
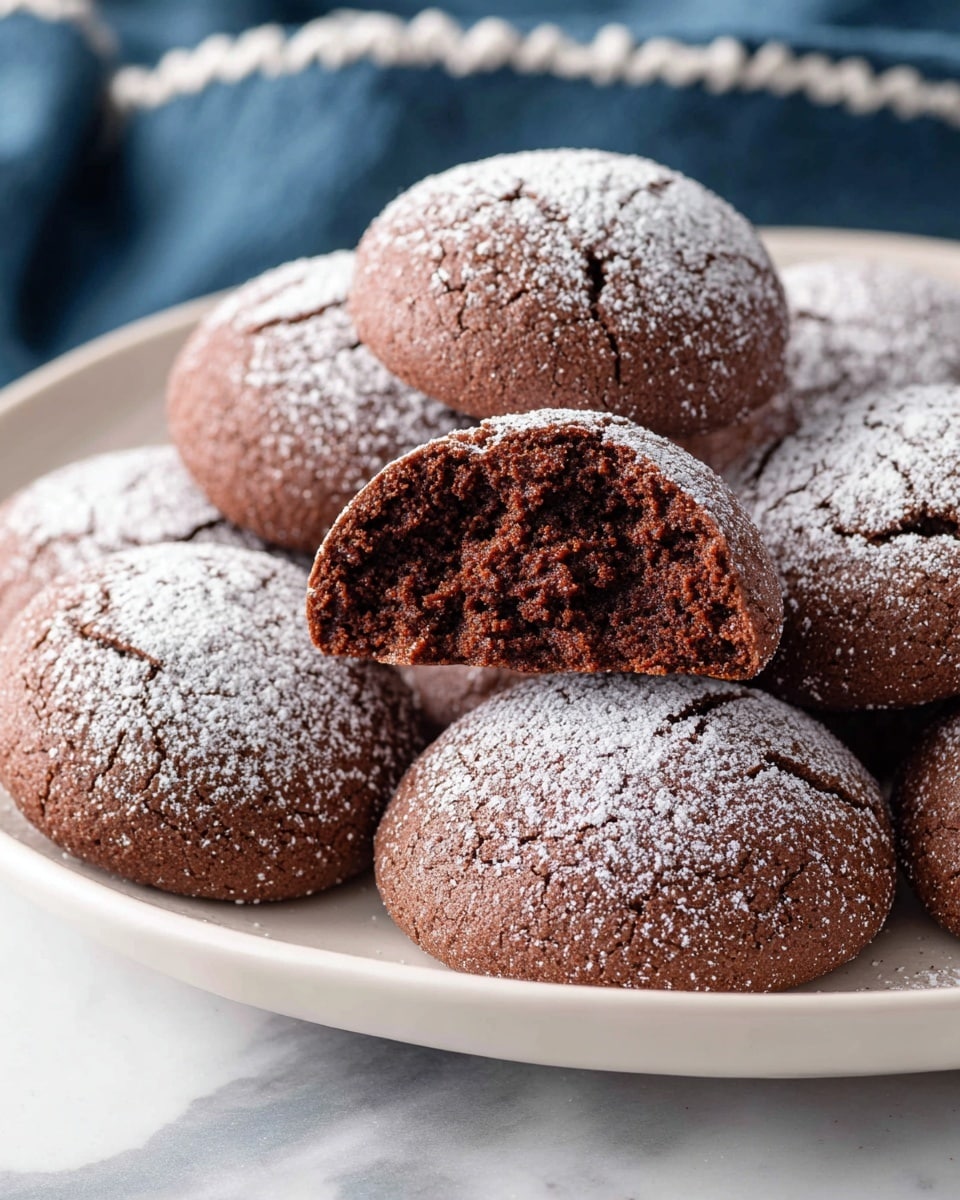
These Chocolate Butter Cookies are rich, tender, and perfectly chocolaty. With just a few simple ingredients, you can create a batch of delightful treats that melt in your mouth. They are ideal for any occasion or just a sweet snack.
Ingredients
- 3/4 cup sugar
- 3/4 cup butter (softened to room temperature)
- 1 egg (room temperature)
- 1/2 teaspoon vanilla extract
- 1 2/3 cups all-purpose flour
- 1/3 cup unsweetened cocoa (Hershey’s extra dark)
- 1/4 teaspoon salt
Instructions
- Step 1: In a large bowl, combine the sugar and softened butter. Beat at medium speed until creamy, scraping the bowl often to ensure even mixing.
- Step 2: Add the egg and vanilla extract to the mixture. Continue beating until well combined.
- Step 3: In a separate bowl, mix the flour, cocoa, and salt.
- Step 4: Gradually add the dry mixture to the butter mixture while beating at low speed. Scrape the bowl frequently to combine everything thoroughly.
- Step 5: Divide the dough into three equal parts, wrap each portion in plastic wrap, and refrigerate overnight for best texture.
- Step 6: The next day, preheat your oven to 375°F (190°C).
- Step 7: Shape the chilled dough into one-inch balls and place them one inch apart on an ungreased baking sheet lined with parchment paper.
- Step 8: Bake the cookies for 7 to 9 minutes until they are set but still soft in the center.
- Step 9: Allow the cookies to cool completely on the baking sheet before removing or serving.
Tips & Variations
- For an extra chocolate boost, stir in chocolate chips or chopped nuts before chilling the dough.
- If you prefer a fudgier cookie, slightly reduce the flour by 2 tablespoons.
- Allowing the dough to rest overnight enhances the flavor and texture, but you can chill for at least 2 hours if short on time.
Storage
Store the cookies in an airtight container at room temperature for up to 5 days. For longer storage, freeze them in a sealed container for up to 3 months. To reheat, warm cookies in a low oven or microwave for a few seconds to restore softness.
How to Serve
Serve this delicious recipe with your favorite sides.
FAQs
Can I use salted butter instead of unsalted?
Yes, but reduce or omit additional salt in the recipe to avoid oversalting the cookies.
Can these cookies be made without chilling the dough?
Chilling is recommended to develop flavor and prevent spreading, but if in a hurry, you can bake immediately; cookies may be softer and spread more.
PrintChocolate Butter Cookies Recipe

Deliciously rich and tender Chocolate Butter Cookies made with cocoa and butter, perfect for a classic treat. These cookies combine the smoothness of butter with the deep flavor of unsweetened cocoa, resulting in a melt-in-your-mouth indulgence that’s simple to prepare and perfect for any occasion.
- Prep Time: 15 minutes
- Cook Time: 8 minutes
- Total Time: 8 hours 23 minutes
- Yield: 24 cookies 1x
- Category: Dessert
- Method: Baking
- Cuisine: American
- Diet: Vegetarian
Ingredients
Dry Ingredients
- 1 2/3 cups all-purpose flour
- 1/3 cup unsweetened cocoa (Hershey’s extra dark)
- 1/4 teaspoon salt
Wet Ingredients
- 3/4 cup butter (softened to room temperature)
- 3/4 cup sugar
- 1 egg (room temperature)
- 1/2 teaspoon vanilla extract
Instructions
- Combine sugar and butter: In a large mixing bowl, combine the sugar and softened butter.
- Cream sugar and butter: Beat the sugar and butter at medium speed until the mixture is creamy, scraping down the sides of the bowl often to ensure even mixing.
- Add egg and vanilla: Add the egg and vanilla extract to the creamed mixture and continue beating until everything is well incorporated.
- Mix dry ingredients: In a separate bowl, combine the all-purpose flour, unsweetened cocoa, and salt.
- Incorporate dry ingredients: Gradually add the flour mixture to the butter mixture, beating at low speed while scraping the bowl frequently until fully combined and smooth.
- Divide and chill dough: Divide the dough into three equal portions, wrap each portion tightly in plastic wrap, and refrigerate overnight to firm up.
- Preheat oven: The next day, preheat your oven to 375°F (190°C) and line a baking sheet with parchment paper.
- Shape cookies: Remove dough from the refrigerator, roll portions into 1-inch balls, spacing them 1 inch apart on the prepared baking sheet.
- Bake cookies: Bake in the preheated oven for 7 to 9 minutes, or until the cookies are set but still soft.
- Cool cookies: Remove from the oven and allow the cookies to cool completely on the baking sheet before serving or storing.
Notes
- Ensure butter and egg are at room temperature for better creaming and dough consistency.
- Refrigerating the dough overnight helps the flavors develop and makes the dough easier to shape.
- Do not overbake; cookies continue to firm up as they cool and will remain soft and tender.
- Store cookies in an airtight container for up to one week to maintain freshness.
Keywords: chocolate cookies, butter cookies, cocoa cookies, easy cookie recipe, homemade cookies, classic dessert

