Butterfinger Cookie Bars Recipe
Introduction
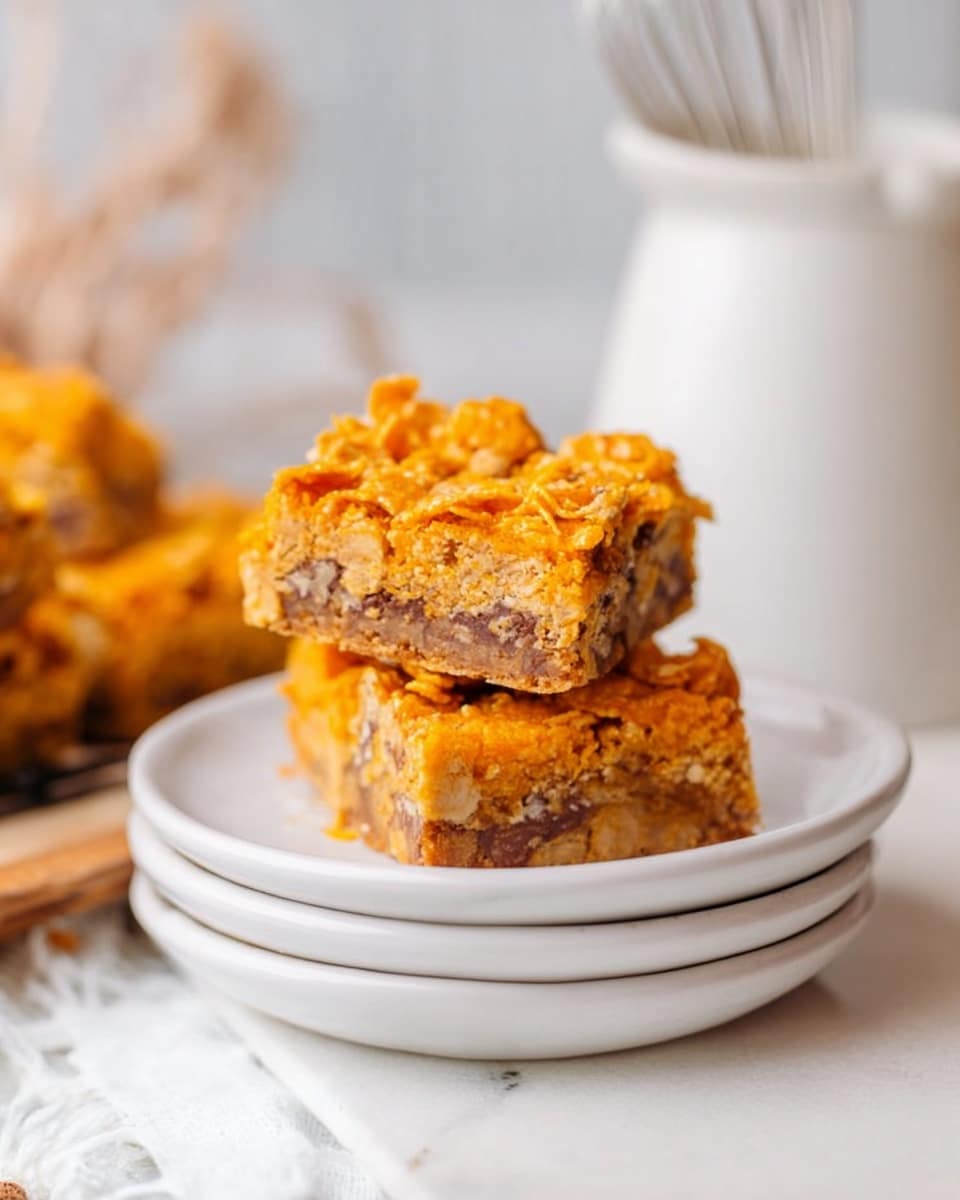
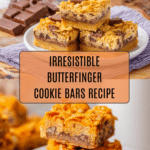
Butterfinger Cookie Bars combine rich, buttery cookie layers with creamy peanut butter frosting and crunchy Butterfinger candy pieces. This treat is perfect for anyone who loves a mix of chewy textures and sweet, nutty flavors.

Ingredients
- 2 sticks unsalted butter (1 cup), room temperature
- 1/2 cup sugar
- 1 cup brown sugar
- 2 eggs
- 1 tsp vanilla extract
- 2 1/2 cups flour
- 1 tsp salt
- 1 tsp baking soda
- 1/2 cup Butterfinger bars, chopped (about 3 big-sized bars)
- 3/4 cup peanut butter
- 1 stick unsalted butter, room temperature
- 1 tsp vanilla extract (for frosting)
- 1 1/2 cups powdered sugar
- 3 tbsp milk
- 1 1/2 cups Butterfinger bars, chopped (about 5 big-sized bars, for topping)
Instructions
- Step 1: Preheat your oven to 350°F (175°C). Line a 9×13-inch baking dish with parchment paper and spray it lightly with cooking spray. Set aside.
- Step 2: In a large bowl, beat 1 cup of butter, sugar, and brown sugar using a hand mixer until the mixture is light and creamy.
- Step 3: Add the eggs and 1 teaspoon of vanilla extract, then beat again until fully combined.
- Step 4: Stir in the flour, salt, and baking soda, mixing until everything is just combined.
- Step 5: Fold in 1/2 cup of chopped Butterfinger bars gently.
- Step 6: Spread the cookie dough evenly into the prepared baking dish. Bake for 25 minutes or until the edges are golden brown.
- Step 7: Remove from the oven and allow the cookie base to cool completely in the pan.
- Step 8: For the frosting, beat the peanut butter and 1 stick of room temperature butter together until smooth.
- Step 9: Add 1 teaspoon of vanilla extract, then beat in the powdered sugar and milk until the frosting is creamy and spreadable.
- Step 10: Spread the peanut butter frosting evenly over the cooled cookie layer.
- Step 11: Sprinkle the remaining 1 1/2 cups of chopped Butterfinger bars over the frosting.
- Step 12: Slice into bars, serve, and enjoy your delicious Butterfinger Cookie Bars!
Tips & Variations
- For extra crunch, toast the chopped Butterfinger pieces lightly before adding.
- You can substitute peanut butter with almond butter for a different nutty flavor.
- Make sure the cookie layer is completely cooled before adding frosting to prevent melting.
- Use crunchy peanut butter in the frosting for added texture.
Storage
Store Butterfinger Cookie Bars in an airtight container at room temperature for up to 3 days. For longer storage, keep them in the refrigerator for up to a week. To serve chilled bars, allow them to come to room temperature for about 15 minutes for the best flavor and texture.
How to Serve
Serve this delicious recipe with your favorite sides.
FAQs
Can I use other candy bars instead of Butterfinger?
Yes, you can substitute with similar crunchy candy bars like Heath or Skor for a slightly different flavor and texture.
Can I freeze these cookie bars?
Absolutely. Wrap the bars tightly in plastic wrap and store in a freezer-safe container for up to 2 months. Thaw overnight in the refrigerator before serving.
PrintButterfinger Cookie Bars Recipe

Delight in these rich and indulgent Butterfinger Cookie Bars featuring a soft, buttery cookie base studded with Crunchy Butterfinger pieces, topped with a creamy peanut butter frosting and extra Butterfinger bits for added crunch and flavor. Perfect for a sweet treat or dessert to satisfy chocolate and peanut butter lovers alike.
- Prep Time: 20 minutes
- Cook Time: 25 minutes
- Total Time: 45 minutes
- Yield: 12–16 bars 1x
- Category: Dessert
- Method: Baking
- Cuisine: American
Ingredients
Cookie Base
- 2 sticks unsalted butter (1 cup), room temperature
- 1/2 cup sugar
- 1 cup brown sugar
- 2 eggs
- 1 tsp vanilla extract
- 2 1/2 cups all-purpose flour
- 1 tsp salt
- 1 tsp baking soda
- 1/2 cup Butterfinger bars, chopped (about 3 large bars)
Peanut Butter Frosting
- 3/4 cup peanut butter
- 1 stick unsalted butter, room temperature
- 1 tsp vanilla extract
- 1 1/2 cups powdered sugar
- 3 tbsp milk
Topping
- 1 1/2 cups Butterfinger bars, chopped (about 5 large bars)
Instructions
- Preheat Oven: Preheat your oven to 350°F (175°C) to ensure it is ready to bake the cookie bars evenly.
- Prepare Baking Dish: Line a 9×13 inch baking dish with parchment paper and lightly spray with cooking spray to prevent sticking.
- Mix Butter and Sugars: In a large bowl, beat together 1 cup of softened butter, sugar, and brown sugar using a hand mixer until the mixture is light and creamy.
- Add Eggs and Vanilla: Incorporate the eggs and 1 teaspoon of vanilla extract into the butter and sugar mixture, beating until well combined.
- Combine Dry Ingredients: Add the flour, salt, and baking soda to the wet mixture, and mix at low speed until fully incorporated.
- Add Butterfinger Pieces: Fold in 1/2 cup of chopped Butterfinger bars gently to distribute evenly throughout the dough.
- Shape and Bake: Transfer the batter to the prepared baking dish and spread evenly. Bake in the preheated oven for approximately 25 minutes, or until the top is golden brown.
- Cool: Remove the baked cookie layer from the oven and let it cool completely in the baking dish before frosting.
- Make Frosting: In another large bowl, beat together the peanut butter and 1 stick of softened butter until smooth and free of lumps.
- Add Vanilla: Mix in 1 teaspoon of vanilla extract thoroughly into the frosting base.
- Incorporate Powdered Sugar and Milk: Gradually add the powdered sugar and milk to the frosting, beating until the mixture becomes smooth and creamy.
- Frost Cookie Layer: Evenly spread the prepared peanut butter frosting over the cooled cookie base in the baking dish.
- Add Topping and Serve: Sprinkle the remaining 1 1/2 cups of chopped Butterfinger bars over the frosting. Slice into bars and serve.
Notes
- Ensure the cookie base is completely cooled before adding frosting to prevent melting.
- Use room temperature butter and eggs for better mixing and texture.
- Butterfinger bars can be substituted with similar crunchy peanut butter candy bars if unavailable.
- Store bars in an airtight container at room temperature for up to 3 days or refrigerate for longer freshness.
- For a firmer frosting, chill the frosted bars for 20-30 minutes before slicing.
Keywords: Butterfinger cookie bars, peanut butter cookie bars, chocolate peanut butter dessert, easy cookie bars, homemade Butterfinger bars

