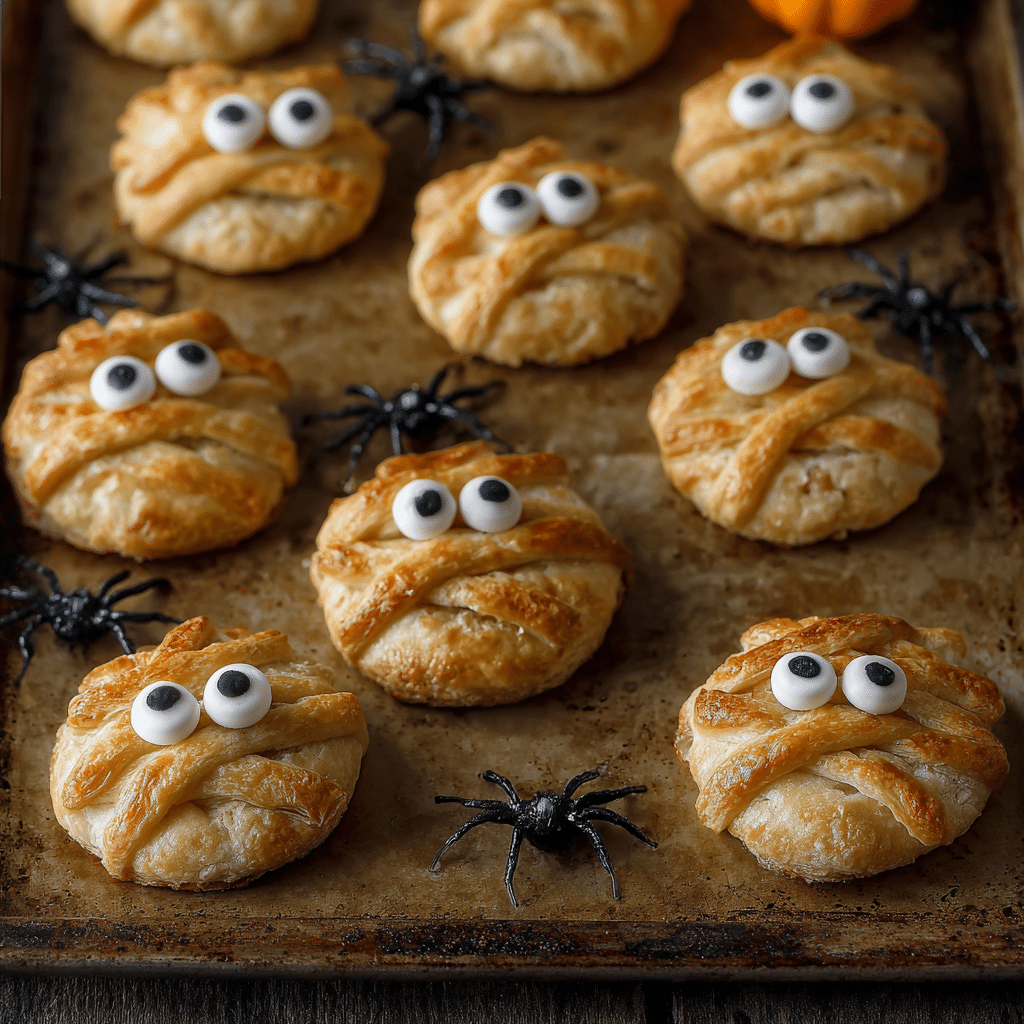
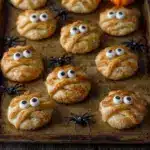
Baked Cheese Mummies Recipe
If you’re looking to wow your friends with a spooky yet utterly delicious treat, these Baked Cheese Mummies are just the thing to try. Imagine creamy, gooey cheese wrapped in flaky, golden puff pastry strips that look like little mummies coming alive on your baking tray. This fun recipe perfectly balances savory and sweet with a touch of honey or jam, making it a standout appetizer or snack that’s irresistibly cute and tasty. Whether it’s for a festive gathering or a playful snack time, these Baked Cheese Mummies bring both charm and flavor to your table.
Ingredients You’ll Need
This recipe relies on a handful of simple, but thoughtfully chosen ingredients that work in harmony to create the perfect texture, flavor, and appearance for these delightful Baked Cheese Mummies.
- 2 sheets thawed puff pastry: Provides the crisp, buttery mummy bandages that turn golden when baked.
- 14 Mini Babybel® cheeses (wax removed): The creamy center that melts into cheesy goodness inside.
- 1/3 cup honey or your favorite jam: Adds a touch of sweetness to complement the savory cheese.
- Egg wash (1 egg beaten with 1 teaspoon water): Ensures the pastry gets that beautiful golden shine and crispy finish.
- 28 candy eyes or mini chocolate chips: Fun edible decoration that brings the mummies to life and adds a playful charm.
How to Make Baked Cheese Mummies
Step 1: Prepare Your Pastry and Oven
Start by preheating your oven to 400 degrees Fahrenheit so it’s hot and ready to bake your Baked Cheese Mummies to golden perfection. Dust your working surface lightly with flour, then roll out the thawed puff pastry sheets to roughly an 11-inch square. No need for exact precision—part of the fun is the homemade charm of each mummy! Cut each pastry sheet into 9 squares, saving four of those squares for the mummy’s “bandages.”
Step 2: Assemble the Cheese Packages
Drizzle each Mini Babybel cheese with a little honey or your chosen jam—this adds a subtle fruity sweetness that sits beautifully with the cheese. Place each cheese, sweet side down, on the pastry squares and cut the square edges around the cheese to form a circular base. Then fold the pastry edges around the cheese, using your fingers to seal gently, making sure each cheese is snug inside its pastry blanket.
Step 3: Create the Bandages
Using the remaining puff pastry squares, cut approximately 12 thin strips to form the mummy’s bandages. Now comes the fun part: wrap these strips around each pastry-covered cheese in that classic mummy style, stretching and trimming as needed to get that wonderfully spooky wrapped look. This layering is what gives these Baked Cheese Mummies their iconic appearance.
Step 4: Brush and Bake
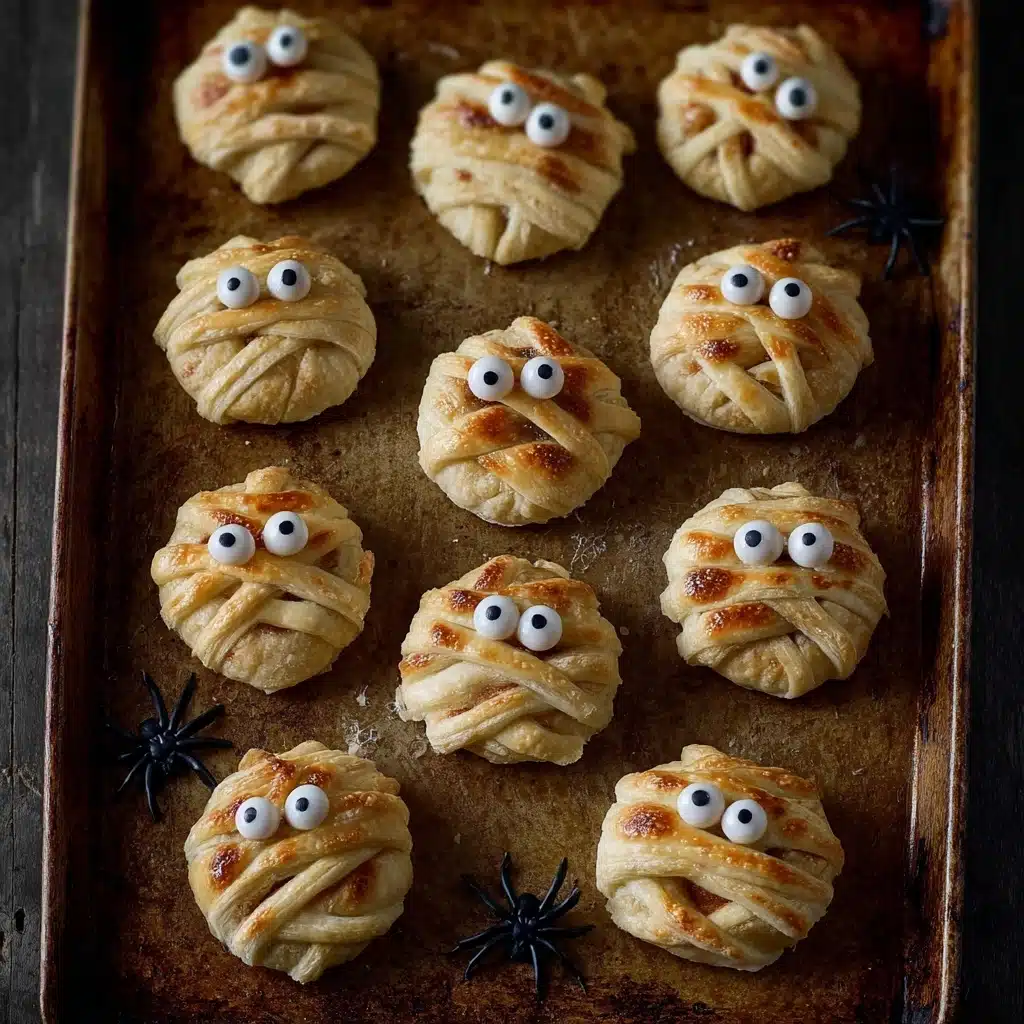
Brush each wrapped cheese mummy with the egg wash. This step is crucial for achieving that shiny, golden-brown finish that makes these treats look professionally baked. Place the mummies seam side down on a baking sheet lined with parchment paper, then pop them into your preheated oven for 15 to 20 minutes. You’ll know they’re ready when the pastries are puffed up, crispy, and perfectly golden, with melty cheese inside.
Step 5: Add the Eyes and Serve
Once out of the oven, quickly decorate each Baked Cheese Mummy with two candy eyes or mini chocolate chips to create those adorable faces. The eyes bring the whole spooky theme alive, making these bites as cute as they are tasty, perfect for serving warm to your intrigued guests.
How to Serve Baked Cheese Mummies
Garnishes
Adding a sprinkle of fresh herbs like finely chopped parsley or chives can add a pop of color and a bit of herbal freshness that balances the richness of the cheese. You might also try a drizzle of more honey or your favorite spicy dipping sauce on the side for extra flair.
Side Dishes
Baked Cheese Mummies pair wonderfully with crisp vegetable sticks or a fresh green salad to offset their richness. For a Halloween party, try serving them alongside pumpkin soup or a tangy tomato dip for a lovely contrast in flavors.
Creative Ways to Present
Set your mummies on a platter lined with lettuce leaves or Halloween-themed parchment paper to amp up the festive vibe. You could even arrange them standing upright in a circle to mimic a spooky mummy den, making presentation as fun and engaging as the eating.
Make Ahead and Storage
Storing Leftovers
If you happen to have any leftovers, store them in an airtight container in the refrigerator for up to 2 days. Keep in mind that puff pastry is best enjoyed fresh, so these are at their peak when eaten warm.
Freezing
You can freeze uncooked assembled Baked Cheese Mummies by placing them on a tray until firm, then transferring to a freezer-safe container for up to one month. This way, you can bake them fresh whenever the spooky mood strikes again!
Reheating
To enjoy leftovers at their best, reheat the mummies in a preheated oven at 350 degrees Fahrenheit for about 8 to 10 minutes until they’re warmed through and crispy again. Avoid microwaving if you want to keep that crisp puff pastry texture intact.
FAQs
Can I use other types of cheese besides Mini Babybel®?
Absolutely! While Mini Babybel cheeses work perfectly because they hold their shape and melt beautifully, you can experiment with other small, firm cheeses that melt well, like small rounds of mozzarella or brie. Just be mindful of moisture content to keep the pastry crisp.
Is it possible to make these vegetarian or vegan?
The recipe is already vegetarian, but for a vegan version, you can try substituting puff pastry made without butter and use a vegan cheese alternative that holds its shape similarly. You can also replace the egg wash with a plant-based milk or a little olive oil for brushing.
Can I prepare the mummies in advance and bake later?
Yes, you can assemble the mummies and keep them covered in the fridge for a few hours before baking. Just make sure to bring them close to room temperature before popping them into the oven for even baking.
What if I don’t have candy eyes?
No worries! Mini chocolate chips work wonderfully as eyes, or you can even use small dots of black icing or edible markers to create fun faces on your mummies.
How spicy or sweet can I make these?
The honey or jam adds a subtle sweetness that complements the cheese, but feel free to swap it with a spiced jam, like apricot with a hint of chili, to add a little kick. You can tailor the sweetness or spice level to your taste with this flexible ingredient choice.
Final Thoughts
Baked Cheese Mummies are a playful, delicious way to blend creativity and flavor in one easy-to-make dish. Whether you’re making them for a party, a family snack, or a festive treat, they never fail to bring smiles and satisfied bellies. Give this recipe a whirl and watch how these cheesy little mummies become an instant favorite at your table!
PrintBaked Cheese Mummies Recipe
Baked Cheese Mummies are a fun and spooky Halloween appetizer featuring mini Babybel cheeses wrapped in flaky puff pastry strips to resemble mummies. Sweetened with honey or jam and decorated with candy eyes, these bite-sized treats are perfect for festive parties and easy to make.
- Prep Time: 15 minutes
- Cook Time: 20 minutes
- Total Time: 35 minutes
- Yield: 14 cheese mummies 1x
- Category: Appetizer
- Method: Baking
- Cuisine: American
- Diet: Vegetarian
Ingredients
Cheese and Pastry
- 2 sheets thawed puff pastry
- 14 Mini Babybel® cheeses (wax removed)
Sweetener
- 1/3 cup honey or your favorite jam
Egg wash
- 1 egg beaten with 1 teaspoon water
Decoration
- 28 candy eyes or mini chocolate chips
Instructions
- Preheat Oven: Preheat your oven to 400°F (200°C) to ensure it’s hot and ready for baking the mummies.
- Prepare Puff Pastry: Place the thawed puff pastry sheets on a lightly floured counter. Roll each sheet into approximately an 11-inch square. Using a pastry cutter or sharp knife, cut each sheet into 9 square pieces, reserving 4 of the squares to use for the mummy bandages later.
- Assemble Cheese Packages: Drizzle each Mini Babybel cheese with honey or jam. Place each honey-coated cheese onto a puff pastry square, honey side down. Using your pastry cutter, trim the edges of the pastry squares around the cheese to form a circular shape.
- Seal Pastry: Fold the puff pastry over each cheese to create a neat package. Press the edges gently with your fingers to seal. Place the packages seam side down on a parchment-lined baking sheet.
- Create Mummy Bandages: Cut about 12 thin strips from the remaining four puff pastry squares. Wrap these strips around the cheese packages to resemble mummy bandages, stretching and trimming them as necessary for a comfortable fit.
- Apply Egg Wash and Bake: Brush all the pastry-wrapped cheeses thoroughly with the egg wash to help them brown and develop a shiny finish. Bake in the preheated oven for 15 to 20 minutes, or until the puff pastry is golden brown and the cheese inside has melted.
- Decorate and Serve: Remove the baked cheese mummies from the oven and immediately press candy eyes or mini chocolate chips onto each for spooky eyes. Serve warm as a delightful appetizer or party snack.
Notes
- Be sure to remove all wax from the Mini Babybel cheeses before assembling.
- You can substitute honey with any jam flavor you prefer for a different taste.
- Use a sharp knife or pastry cutter for clean cuts on the puff pastry.
- Serve these cheesy mummies warm for the best gooey texture.
- To make it vegetarian, ensure that the puff pastry used is free from animal fats.
- For a dairy-free variation, use vegan cheese alternatives.
- Keep an eye on the baking time as ovens can vary; pastry should be golden and crispy.
Nutrition
- Serving Size: 1 cheese mummy
- Calories: 160
- Sugar: 4g
- Sodium: 210mg
- Fat: 10g
- Saturated Fat: 6g
- Unsaturated Fat: 3g
- Trans Fat: 0g
- Carbohydrates: 12g
- Fiber: 0.5g
- Protein: 6g
- Cholesterol: 25mg
Keywords: Baked Cheese Mummies, Halloween appetizer, Mini Babybel cheese recipe, puff pastry snacks, cheesy Halloween treats


