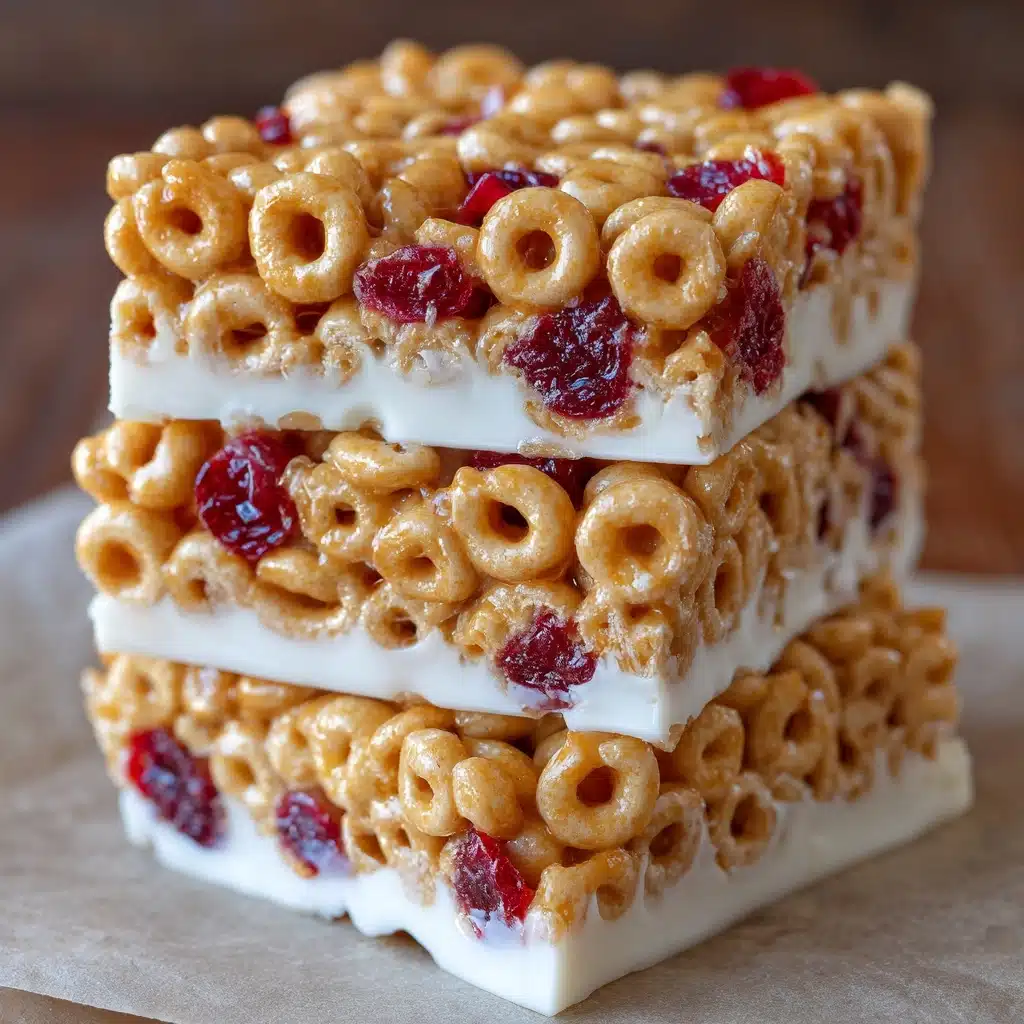
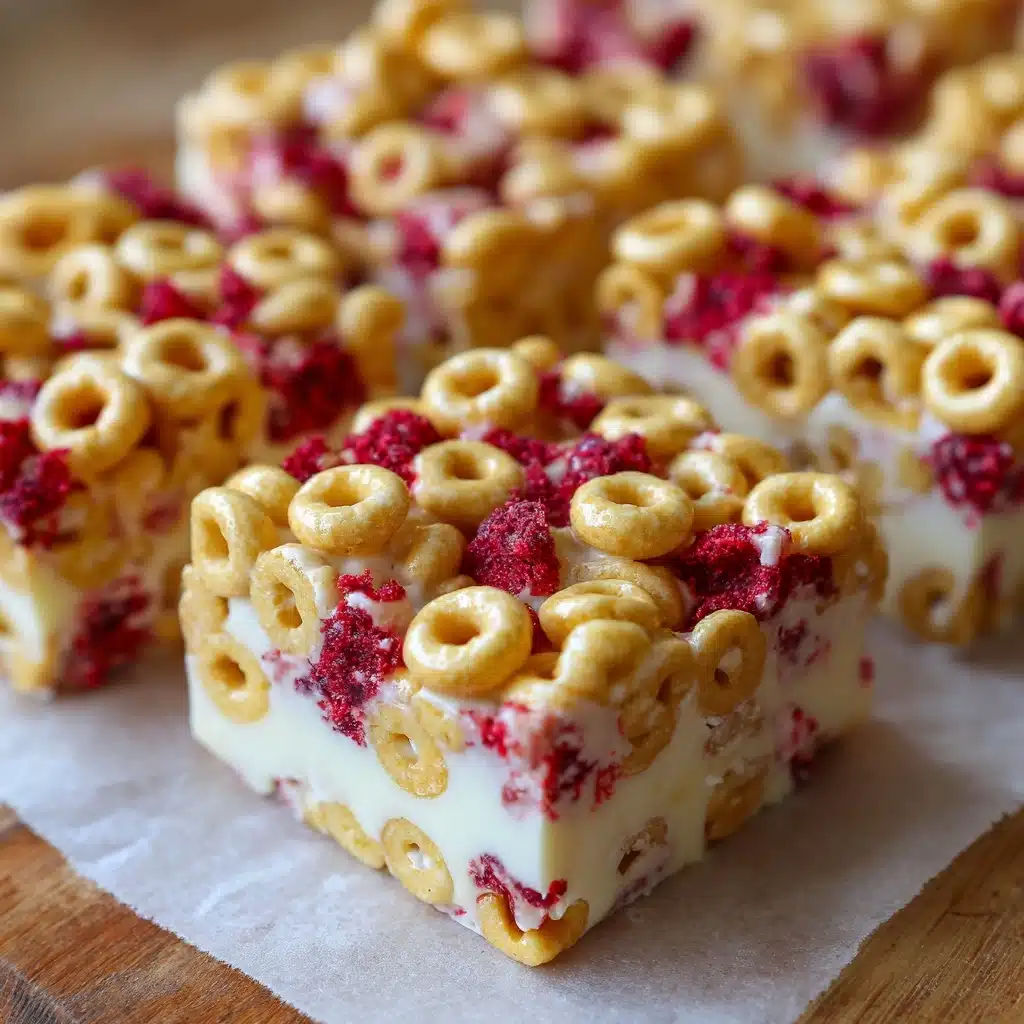
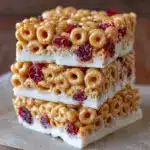
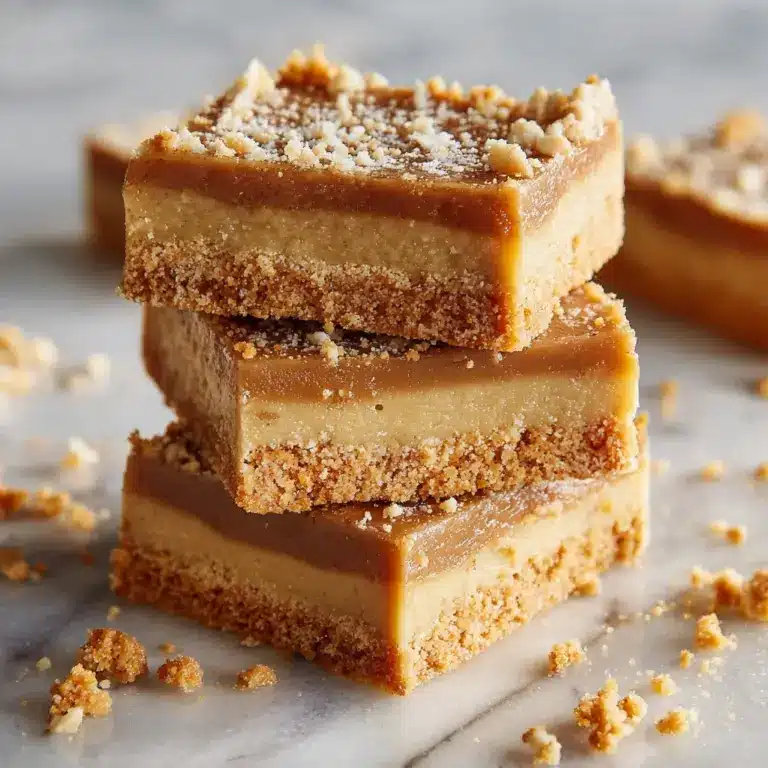
Cereal Bars Recipe
Looking for a fun, snackable treat you can whisk together with whatever’s in the pantry? These irresistible Cereal Bars are just the ticket! Sweet, crunchy, and endlessly customizable, they’re the homemade answer to your favorite store-bought snack bars—but with real, simple ingredients you choose yourself. Whether you like them chewy or super crisp, loaded with extra protein or just deliciously classic, this recipe makes it easy to create the best Cereal Bars for any moment or craving.
Ingredients You’ll Need
These Cereal Bars come together with just a handful of pantry staples, and every ingredient brings something special. Whether it’s the sticky sweetness, nutty richness, or the crunch of your favorite cereal, each one adds its own magic to these bars!
- 3 cups cereal of choice: This is where you shape the whole personality of your bars—go classic, whole grain, or try something chocolatey for a fun twist.
- 2/3 cup peanut butter or nut butter of choice: This is your glue: it adds rich flavor and a satisfying chew while keeping everything perfectly held together.
- 1/2 cup agave, honey, or brown rice syrup: Natural sweetness and stickiness—these help the bars hold their shape and taste like a treat!
- Optional 1/2 tsp salt: Just a pinch brings out all the other flavors and balances sweetness—use it if your nut butter isn’t already salted.
- Optional 3 tbsp protein powder: Add a protein boost for a more filling snack, especially great for breakfast or after workouts.
How to Make Cereal Bars
Step 1: Prepare Your Pan
Start by grabbing an 8-inch square pan and lining it with parchment or wax paper. This simple step is a game-changer: it makes removing and slicing your Cereal Bars a total breeze, and keeps cleanup to a minimum. If you’re doubling the batch (and trust me, you might want to!), reach for a 9×13-inch pan instead.
Step 2: Warm the Nut Butter
If your peanut butter (or any nut butter you’re using) is a bit thick or cold, pop it into the microwave for just a few seconds until it’s smooth and easy to stir. This helps everything mix together evenly later on—no stubborn clumps!
Step 3: Mix Up the Cereal Bar Base
In a large mixing bowl, combine your cereal, warmed nut butter, sweetener of choice, and if you’re using them, protein powder and salt. Stir until every piece of cereal is evenly coated. The mixture should look glossy and sticky, but not soggy—like a party in a bowl!
Step 4: Press and Pack
Pour the sticky cereal mixture into your lined pan. For the most professional-looking Cereal Bars, place another sheet of parchment on top and press down as firmly as you can. Really go for it! The more compact you make it now, the better your bars will hold together after slicing.
Step 5: Chill and Slice
Pop the pan in the freezer for about 30 minutes, or until the bars feel sturdy and firm when you touch them. Lift them out using the parchment, and slice into bars of your chosen size. Voilà! Snack time is served.
How to Serve Cereal Bars
Cereal Bars Garnishes
Dress up your bars with a drizzle of melted chocolate, a sprinkle of flaky sea salt, or even a dusting of cocoa powder. You can press in a few mini chocolate chips or dried berries before chilling for pops of color and extra flavor. Kids love getting creative with toppings, so let everyone customize their own!
Side Dishes
Cereal Bars are fantastic solo, but if you’re making a breakfast platter, pair them with a bowl of Greek yogurt and some fresh-cut fruit. For a snacky lunchbox treat, tuck one next to sliced apples or a handful of grapes for a bright, energizing combo.
Creative Ways to Present
Instead of traditional bars, try cutting the mixture into fun shapes with cookie cutters, or roll into snack-sized balls and dip them halfway in chocolate. For parties, stack bite-size squares on a platter with toothpicks for easy sharing!
Make Ahead and Storage
Storing Leftovers
Once they’re sliced, keep your Cereal Bars in an airtight container. They’ll stay freshest stored in the fridge, where they’ll keep for up to a week. If your house is cool, they’re fine at room temperature for a couple of days as well, making them perfect for grab-and-go snacking.
Freezing
Cereal Bars freeze beautifully. Stack them between layers of parchment and place in a freezer bag or airtight container. They’ll keep for up to two months—just thaw a bar or two overnight in the fridge, or pop straight in a lunchbox for later.
Reheating
If your bars get a little too firm in the fridge or freezer, let them sit at room temperature for 10-15 minutes before eating. Warming them for just a few seconds in the microwave can also bring back that just-made chewiness, but don’t overdo it or they may become sticky.
FAQs
Can I use any type of cereal for these bars?
Absolutely! The beauty of this recipe is its flexibility. Flake cereals, puffs, or even granola clusters work beautifully. Switch it up depending on what you love or what you have on hand.
Are these cereal bars gluten-free?
They can be! All you need to do is choose a certified gluten-free cereal and be mindful of your other ingredient labels. This makes Cereal Bars a great allergy-friendly treat.
How do I keep my cereal bars from falling apart?
The real trick is pressing the mixture down as firmly as possible in the pan before chilling. Another tip is not to skip the chilling stage—this sets the bars so they hold their shape when cut.
Is it possible to make vegan cereal bars?
Definitely! Just use agave or brown rice syrup as your sweetener and make sure your cereal and nut butter are plant-based. These swaps are easy and don’t change the flavor one bit.
Can I add extras like chocolate chips or dried fruit?
For sure! Stir in mini chocolate chips, dried cranberries, coconut flakes, or even seeds for extra flavor, texture, and nutrition. Just add them after mixing the other ingredients and before pressing into the pan.
Final Thoughts
If you’re craving a homemade snack that’s easy, endlessly adaptable, and seriously delicious, give these Cereal Bars a try. They’re fun to make, even more fun to eat, and might just become your favorite way to use what’s in the pantry. Happy snacking, friend!
PrintCereal Bars Recipe
These homemade cereal bars are a delicious and nutritious snack that you can easily customize to your taste. Made with just a few simple ingredients, they are perfect for a quick breakfast on the go or a satisfying midday treat.
- Prep Time: 15 minutes
- Cook Time: 0 minutes
- Total Time: 45 minutes
- Yield: 10 bars 1x
- Category: Snack
- Method: Mixing, Freezing
- Cuisine: American
- Diet: Vegetarian
Ingredients
Main Ingredients:
- 3 cups cereal of choice
- 2/3 cup peanut butter or nut butter of choice
- 1/2 cup agave, honey, or brown rice syrup
Optional Ingredients:
- 1/2 tsp salt
- 3 tbsp protein powder
Instructions
- Prepare the Pan: Line an 8-inch pan with wax or parchment paper. If using a larger pan, adjust the recipe accordingly.
- Mix Ingredients: In a large bowl, combine the cereal, nut butter, sweetener, and any optional ingredients. Stir until well mixed.
- Press into Pan: Transfer the mixture to the prepared pan. Place another sheet of parchment paper over the top and press down firmly to compact the mixture.
- Chill: Freeze the cereal bars for at least 30 minutes or until firm. This helps them hold their shape when cut.
- Serve: Once set, slice the bars into individual servings. Store any leftovers in the refrigerator or freezer for later enjoyment.
Nutrition
- Serving Size: 1 bar
- Calories: 180
- Sugar: 8g
- Sodium: 120mg
- Fat: 10g
- Saturated Fat: 2g
- Unsaturated Fat: 6g
- Trans Fat: 0g
- Carbohydrates: 20g
- Fiber: 3g
- Protein: 6g
- Cholesterol: 0mg
Keywords: cereal bars, homemade snacks, nut butter, customizable snacks


