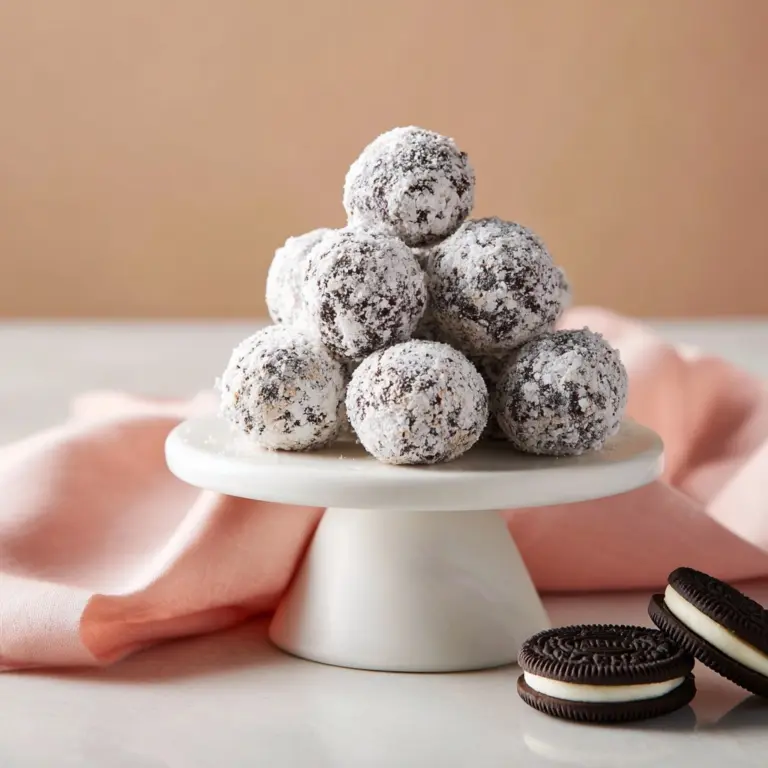
Butterfinger Balls Recipe
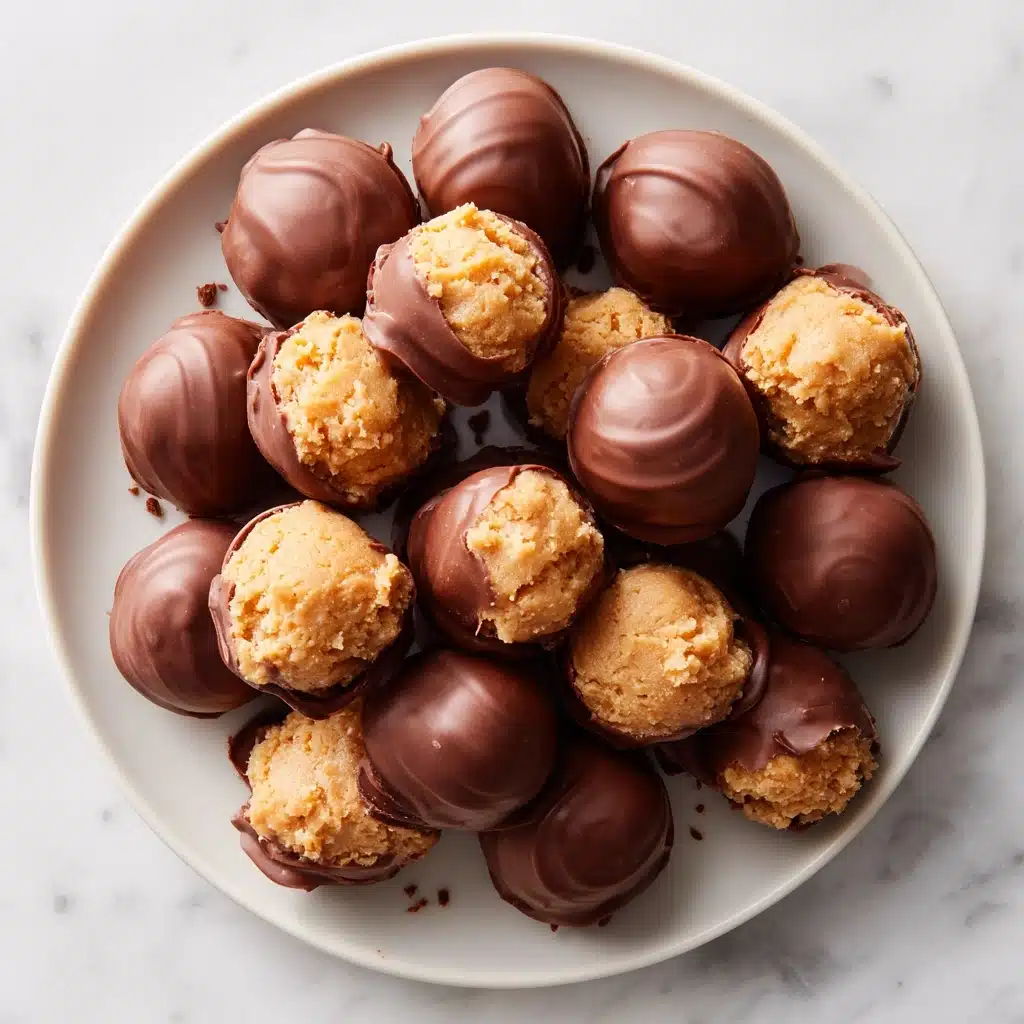
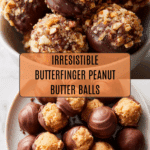
If you’re ready for a drop-dead delicious treat that’s simple, snackable, and straight-up irresistible, these Butterfinger Balls will absolutely steal your heart. Imagine that classic Butterfinger crunch mingling with creamy peanut butter, surrounded by a glossy shell of silky chocolate—each bite is pure bliss! Whether you’re prepping a special occasion dessert tray or sneaking midnight treats from your fridge, you’ll fall hard for the way Butterfinger Balls bring together texture, flavor, and just the right hint of nostalgia.

Ingredients You’ll Need
The beauty of Butterfinger Balls lies in their straightforward, crowd-pleasing ingredient list. Each component brings something crucial to the table—flavor, structure, or that signature crunch. Don’t swap or skip, and you’ll see (and taste) why! Here’s what you’ll need:
- Butter (softened): The foundation for creamy texture, helping everything blend easily and adding rich flavor depth.
- Vanilla extract: This tiny splash wakes up every sweet note and brings the whole dough together with homemade warmth.
- Chocolate bark or chips: Delivers the irresistible shell, so your Butterfinger Balls have their signature snap and shine.
- Crushed Butterfinger bars: The star ingredient, these lend outrageous crunch, caramelized flavor, and pops of color throughout.
- Powdered sugar: Provides sweetness and a melt-in-your-mouth finish, binding everything together just right.
- Peanut butter (not all-natural): Opt for a classic variety—smooth, stable, and packed with nutty richness.
- Graham cracker crumbs: Adds a lightness to the interior and a delicate background crunch you’ll love.
- Optional garnishes: More crushed Butterfinger bars, festive sprinkles, or coarse sea salt elevate presentation and flavor.
How to Make Butterfinger Balls
Step 1: Prepare the Dough
In a large mixing bowl, combine the softened butter and peanut butter. Use an electric or stand mixer at medium speed to blend them together until the texture is creamy and perfectly uniform. This creamy base guarantees that every bite of your Butterfinger Balls is silky and lush.
Step 2: Add Aromatic Notes
Next, pour in the vanilla extract and mix until evenly incorporated. This step might seem simple, but that subtle splash of vanilla adds a comforting aroma and rounds out the flavors, making each bite a little more layered.
Step 3: Sweeten the Deal
Gradually add the powdered sugar, beating on low speed to avoid a sugary snowstorm. Mix in increments, and don’t be shy about scraping down the bowl in between. The sugar doesn’t just sweeten—it helps the dough come together in a pleasantly pliable way.
Step 4: Crunch Time
Time for the magic: fold in the graham cracker crumbs and crushed Butterfinger bars. Use a spatula and fold gently; you want streaks of crunch and pockets of Butterfinger running throughout, so every ball has a bit of everything.
Step 5: Shape ’em Up
Line a baking sheet with parchment paper for a nonstick surface. Scoop up about 1 to 1½ tablespoons of dough for each ball, rolling them between your palms until smooth and round. Place each one on the prepared sheet, giving them a little room to chill out.
Step 6: Chilling Phase
Slide the entire baking sheet into the freezer for about 30 minutes. This step ensures your Butterfinger Balls firm up nicely before dunking, and that the chocolate sets quickly and evenly later on.
Step 7: Melting the Chocolate
While the balls are chilling, melt your chocolate bark or chips. Place them in a microwave-safe bowl and heat in 30-second bursts at 50% power, stirring between each session. Stop when there are a few lumps left—they’ll finish melting as you stir, which prevents burning and delivers a glossy, smooth chocolate coating.
Step 8: Coat and Decorate
Using a fork or dipping tool, immerse each chilled ball in melted chocolate. Swirl gently so the excess drips off, then return them to the parchment. If you like, now’s the time to sprinkle on extra crushed Butterfinger bars, some festive sprinkles, or a dash of coarse sea salt for that flavor pop and pro-level finish.
Step 9: The Grand Finale
Let the coated Butterfinger Balls sit at room temperature until the chocolate is completely set. Try to resist sneaking one too soon—the anticipation makes that first bite absolutely worth it!
How to Serve Butterfinger Balls
Garnishes
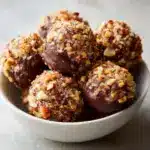
The simplest finishing touch for Butterfinger Balls is a sprinkle of extra crushed Butterfinger, but you can go all out! Consider a shower of rainbow sprinkles for birthdays, red-and-green for holidays, or a dramatic pinch of flaky sea salt to enhance their sweet-salty balance. Customizing the garnish is half the fun, and lets you match them to any occasion.
Side Dishes
Pair these decadent treats with something that complements their richness, like a cold glass of milk, strong espresso, or black tea. On a dessert platter, serve Butterfinger Balls with other bite-sized sweets (think lemon bars, chocolate-dipped pretzels, or fresh fruit) to round out the treat tray and offer plenty of options for your guests.
Creative Ways to Present
Arrange your Butterfinger Balls in pretty paper cups or mini muffin liners to make them look like fancy truffles. Pile them high on a footed cake stand for dramatic effect, or wrap them in cellophane for the world’s happiest homemade gift. You can also skewer them on sticks and create a fun dessert “pop” display—kids and adults can’t resist!
Make Ahead and Storage
Storing Leftovers
Butterfinger Balls keep beautifully in an airtight container at room temperature for up to three days, or in the fridge for about a week. The chilled environment keeps them firm, and the flavors seem to meld even more as they rest. Just be sure they’re stacked in a single layer or separated with parchment to keep them looking their best.
Freezing
If you want to really get ahead (or savor your stash), Butterfinger Balls freeze wonderfully! Space them out on a tray until firm, then transfer to a freezer-safe bag or container. They’ll keep for up to two months. Thaw in the fridge overnight when you’re ready to serve, or enjoy straight from the freezer for a frosty treat.
Reheating
You won’t need to reheat Butterfinger Balls, as they’re meant to be enjoyed chilled or at room temperature. If the chocolate looks a little dull after chilling, let them sit on the counter for fifteen minutes to restore their shine and snap. Otherwise, they’re perfectly snackable right from the fridge or freezer.
FAQs
Can I use natural peanut butter for Butterfinger Balls?
It’s best to stick with traditional, shelf-stable peanut butter (like Jif or Skippy) for this recipe. Natural peanut butters are usually too oily and can cause the dough to become too loose or the balls to fall apart.
What’s the difference between chocolate bark and chocolate chips for coating?
Chocolate bark melts down more smoothly and sets up firmly, making it ideal for a glossy, snappy coating. Chocolate chips can work in a pinch, but may require a teaspoon of coconut oil or shortening for ultra-smooth dipping.
How do I crush Butterfinger bars easily?
Pop the bars in a zip-top bag and gently smash with a rolling pin or the bottom of a measuring cup. Don’t pulverize them—you want distinguishable chunks for that signature Butterfinger Balls texture.
Can I make Butterfinger Balls ahead for a party?
Absolutely! In fact, they’re even better after a day in the fridge. Make them up to three days ahead and store in an airtight container until it’s party time. Decorating right before serving keeps garnishes extra fresh.
Are Butterfinger Balls gluten-free?
As written, Butterfinger Balls aren’t gluten-free because of the graham cracker crumbs. Swap in your favorite gluten-free graham crackers, and double-check your Butterfinger bars (some minis are processed differently) for a gluten-safe treat!
Final Thoughts
When it comes to fun, festive, and fabulously easy desserts, you just can’t beat Butterfinger Balls. They hit every note—sweet, crunchy, creamy, and utterly craveable! If you haven’t tried these yet, you’re in for a genuine treat. Gather your ingredients, call over your best taste-testers, and get rolling. Your dessert game is about to get a whole lot more exciting!
PrintButterfinger Balls Recipe
Indulge in these delightful Butterfinger Bliss Balls that offer a perfect combination of creamy peanut butter, crunchy Butterfinger bits, and rich chocolate coating. These no-bake treats are a crowd-pleaser at any gathering or a sweet indulgence for yourself.
- Prep Time: 20 minutes
- Cook Time: 0 minutes
- Total Time: 50 minutes
- Yield: Approximately 24 balls 1x
- Category: Dessert
- Method: No-Bake
- Cuisine: American
- Diet: Vegetarian
Ingredients
For the Dough:
- 4 tablespoons softened butter
- 1 teaspoon vanilla extract
- 1 cup powdered sugar
- 1 cup peanut butter (avoid all-natural varieties)
- ¾ cup graham cracker crumbs
- ½ cup crushed Butterfinger bars
For Coating:
- 8 ounces chocolate bark or chocolate chips
- Optional garnishes: additional crushed Butterfinger bars, festive sprinkles, or coarse sea salt
Instructions
- Prepare the Dough: In a mixing bowl, cream together the peanut butter and softened butter. Blend until creamy.
- Add Aromatic Notes: Mix in the vanilla extract until well combined.
- Sweeten the Deal: Gradually add the powdered sugar while mixing on low speed, scraping the sides of the bowl.
- Crunch Time: Fold in the graham cracker crumbs and crushed Butterfinger bars.
- Shape ’em Up: Roll the dough into balls and place on a lined cookie sheet. Freeze for 30 minutes.
- Melting the Chocolate: Melt the chocolate in a microwave-safe bowl in intervals, stirring in between.
- Coat and Decorate: Dip each dough ball in chocolate, coating fully. Add optional garnishes.
- Finishing Touches: Allow the chocolate to set before serving.
Notes
- You can customize the toppings based on your preference, such as chopped nuts or shredded coconut.
- Store the Butterfinger Bliss Balls in an airtight container in the refrigerator for up to a week.
Nutrition
- Serving Size: 1 ball
- Calories: 180
- Sugar: 14g
- Sodium: 85mg
- Fat: 11g
- Saturated Fat: 5g
- Unsaturated Fat: 5g
- Trans Fat: 0g
- Carbohydrates: 18g
- Fiber: 1g
- Protein: 3g
- Cholesterol: 5mg
Keywords: Butterfinger Balls, Bliss Balls, No-Bake Dessert, Peanut Butter Dessert